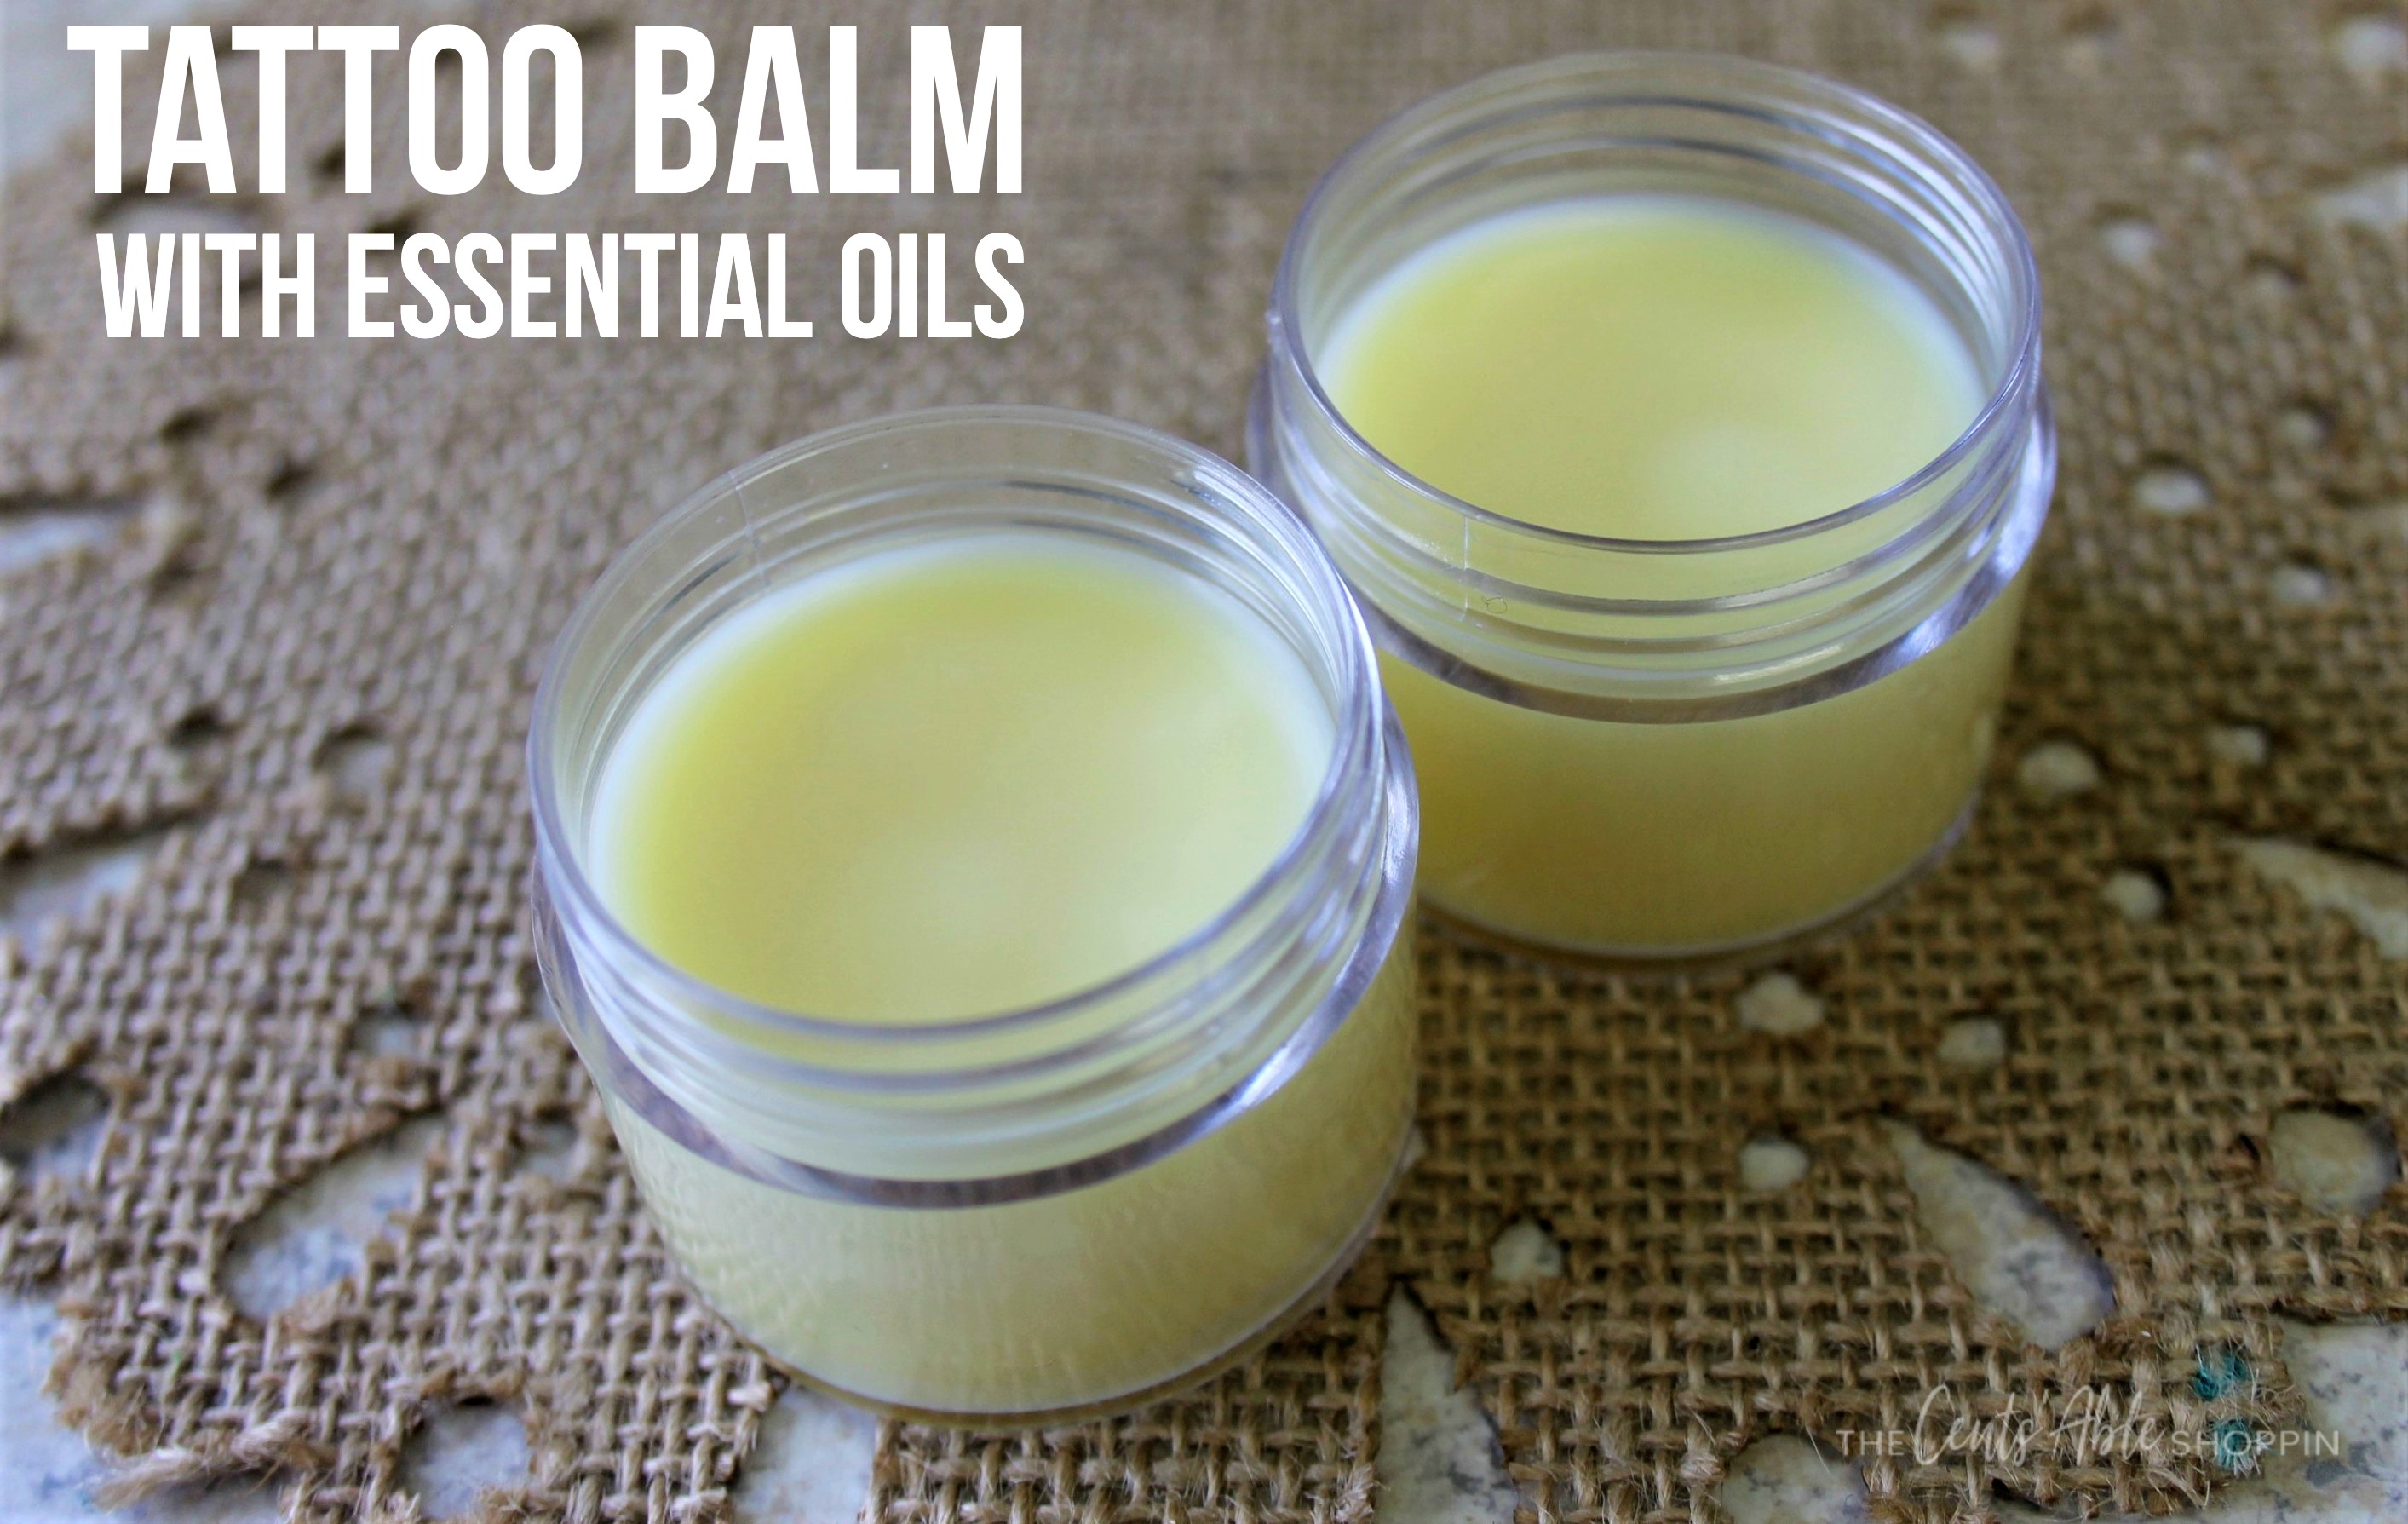
This Tattoo Care Balm with Essential Oils will help you care for your tattoo after getting inked, which helps preserve the life & vibrancy of the artwork.
All-natural remedies have become quite the craze over the past few years and for good reason. There are so many powerful ingredients that have been given to us to use that we should be taking full advantage of it.
Essential oils are of course at the top of that list. If you’re new to using oils then the best place to start is to be sure you do your research and use oils that are 100% pure. Don’t fall for the cheap, off the shelf, local grocery store type, as they are not pure. Even though they may say catchy little tag words on the label, you have to read the ingredients.
Many are cheaper because they have been chemically adulterated. There are many places you can get high quality essential oils for an affordable price (and without joining any type of large MLM either!)
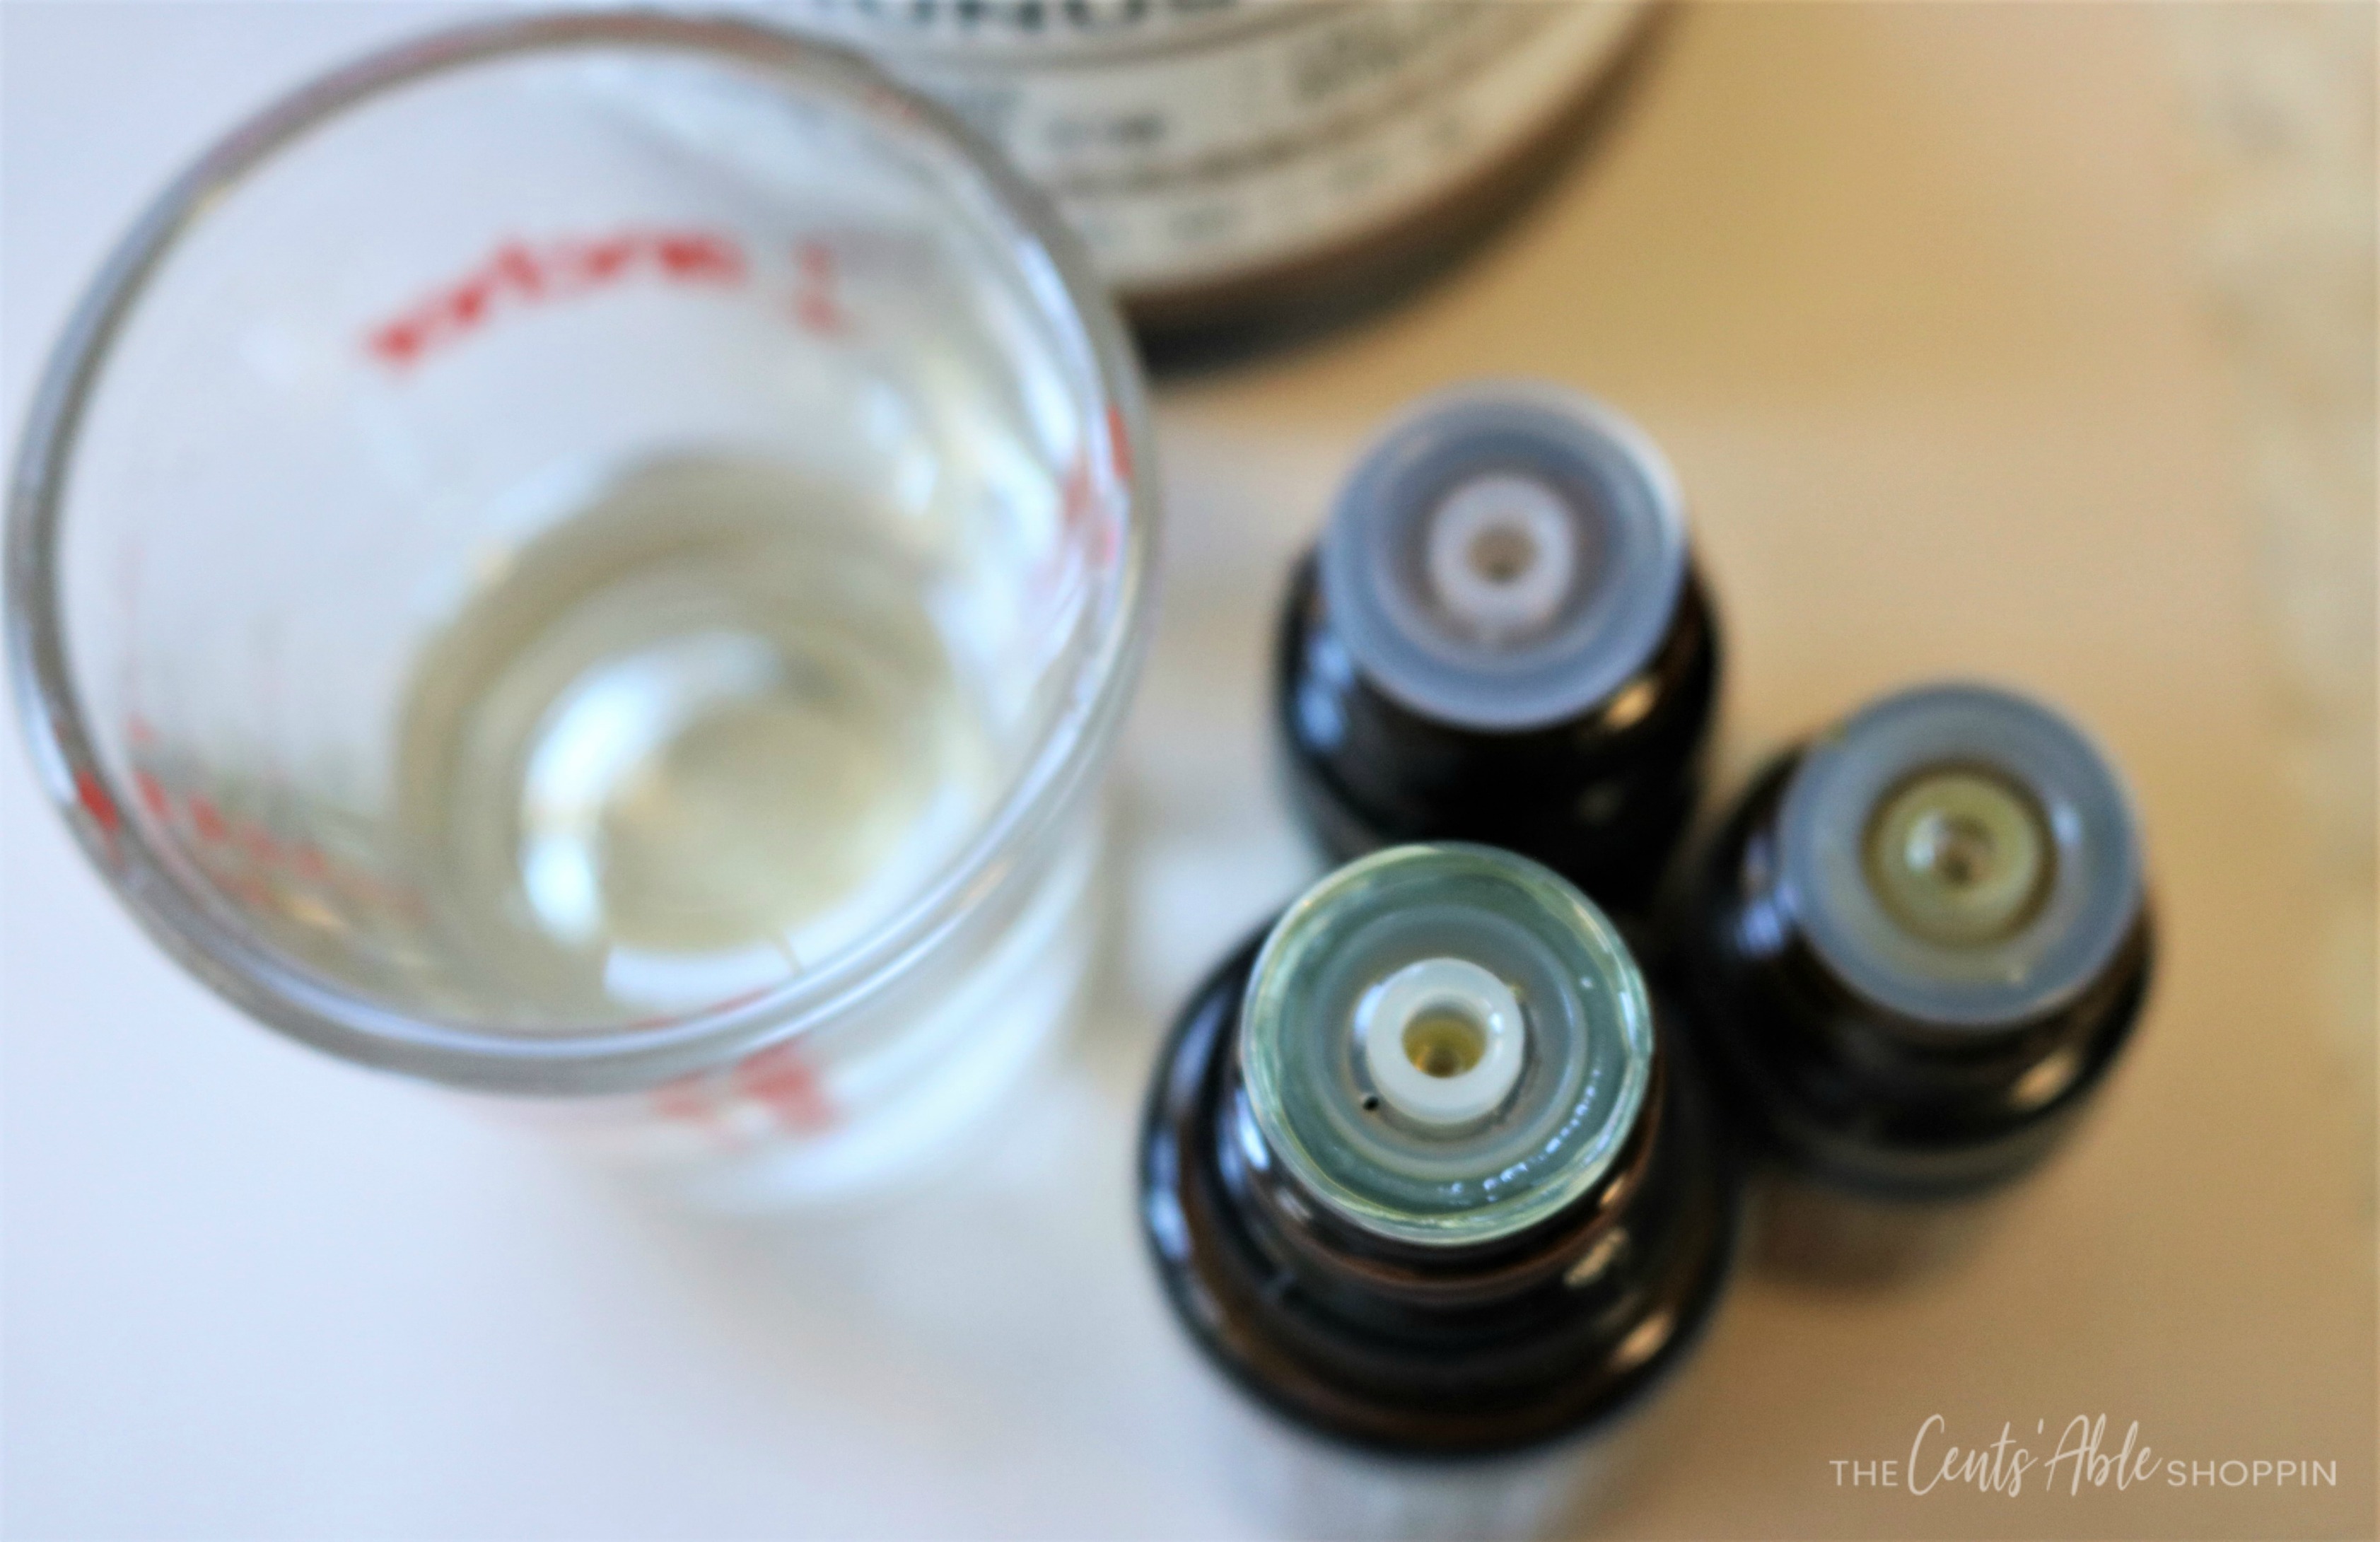
If you are already an essential oil user, then you have likely experienced how wonderful they can be as an all-natural remedy.
Something I have found in my several years of using them though, is that sometime when applying them topically, I find myself reapplying more often than I’d like to. Sometimes I want to reapply but am not near my oil. This is why I began to make some roller bottles with my favorite blends while also turning some into wonderful skin balms.
Putting them into a good base of healthy ingredients helps the oils stay put longer while also moisturizing your skin.
All Natural Tattoo Balm with Essential Oils
This all-natural Tattoo Balm with Essential Oils is designed to help your new tattoo heal and stay nourished nicely. The tattoo balm can be used as long as you like to feed and nourish the skin.
The essential oils in this are all wonderful for the skin and so it can be used for skin health in general as well.
Each oil I chose for this Tattoo Balm was added for its unique benefits –
- Myrrh: Wonderful for helping support healthy skin. A little goes a long way and even though it is a pricier oil, it’s worth every penny. It comes from the resin of the plant and it is a thicker oil that helps keep a younger looking skin and it also is very soothing.
- Yarrow: Soothing to the skin like the myrrh, and helps fight signs of aging, but it also promotes collagen production. Yarrow supports healthy skin by feeding moisture which in turn affects elasticity.
- Lavender: The most commonly used essential oil, is added for a few reasons. It has great antibacterial properties, so it keeps the area clean and free from infection. It also has calming properties that help reduce swelling and itchiness, which is perfect when your tattoo is new and trying to heal up.
Ingredients required (makes 1 oz. of balm)
- Lidded container(s) similar to these (2 oz each). You are welcome to reuse any glass container you have at home to cut the cost.
- .75 oz beeswax pastilles – should you use beeswax blocks, you’ll want to grate and weigh accordingly.
- 1 tbsp. coconut oil
- 1 tsp. jojoba oil – or, alternatively, olive oil, sweet almond oil or unrefined pressed grapeseed oil
- 8 drops myrrh essential oil
- 6 drops yarrow essential oil
- 6 drops lavender essential oil
- Double boiler pan
Directions:
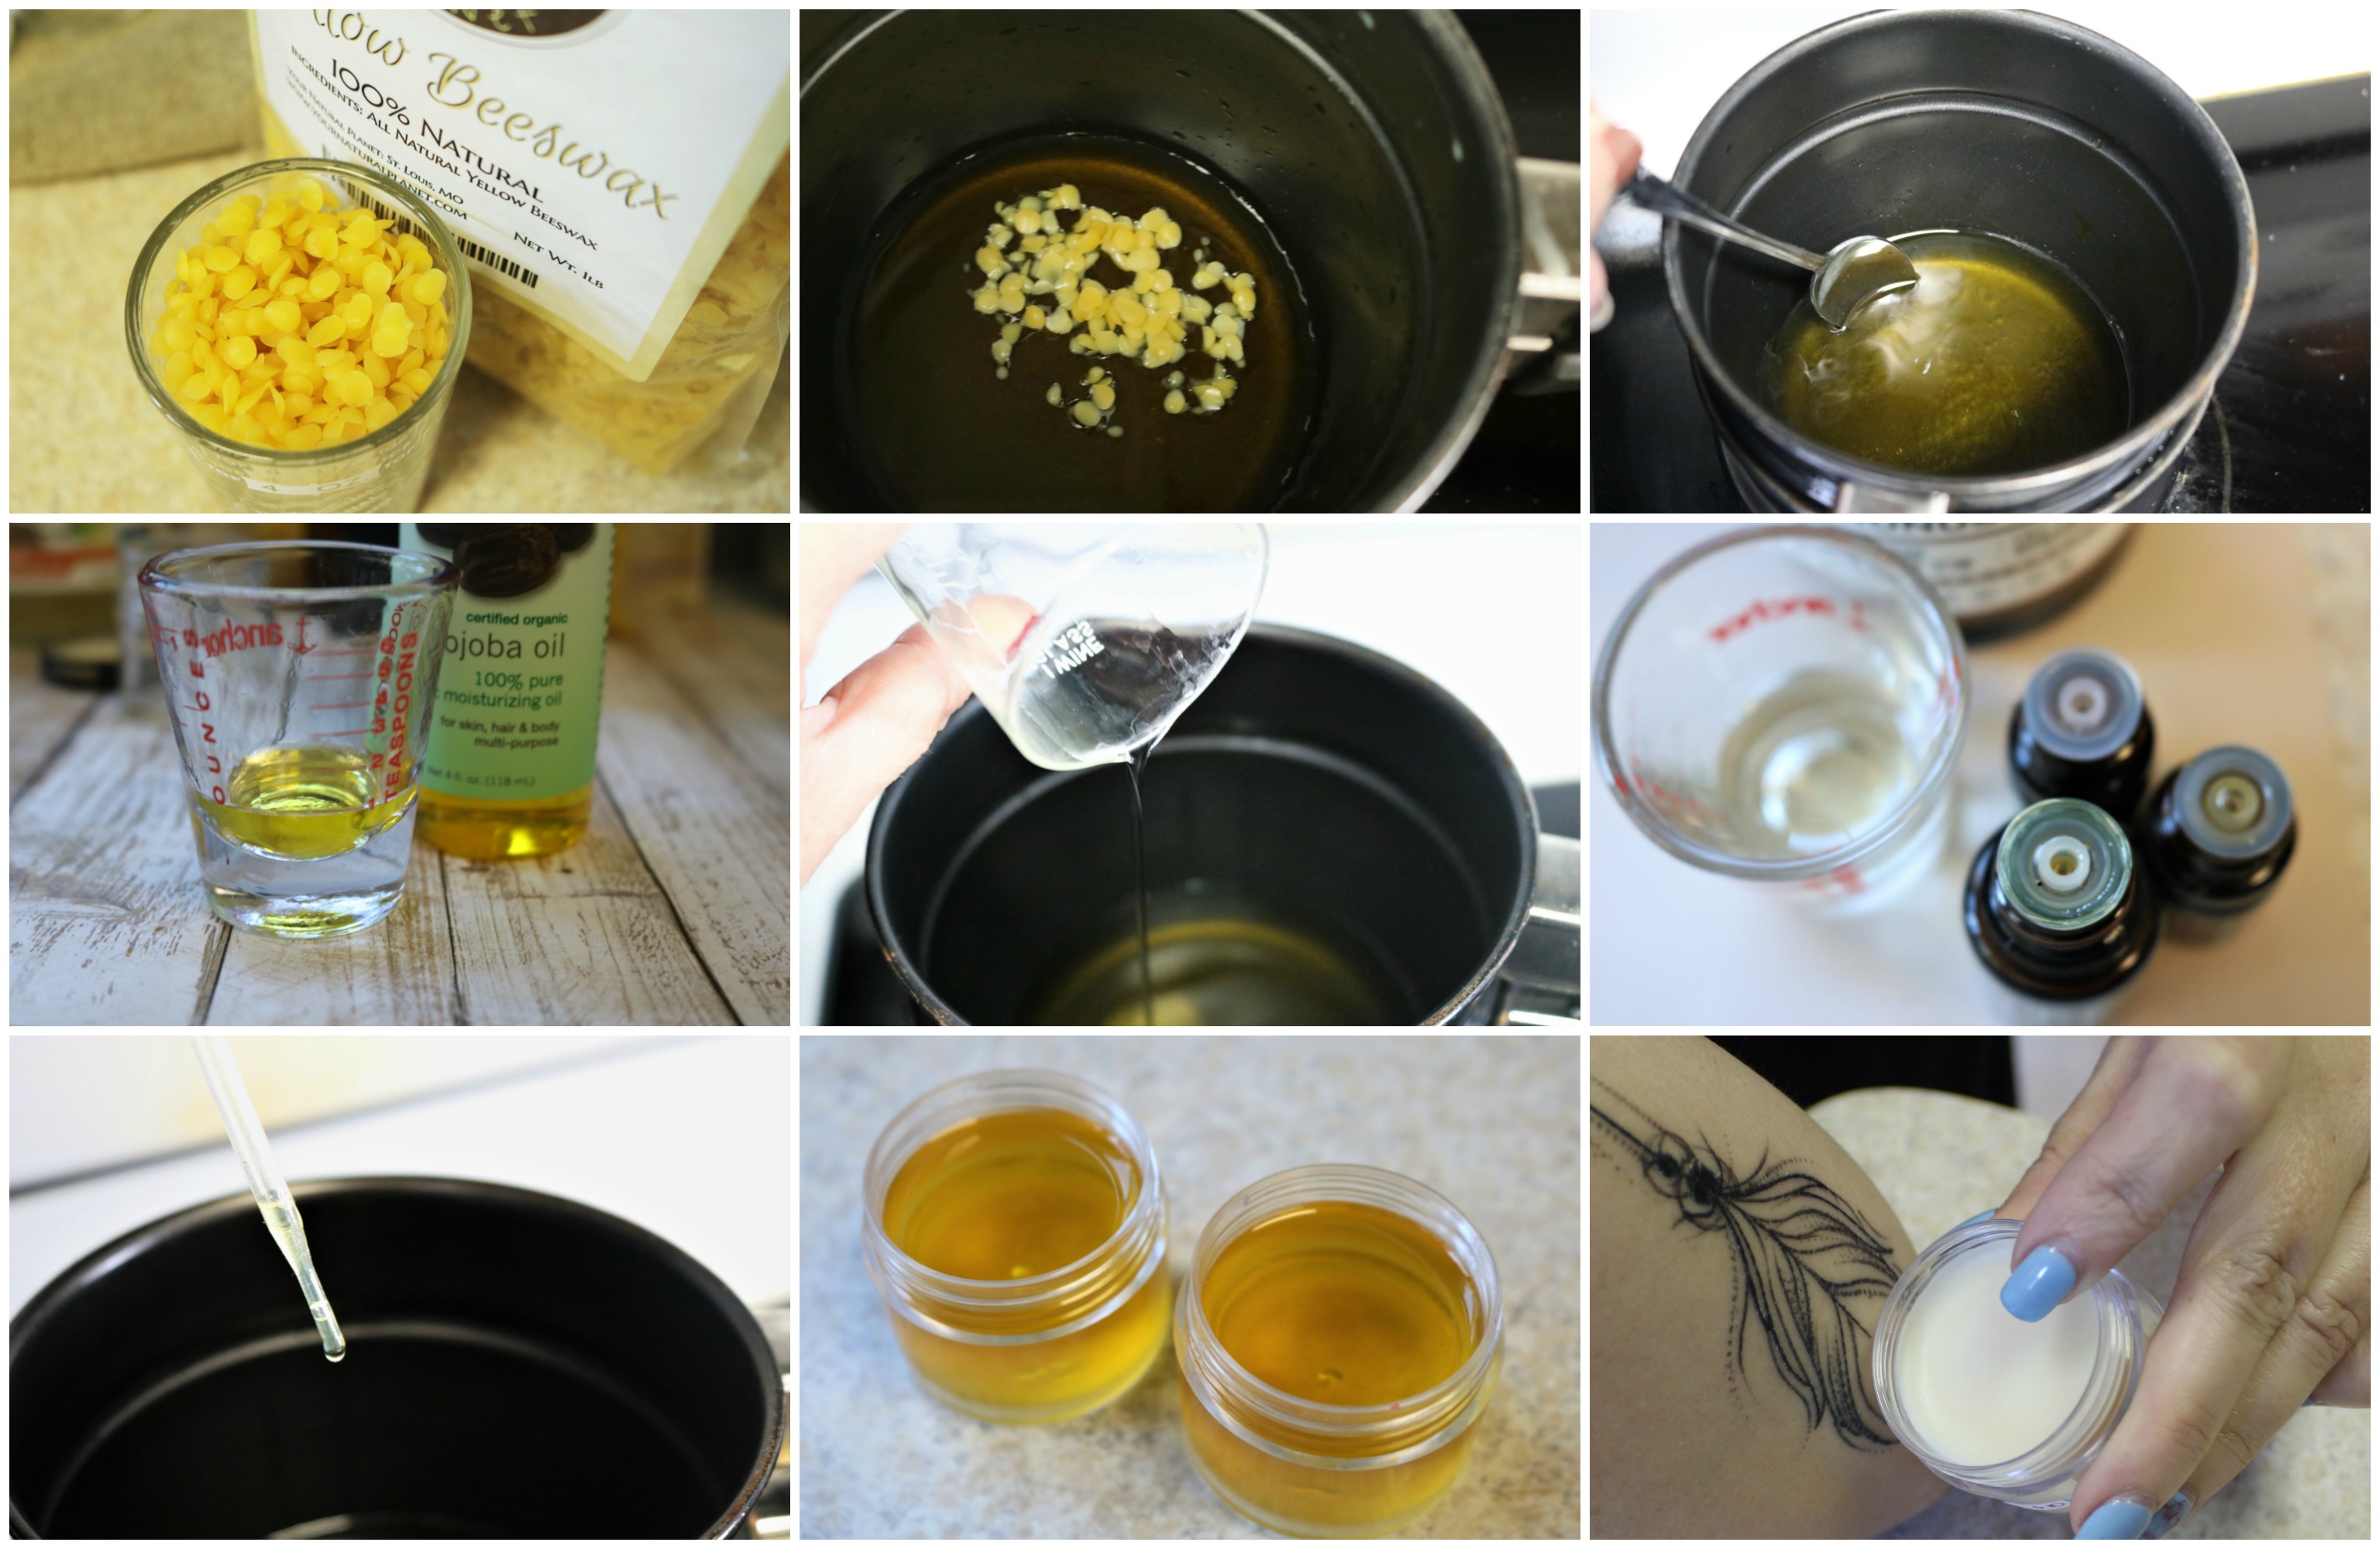
The best way to begin is to grab your double boiler and start heating up the water. It takes a few minutes to get going. I have found that if I fill it to just over half full it is perfect, and it won’t boil over easily. Place on medium-high heat to start. Once it begins to boil and you see it bubbling a bit, turn the heat down to very low.
Place your beeswax into the top pan of the double boiler and let it melt . It does take a few minutes to get started and that’s what you want. Slow is better than too fast so nothing gets burnt.
As the water is heating, go ahead and get containers and lids separated and all set to fill.
You can stop and stir the beeswax a couple of times in the melting process, it may need to be broken up a bit to help it along. Before you go on to the next step you want it to be clear and liquid totally. Once the beeswax is ready, go ahead and add the coconut oil and jojoba oil to the wax and stir.
TIP – If the coconut oil has solidified and is a solid white chunk, and hard to remove from the jar, just place it in the microwave for 20 seconds, and it will loosen well.
Add in your Essential Oils
Add in your essential oils — slow and steady! Once all three oils are in, give it a stir and let it melt for a minute and then you are ready to pour the balm. Now carefully fill each container to just below the top and let sit. Avoid moving it around until its all set up. You want it to dry nice and smooth on the top.
Last step is just to let the balms to cool all the way and set. This generally takes about 45 minutes or so. The best way to test if they are all cooled is to feel the bottom center of it and if it’s all cooled off, you can put on the lids. Now, just add a label and you’re all set to use!
Using your Tattoo Balm with Essential Oils
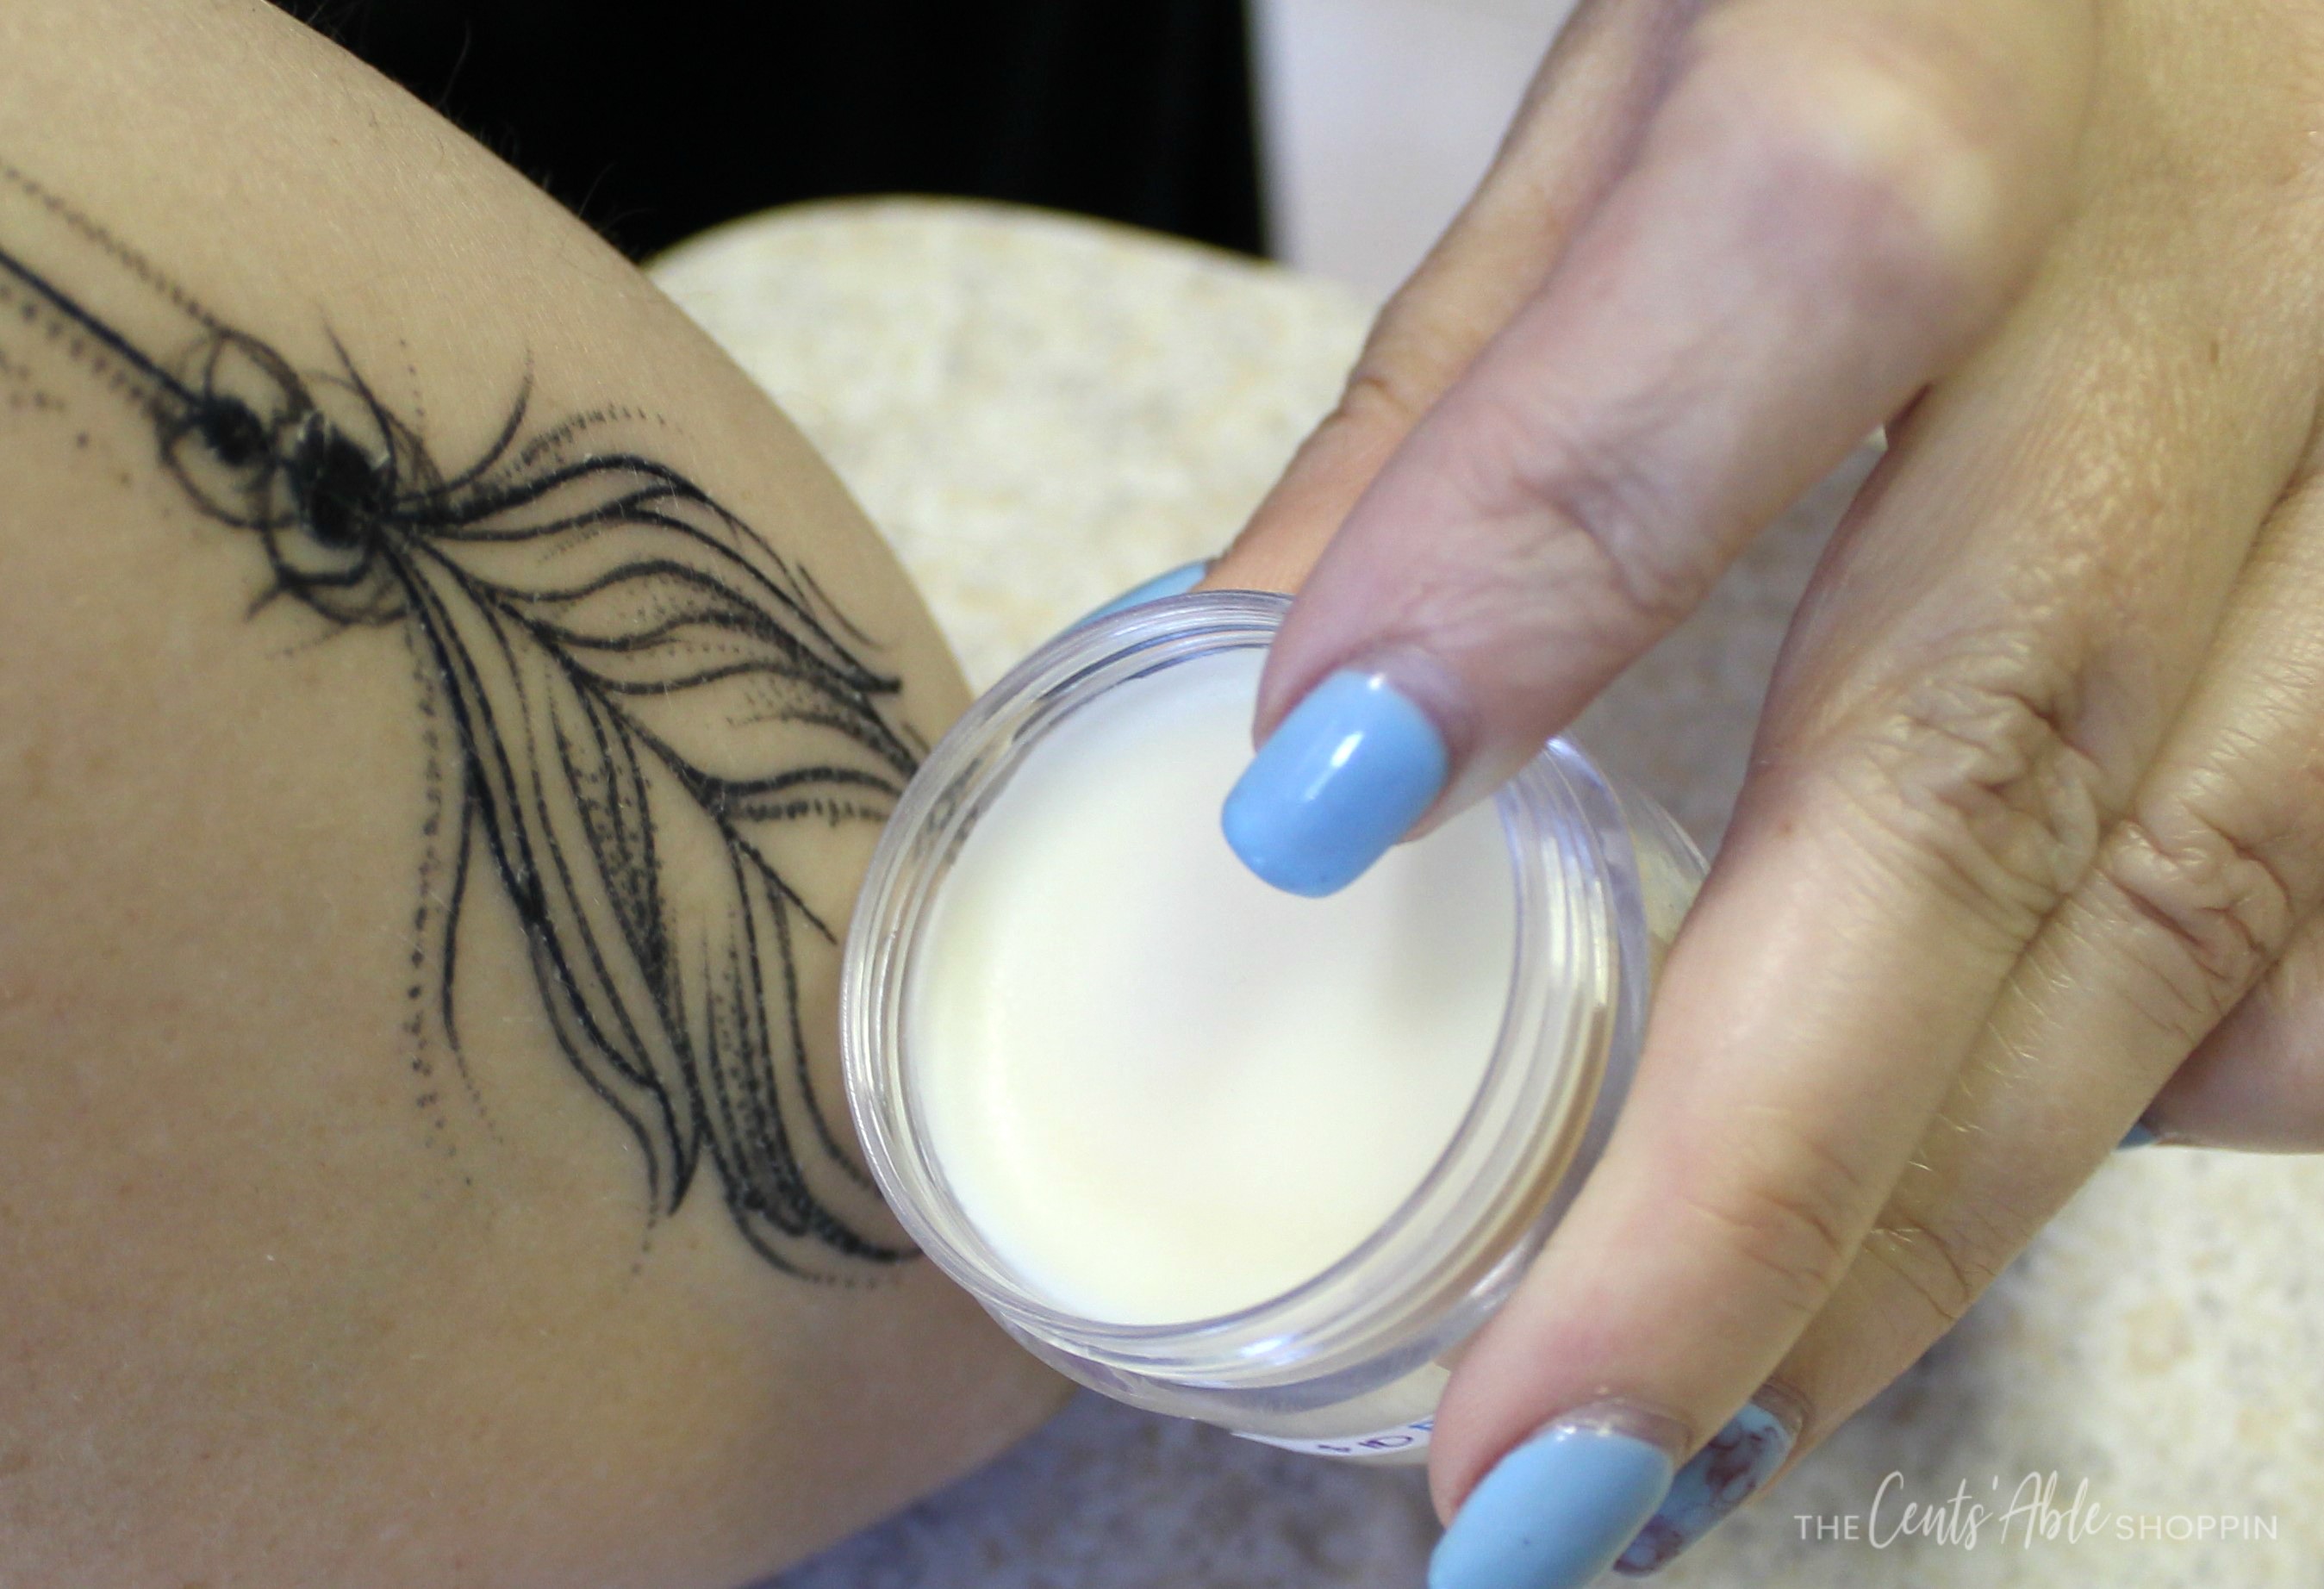
With thicker balms like this it is a bit hard to get out of the container. To make it easier, I start out by using the thumb nail and running it along to get the first of it out.
Take a small fingertip amount and apply to area and spread until rubbed in fully. Adding some before bed is a good way to let it soak in and work, too!
