This perler bead Mickey Mouse keychain is a fun and adorable project that will help kids develop fine motor skills, patience and artistic design!
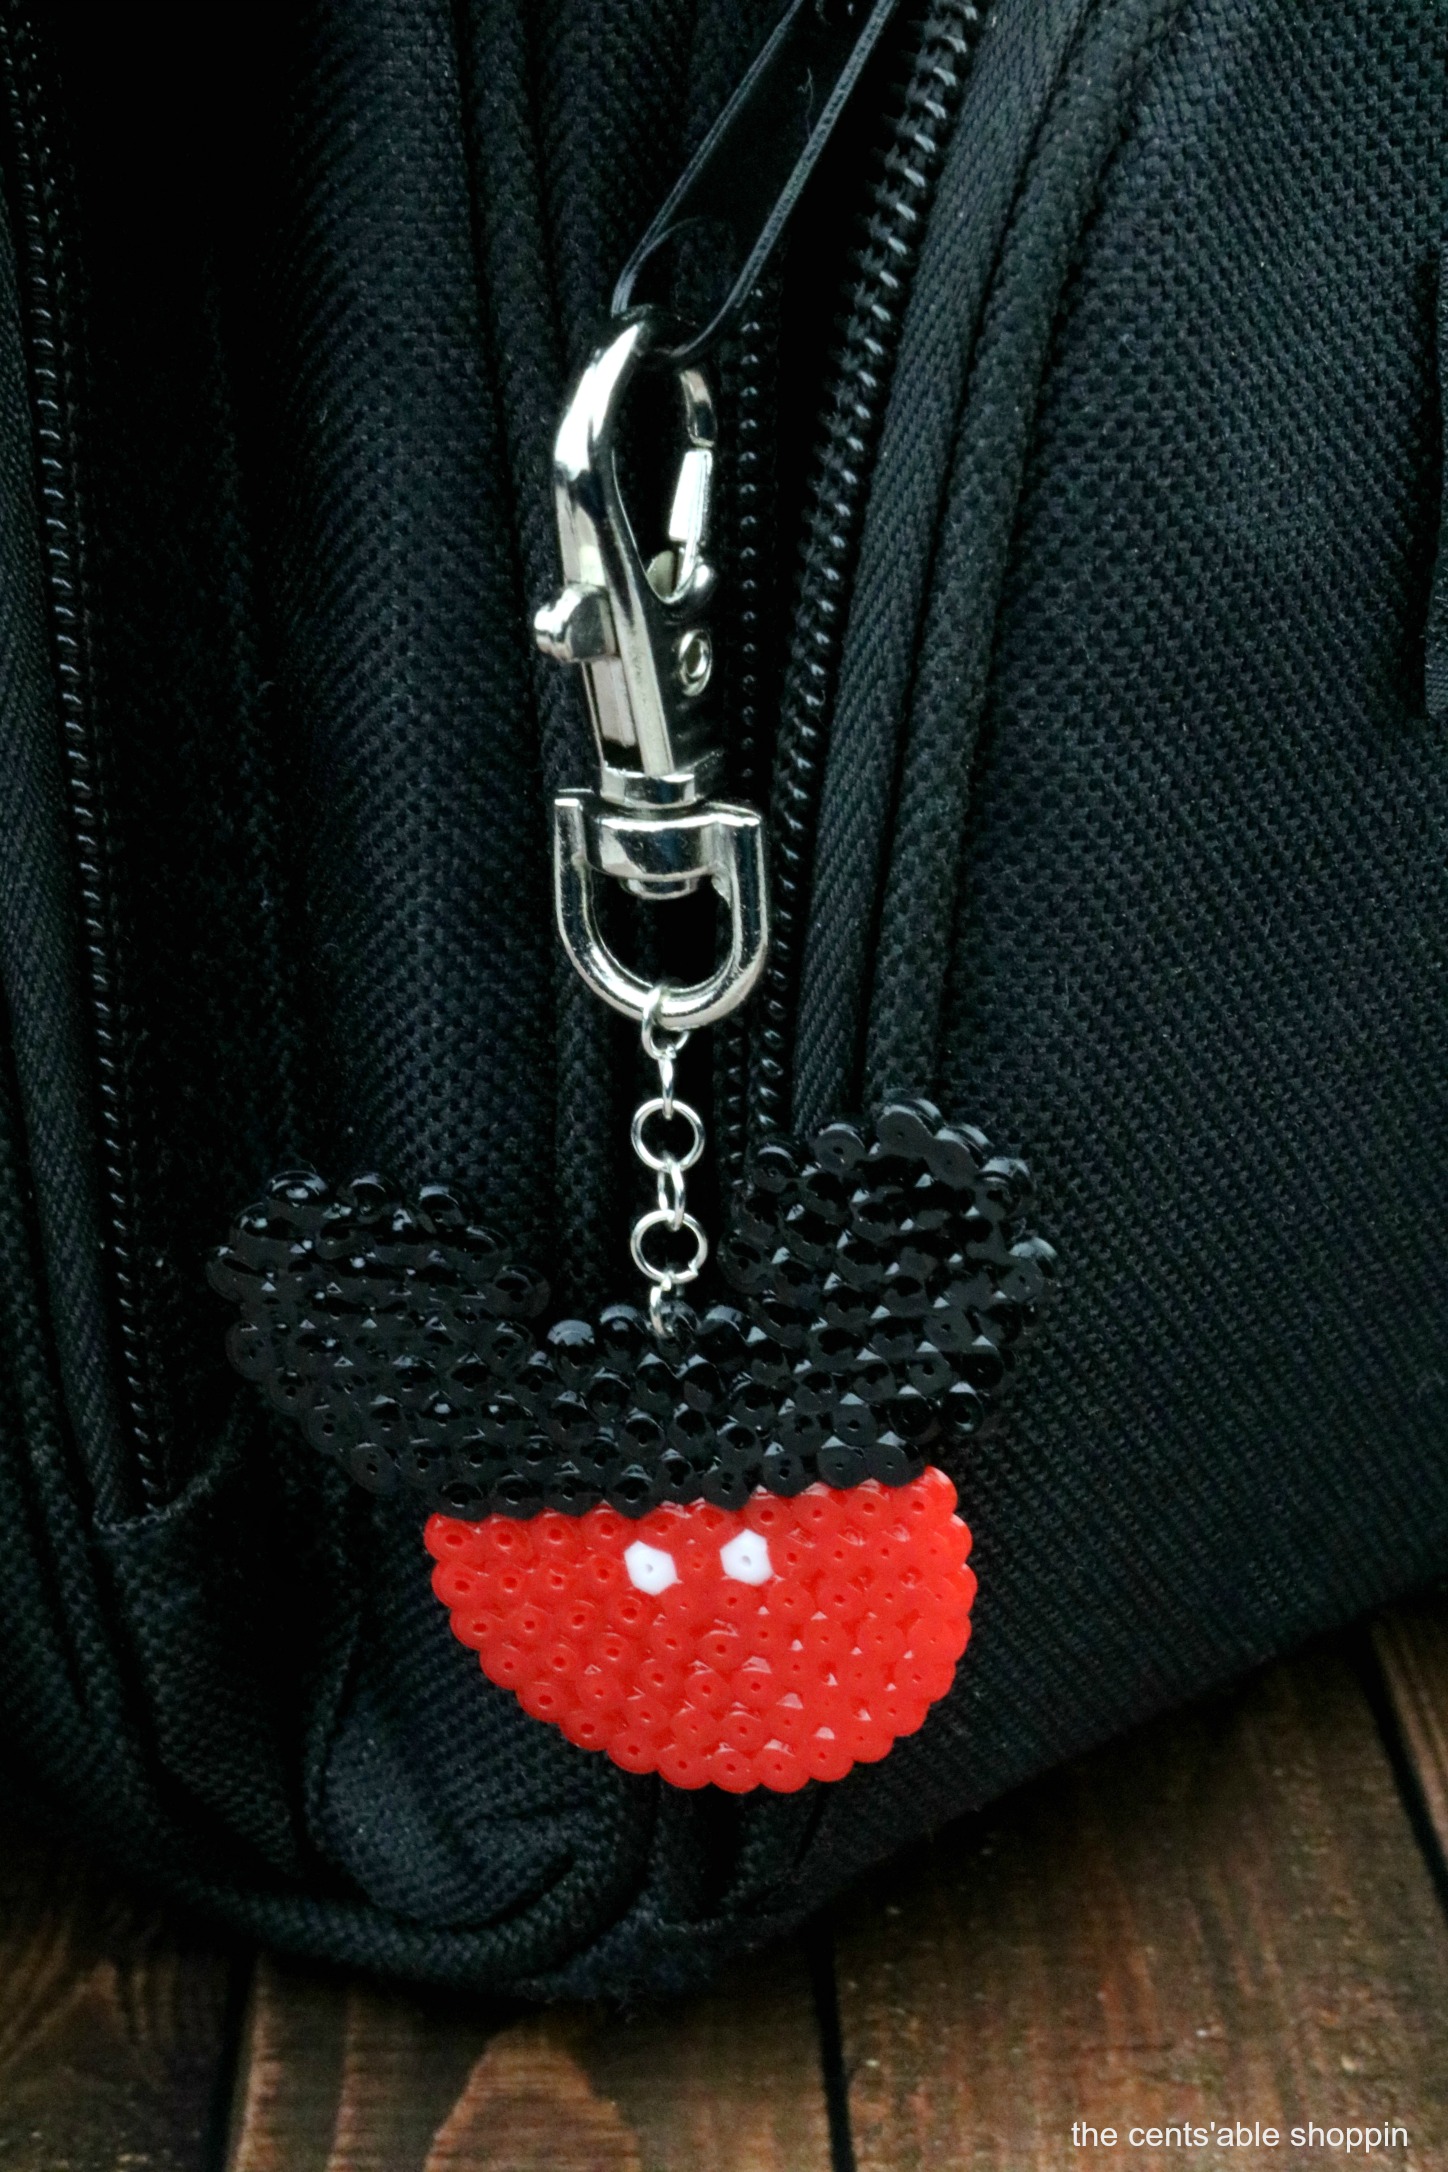
Who doesn’t love Mickey Mouse?
When it comes to incorporating fun craft projects at home with the kids, STEM activities are the best way for kids to learn a variety of skills.
Not only can kids get creative in art and design, they can boost their fine motor skills and engineering skills to make a perler bead Mickey Mouse keychain.
What are STEM activities?
The biggest difference between STEM and STEAM is that STEM focuses on scientific opportunities. STEAM looks at the same concept — but also incorporates a creative process to help kids learn through inquiry.
These type of activities help children learn and build on a foundation that encourages creative and critical thinking skills.
STEM activities for younger kids can focus on simpler things: design patterns, counting and basic problem solving.
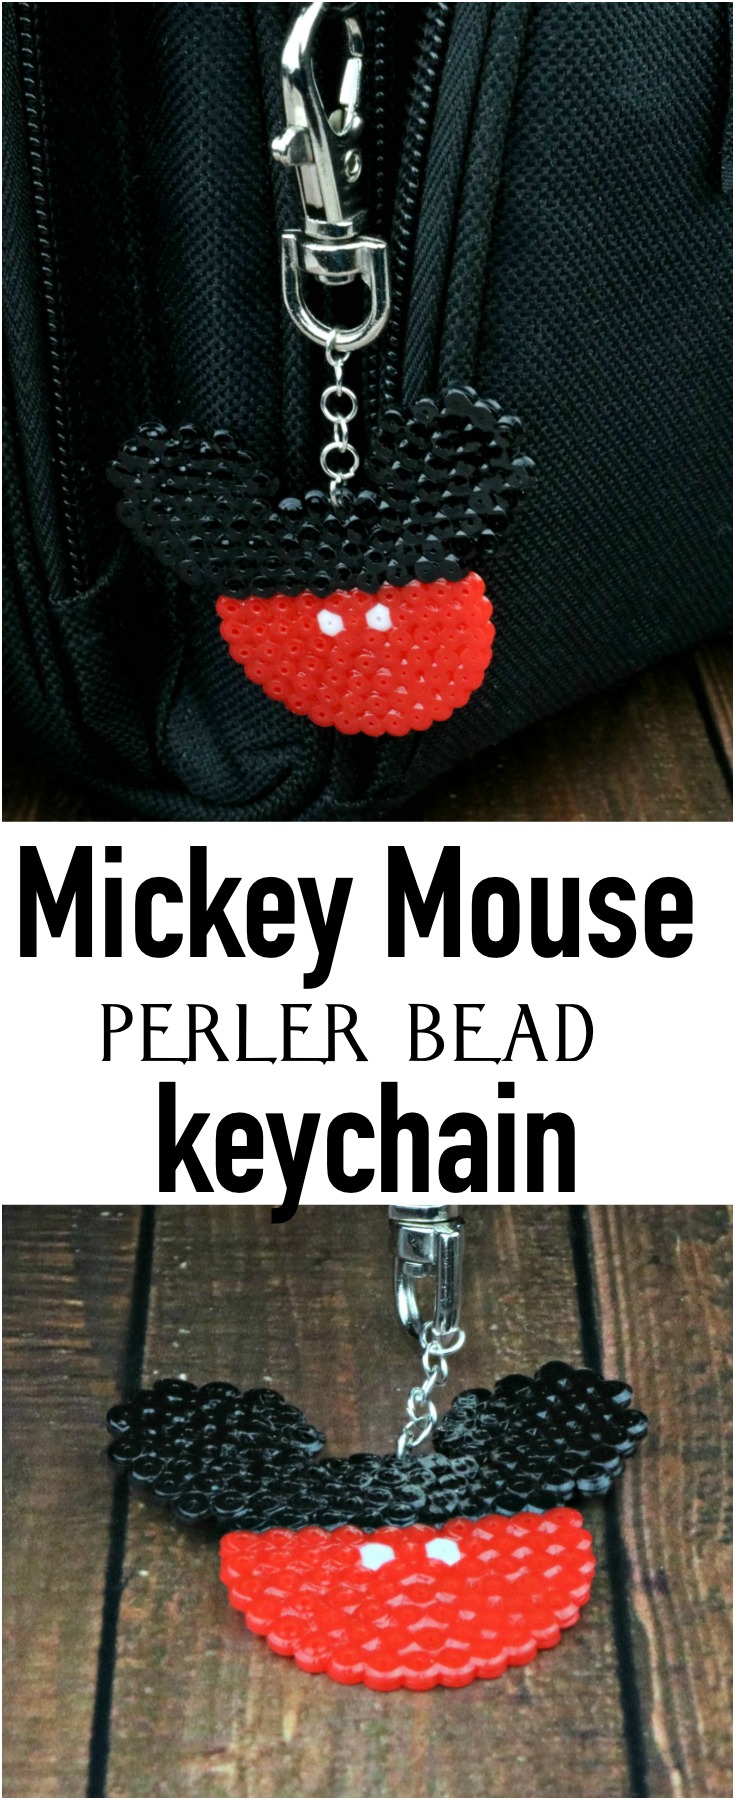
Perler Bead Mickey Mouse Keychain
Kids will love making this perler bead keychain – such a great idea if you plan on taking a trip to Disney!
These are the things you will need to make this perler bead ladybug.
(Disclaimer: This post includes affiliate links for items at no additional charge to you.)
Supplies:
- Iron
- Tweezers
- Round Mini Fuse Bead Pegboard
- Ironing Sheet
- 1 Clasp
- 6 – 4 mm Jump Rings
- Small Pliers
- Stick Pin
- 2 – White Mini Fuse Beads
- 59- Red Mini Fuse Beads
- 90 – Black Mini Fuse Beads
Directions:
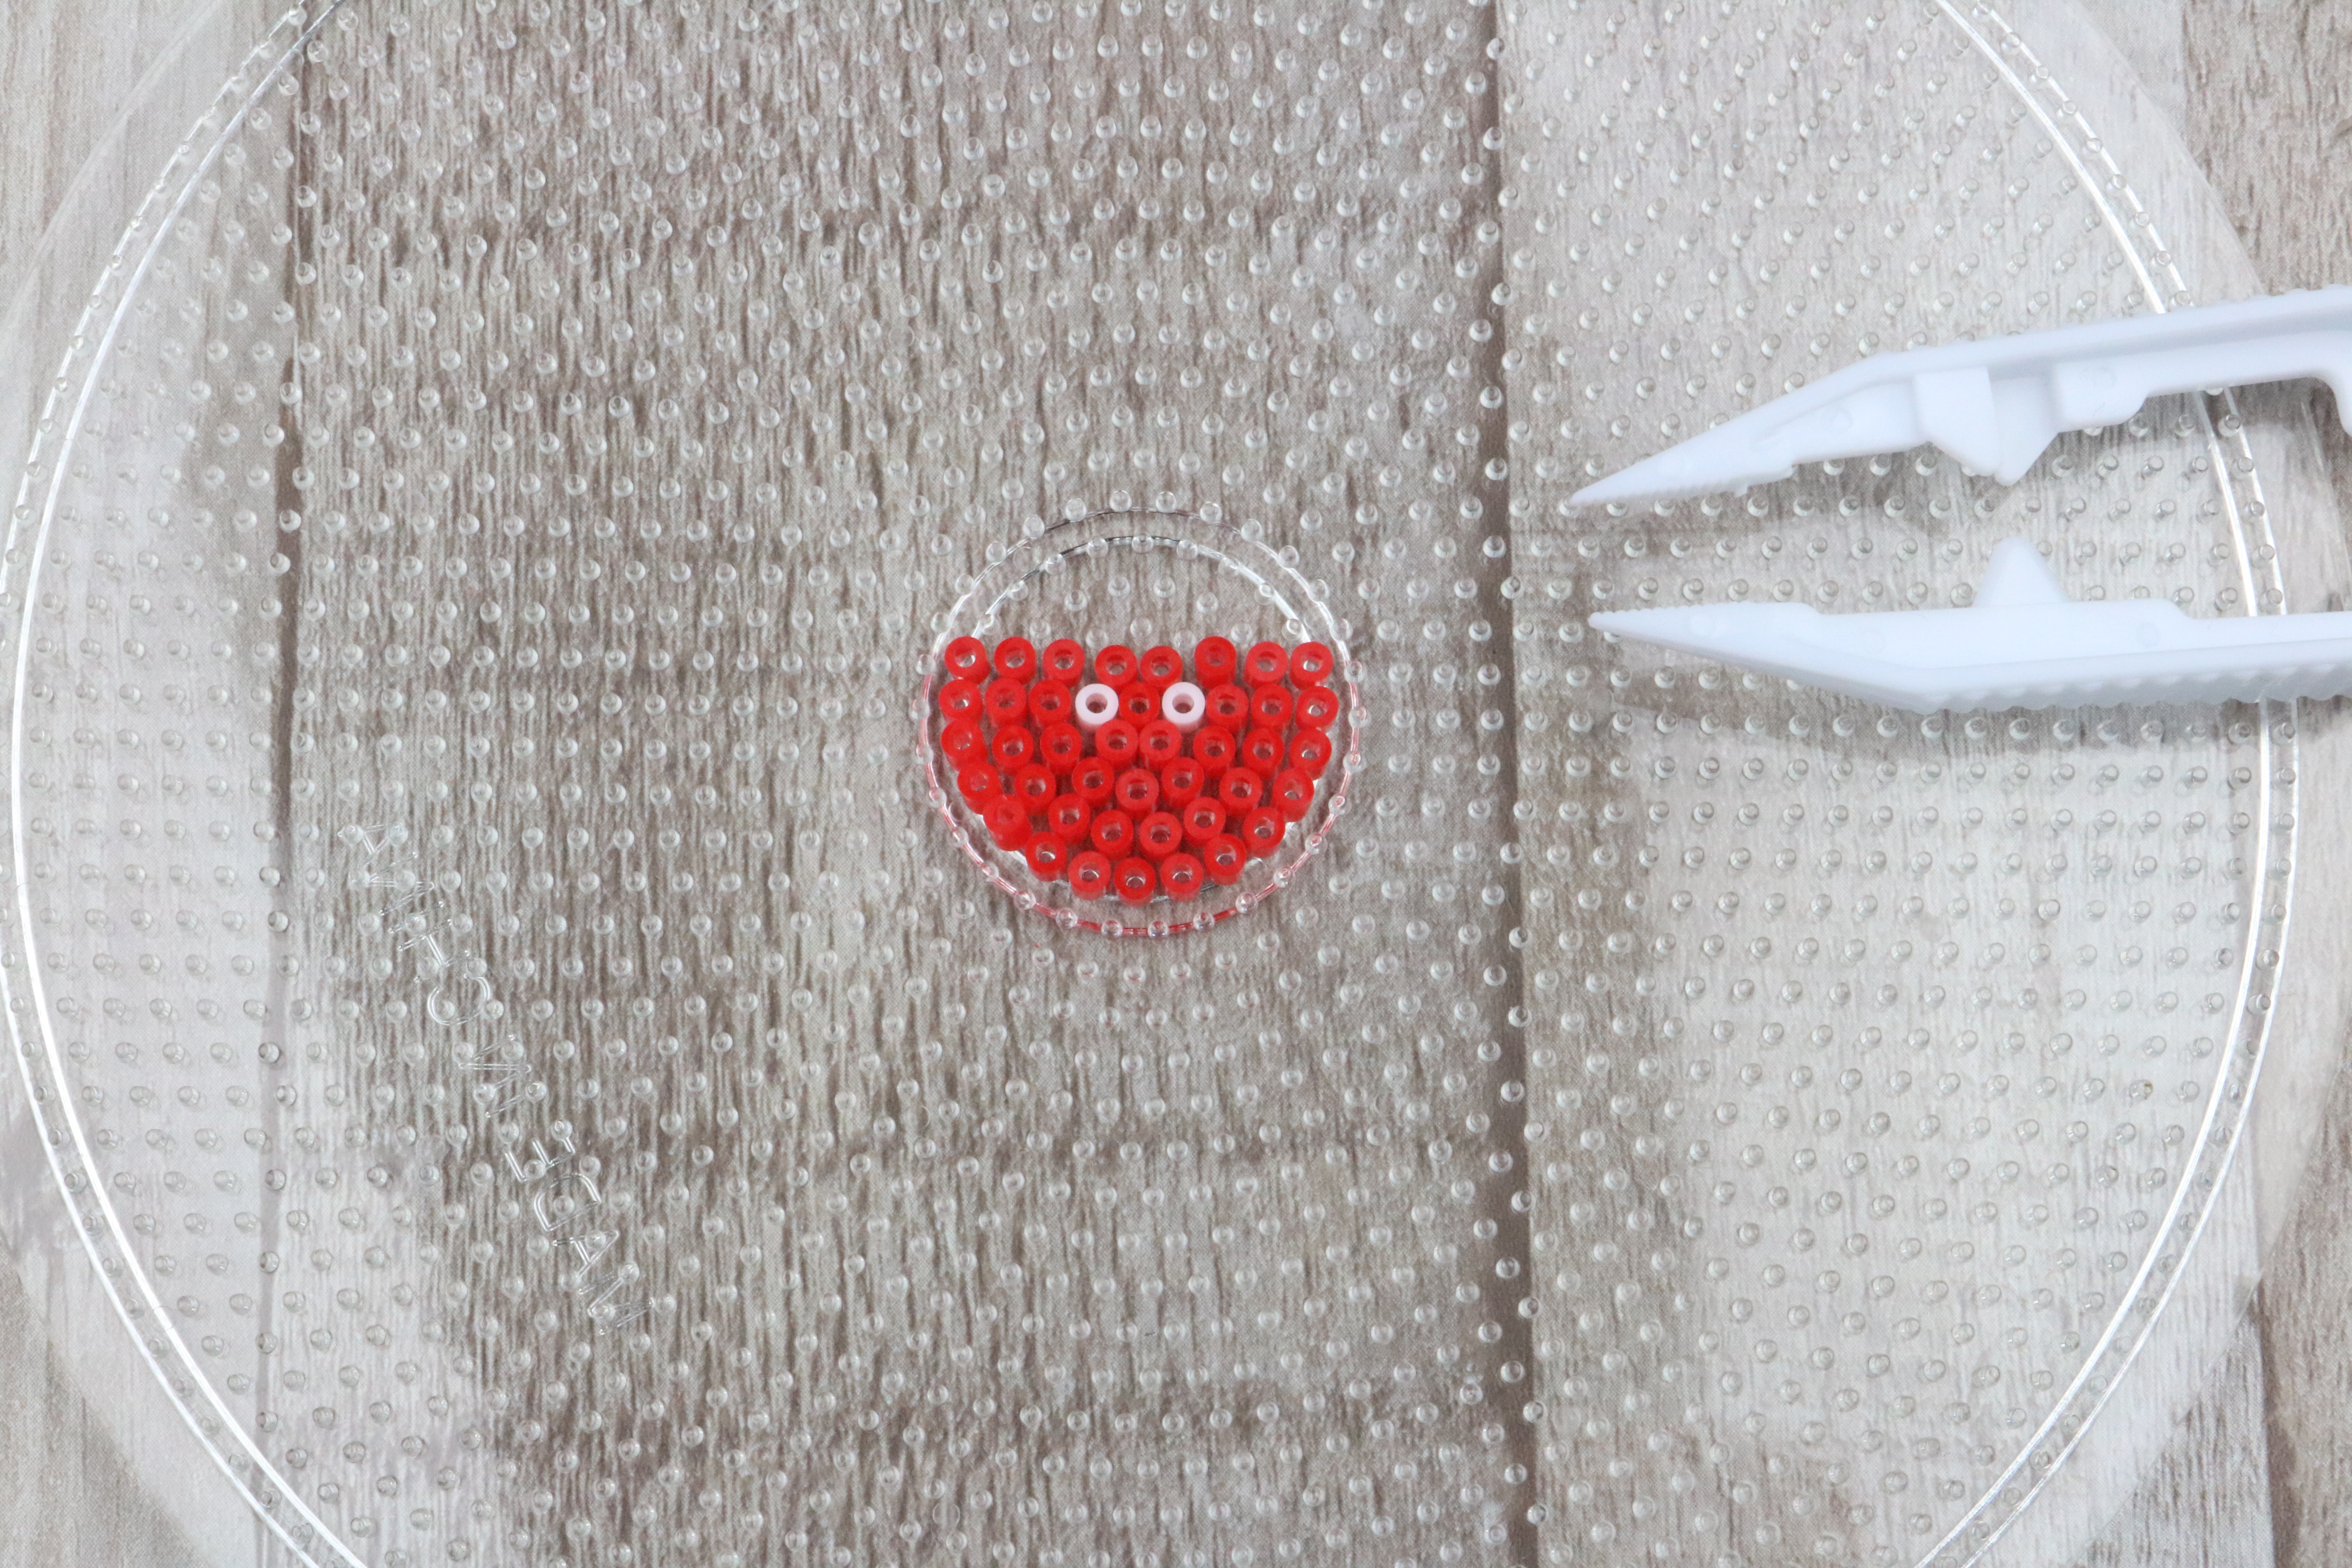
Step 1: Start by putting a red bead in the center peg of the board. Then put a white bead to the left and right of it. Start filling one row above with red so that it is ten beads wide.
Then fill from that end red bead down with red beads until they meet. Then fill in that middle with red beads.
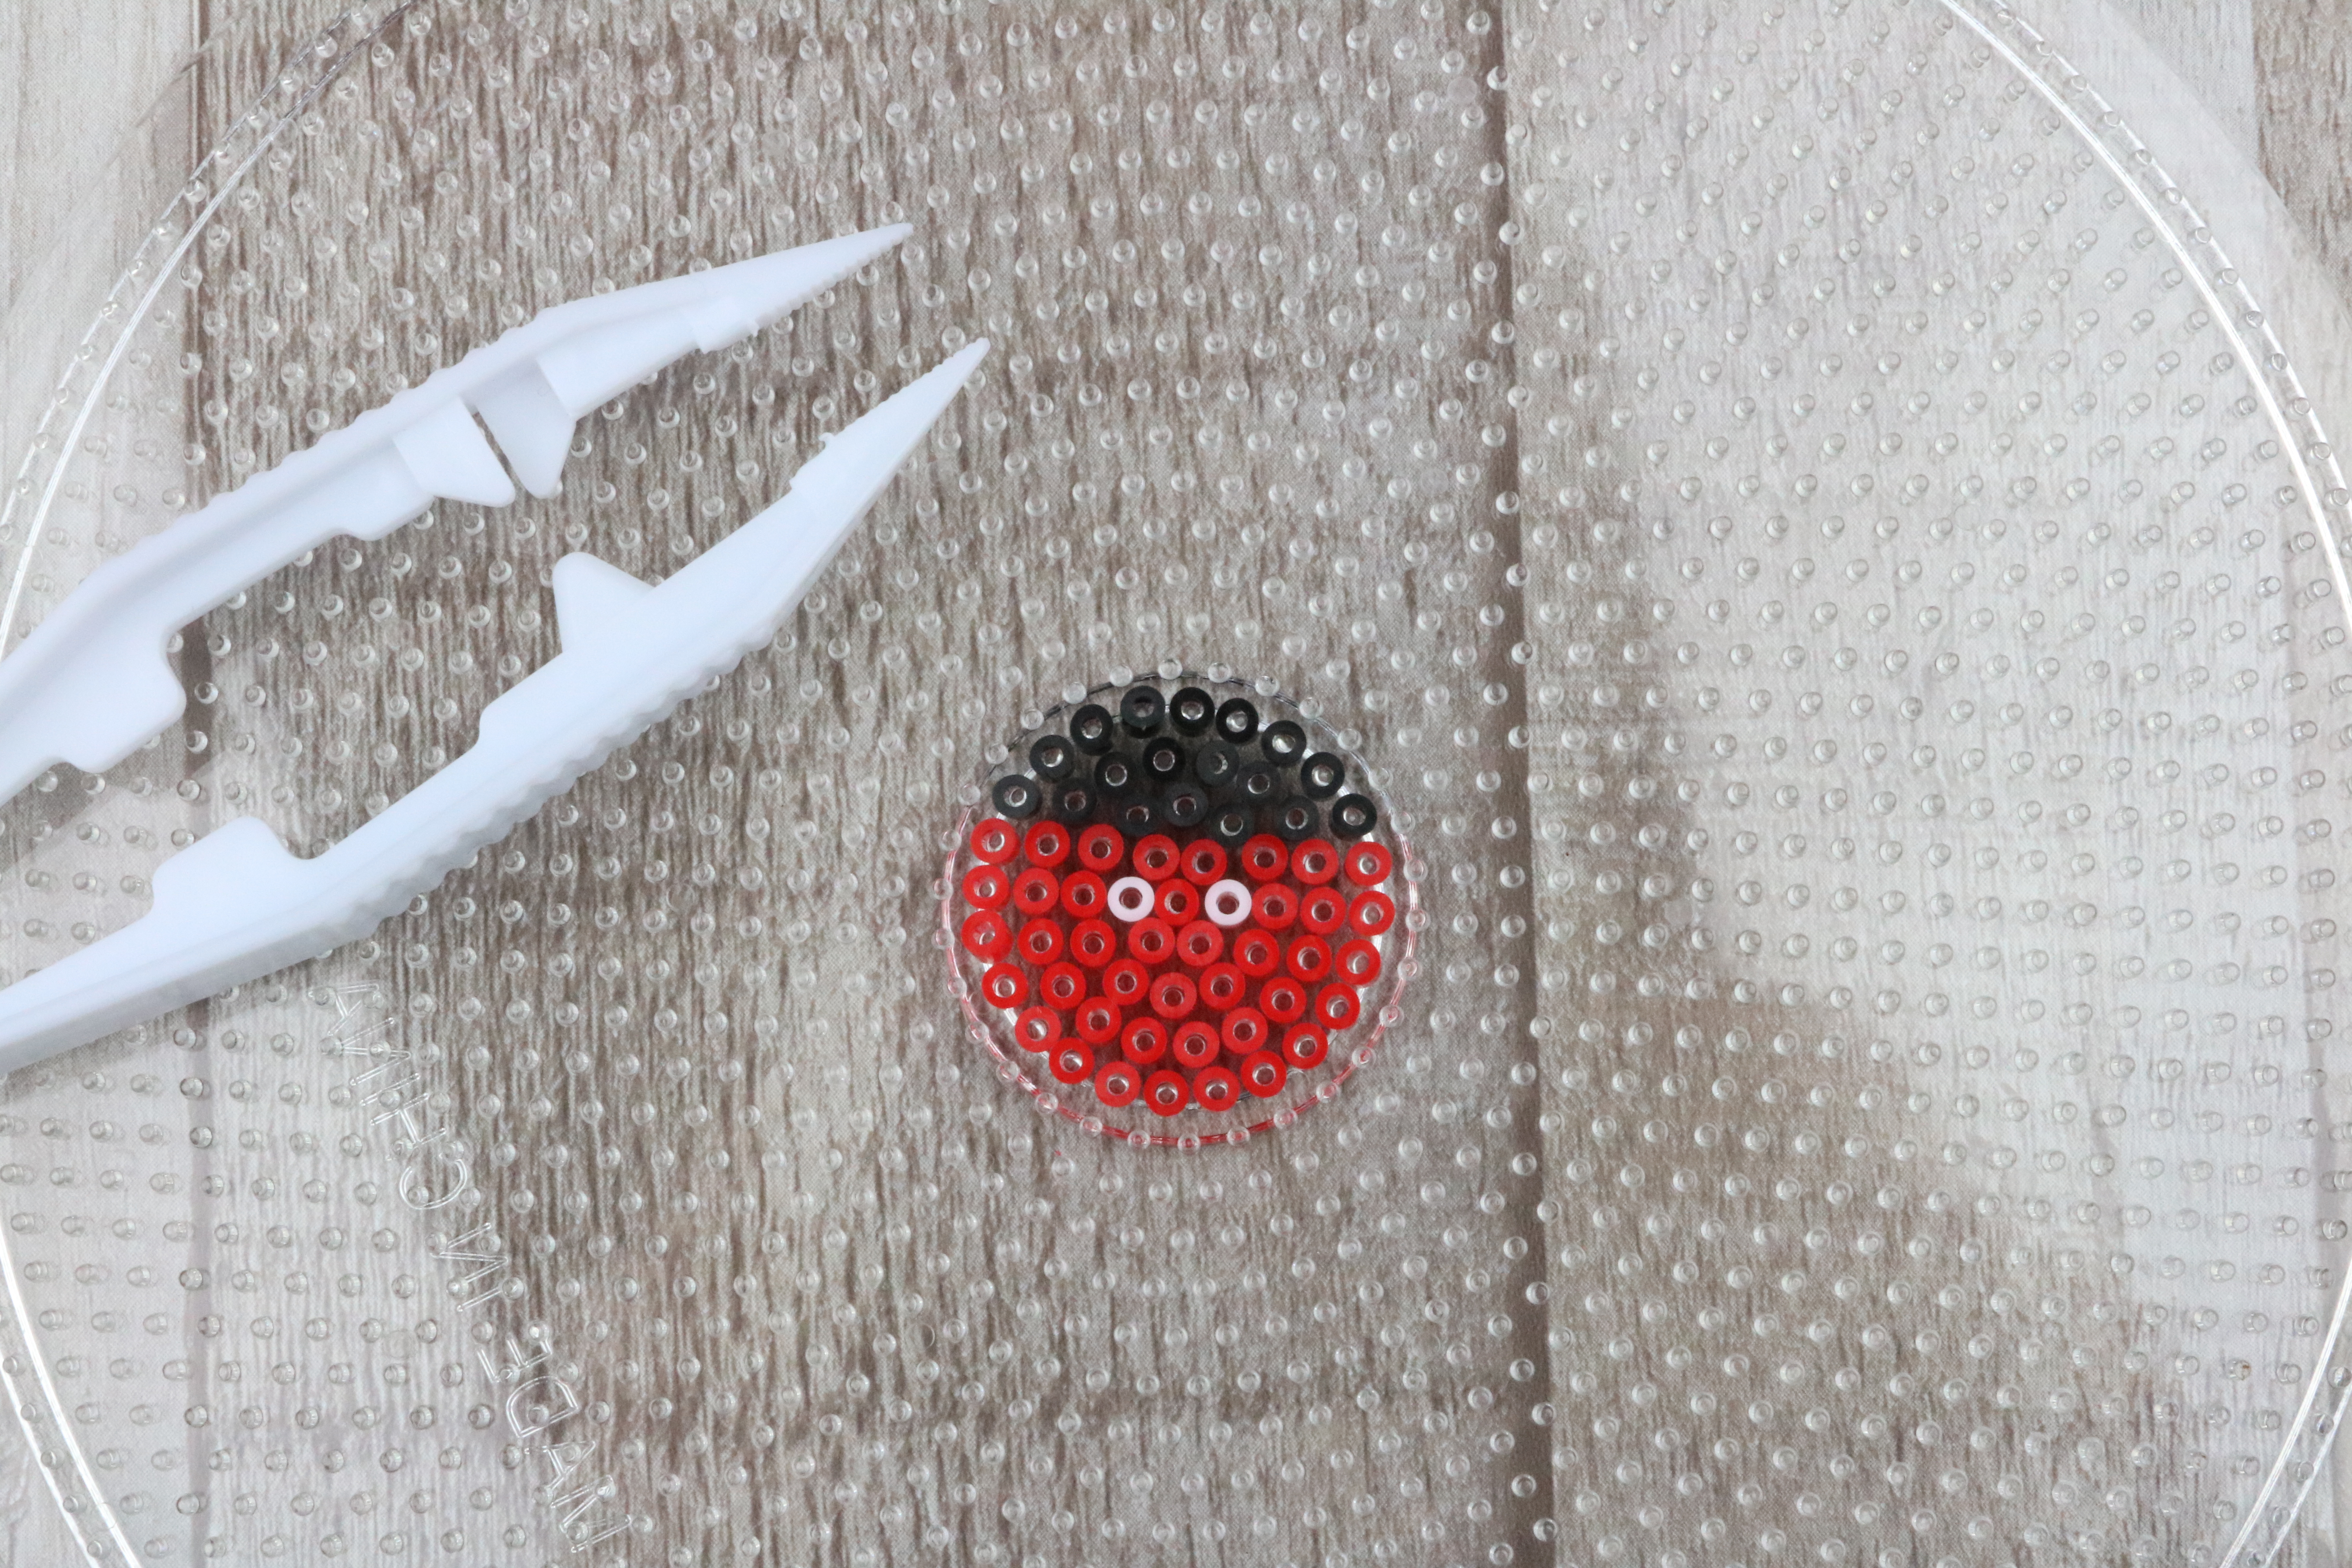
Step 2: Start adding black beads above that top row of ten. It should form a whole circle when you are done adding black beads above the red.
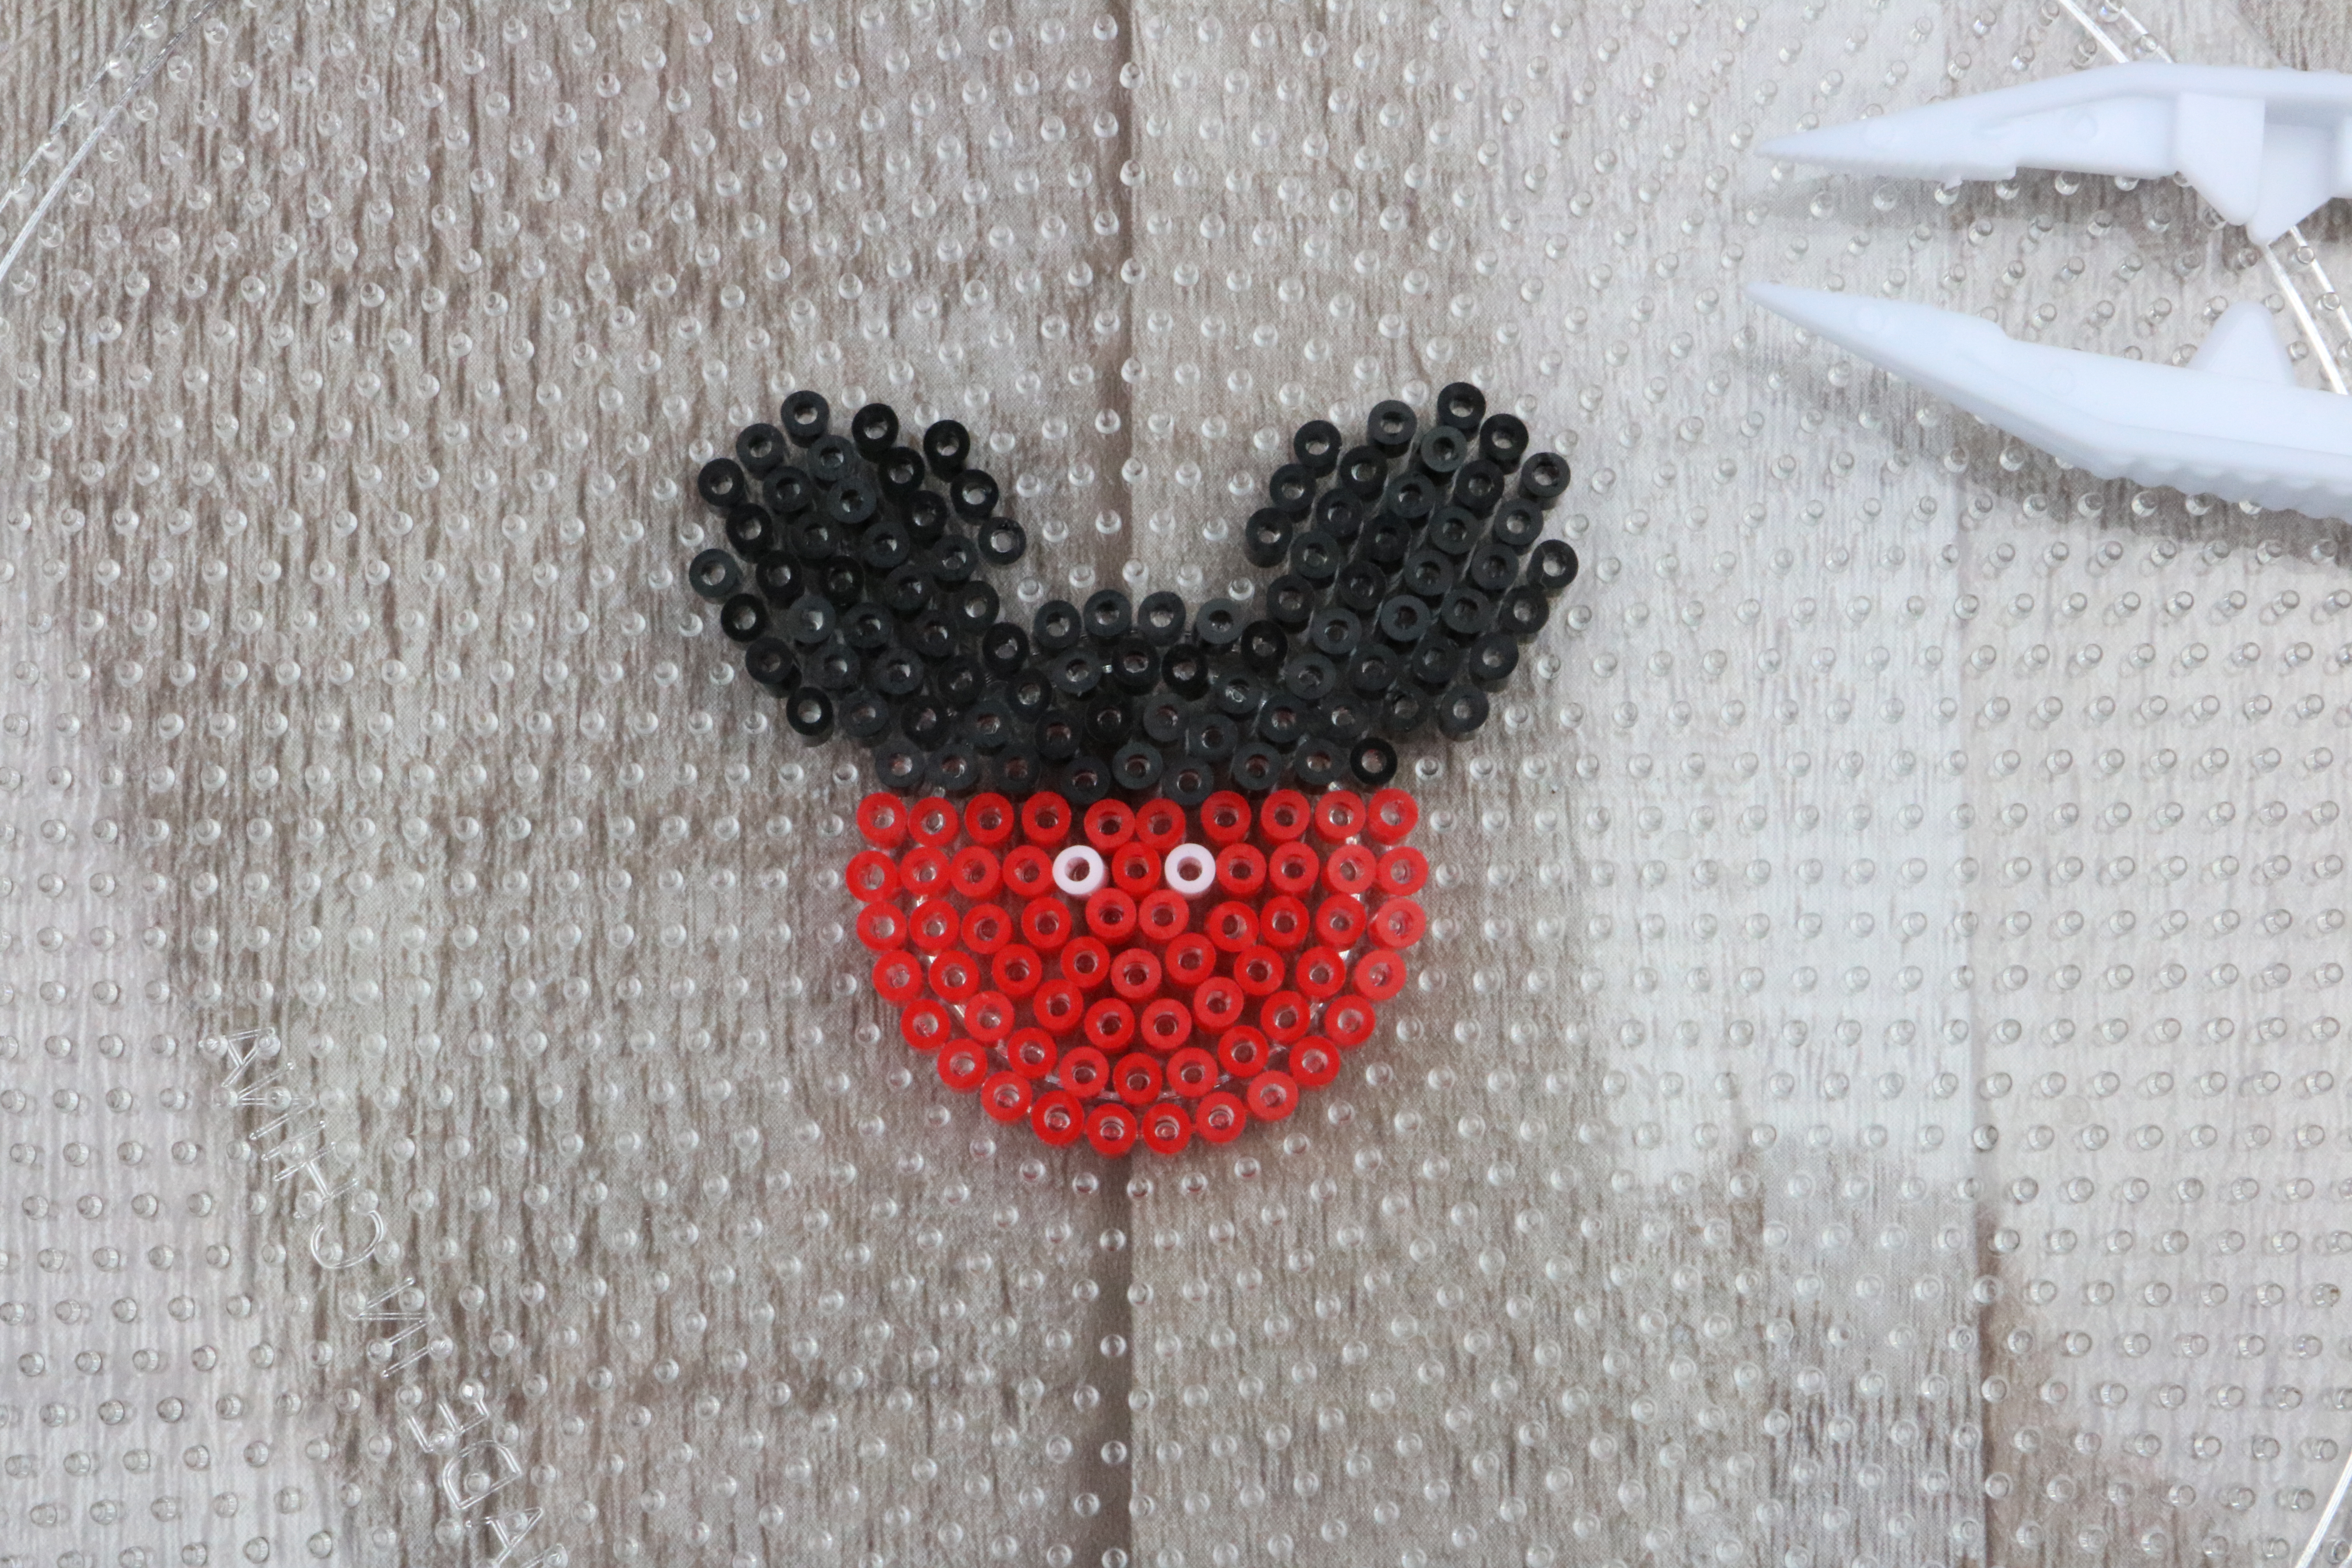
Step 3: Now we need to add the ears to the other black beads. Add them to match the picture. It should be 30 beads for each ear.
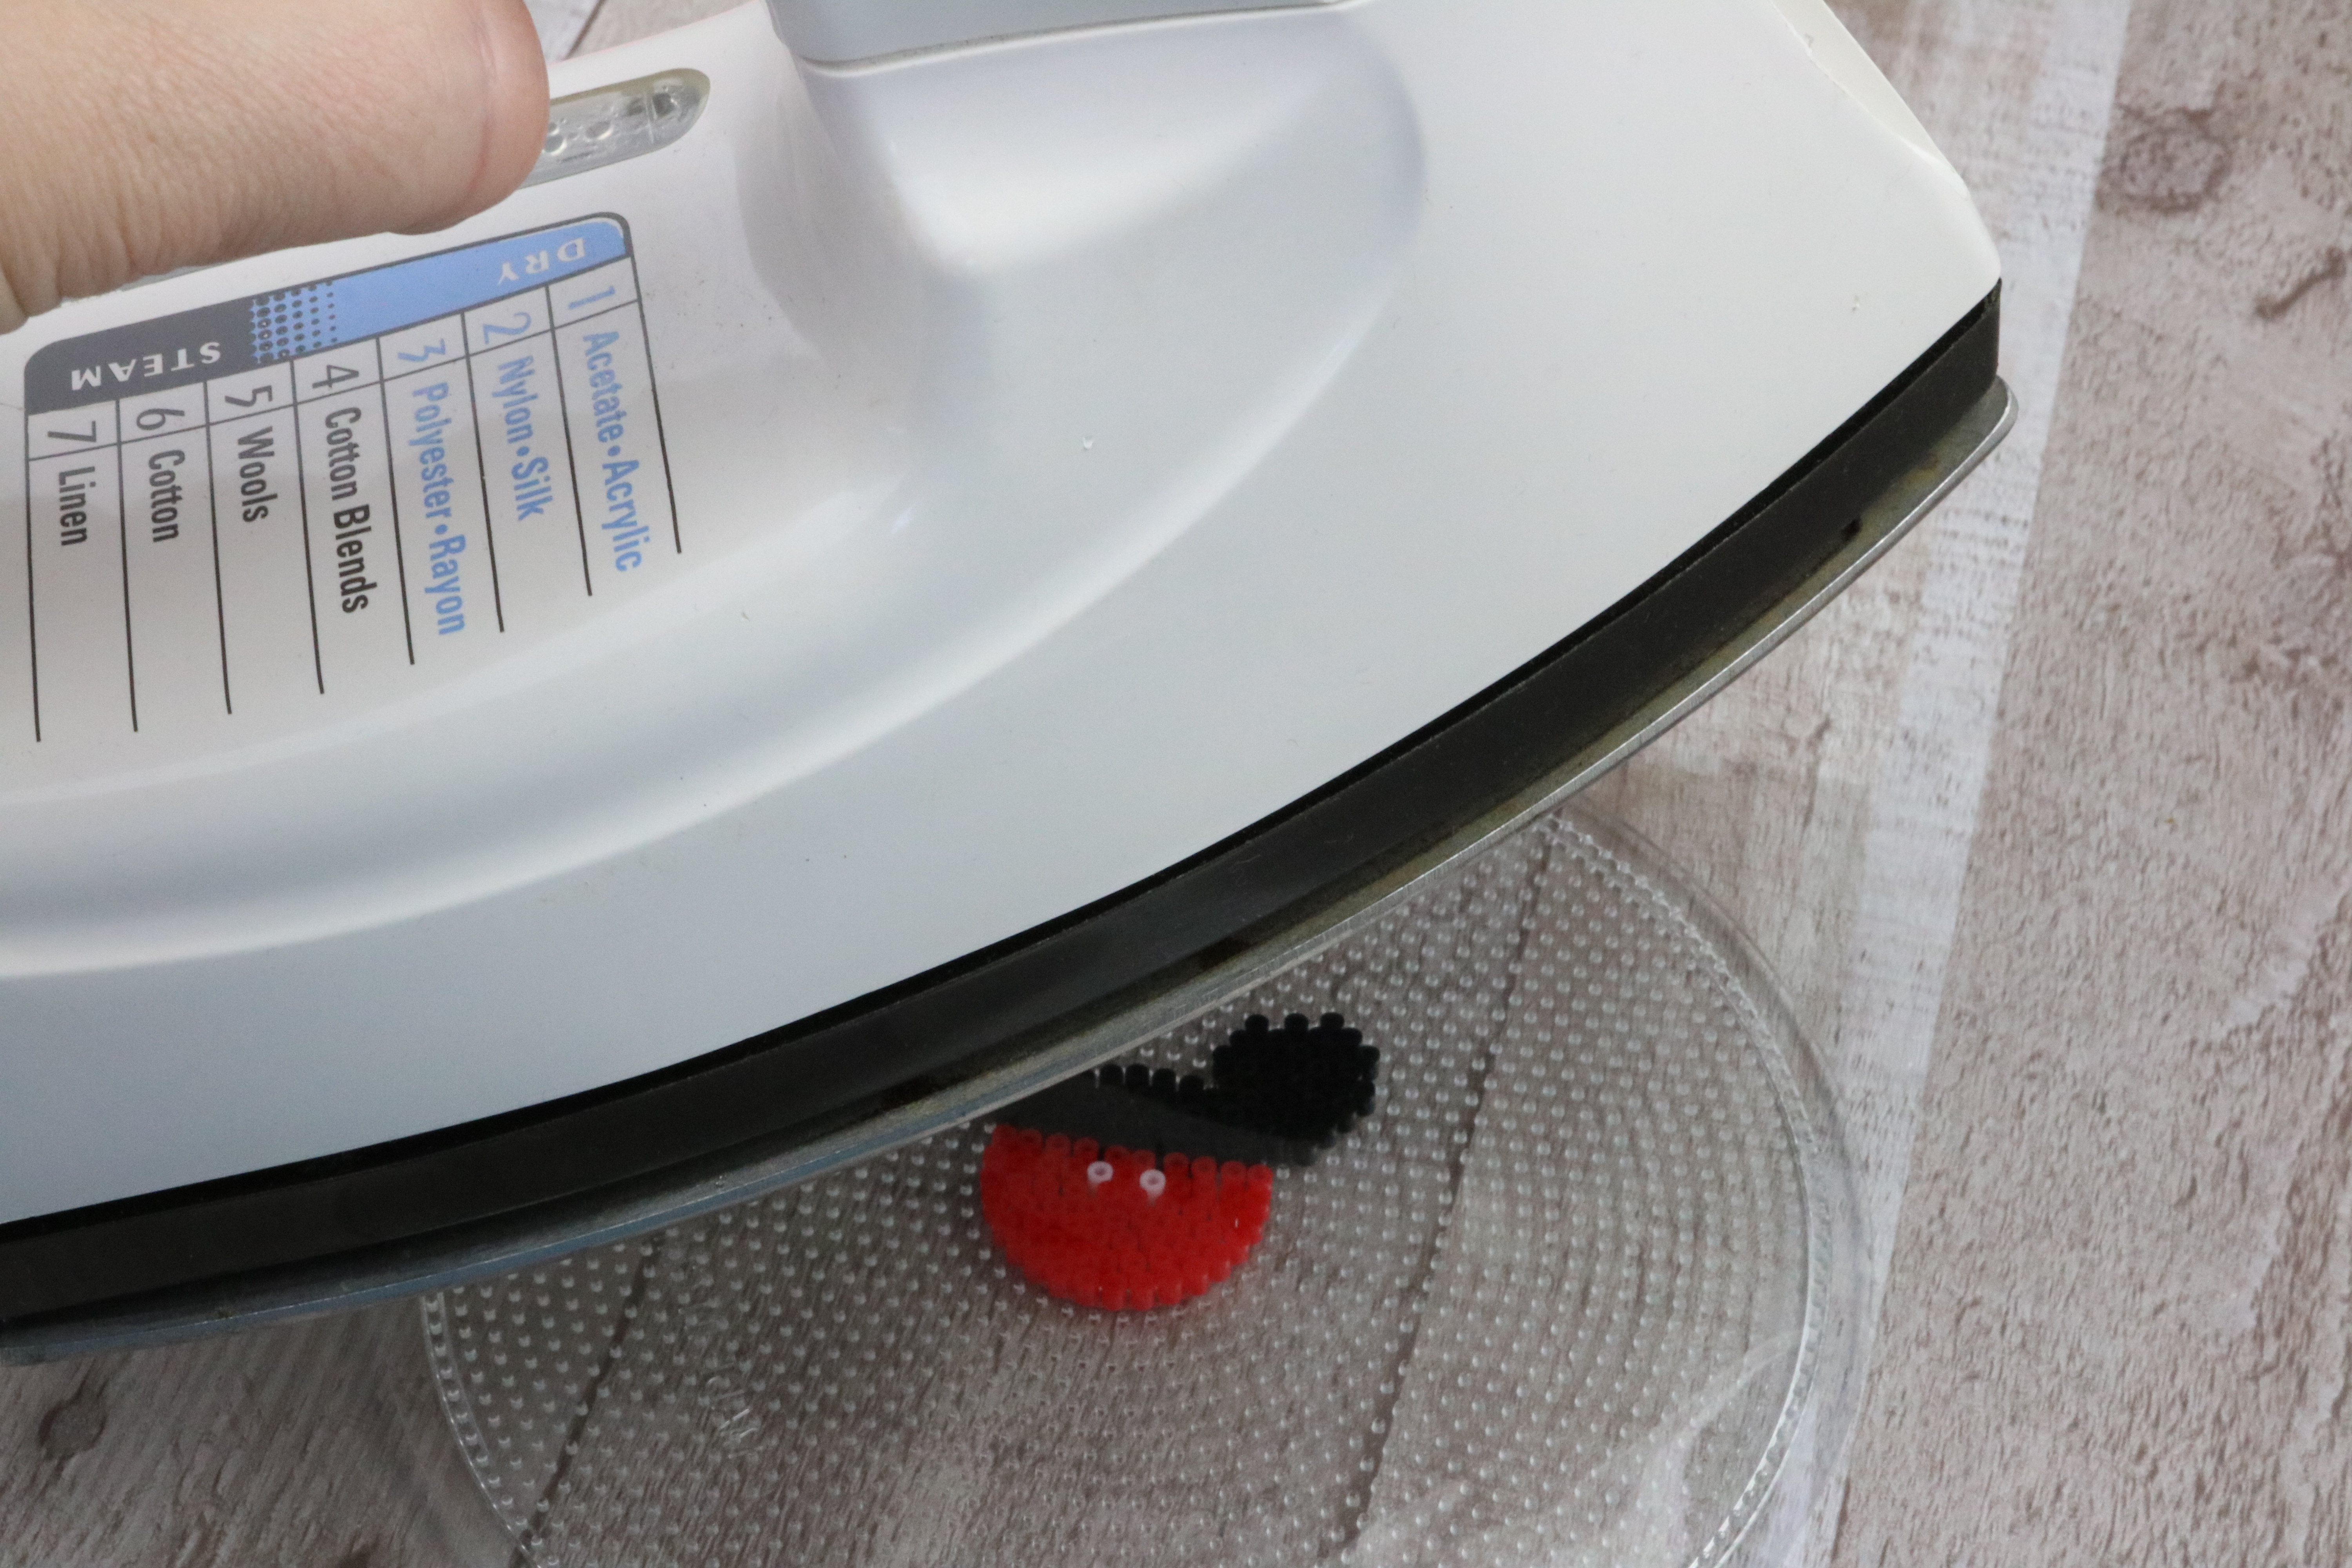
Step 4: Lay the ironing sheet over the beads. Iron over the sheet with the iron on medium heat. You do not need to press down. Just make small circles over it for about 30 seconds.
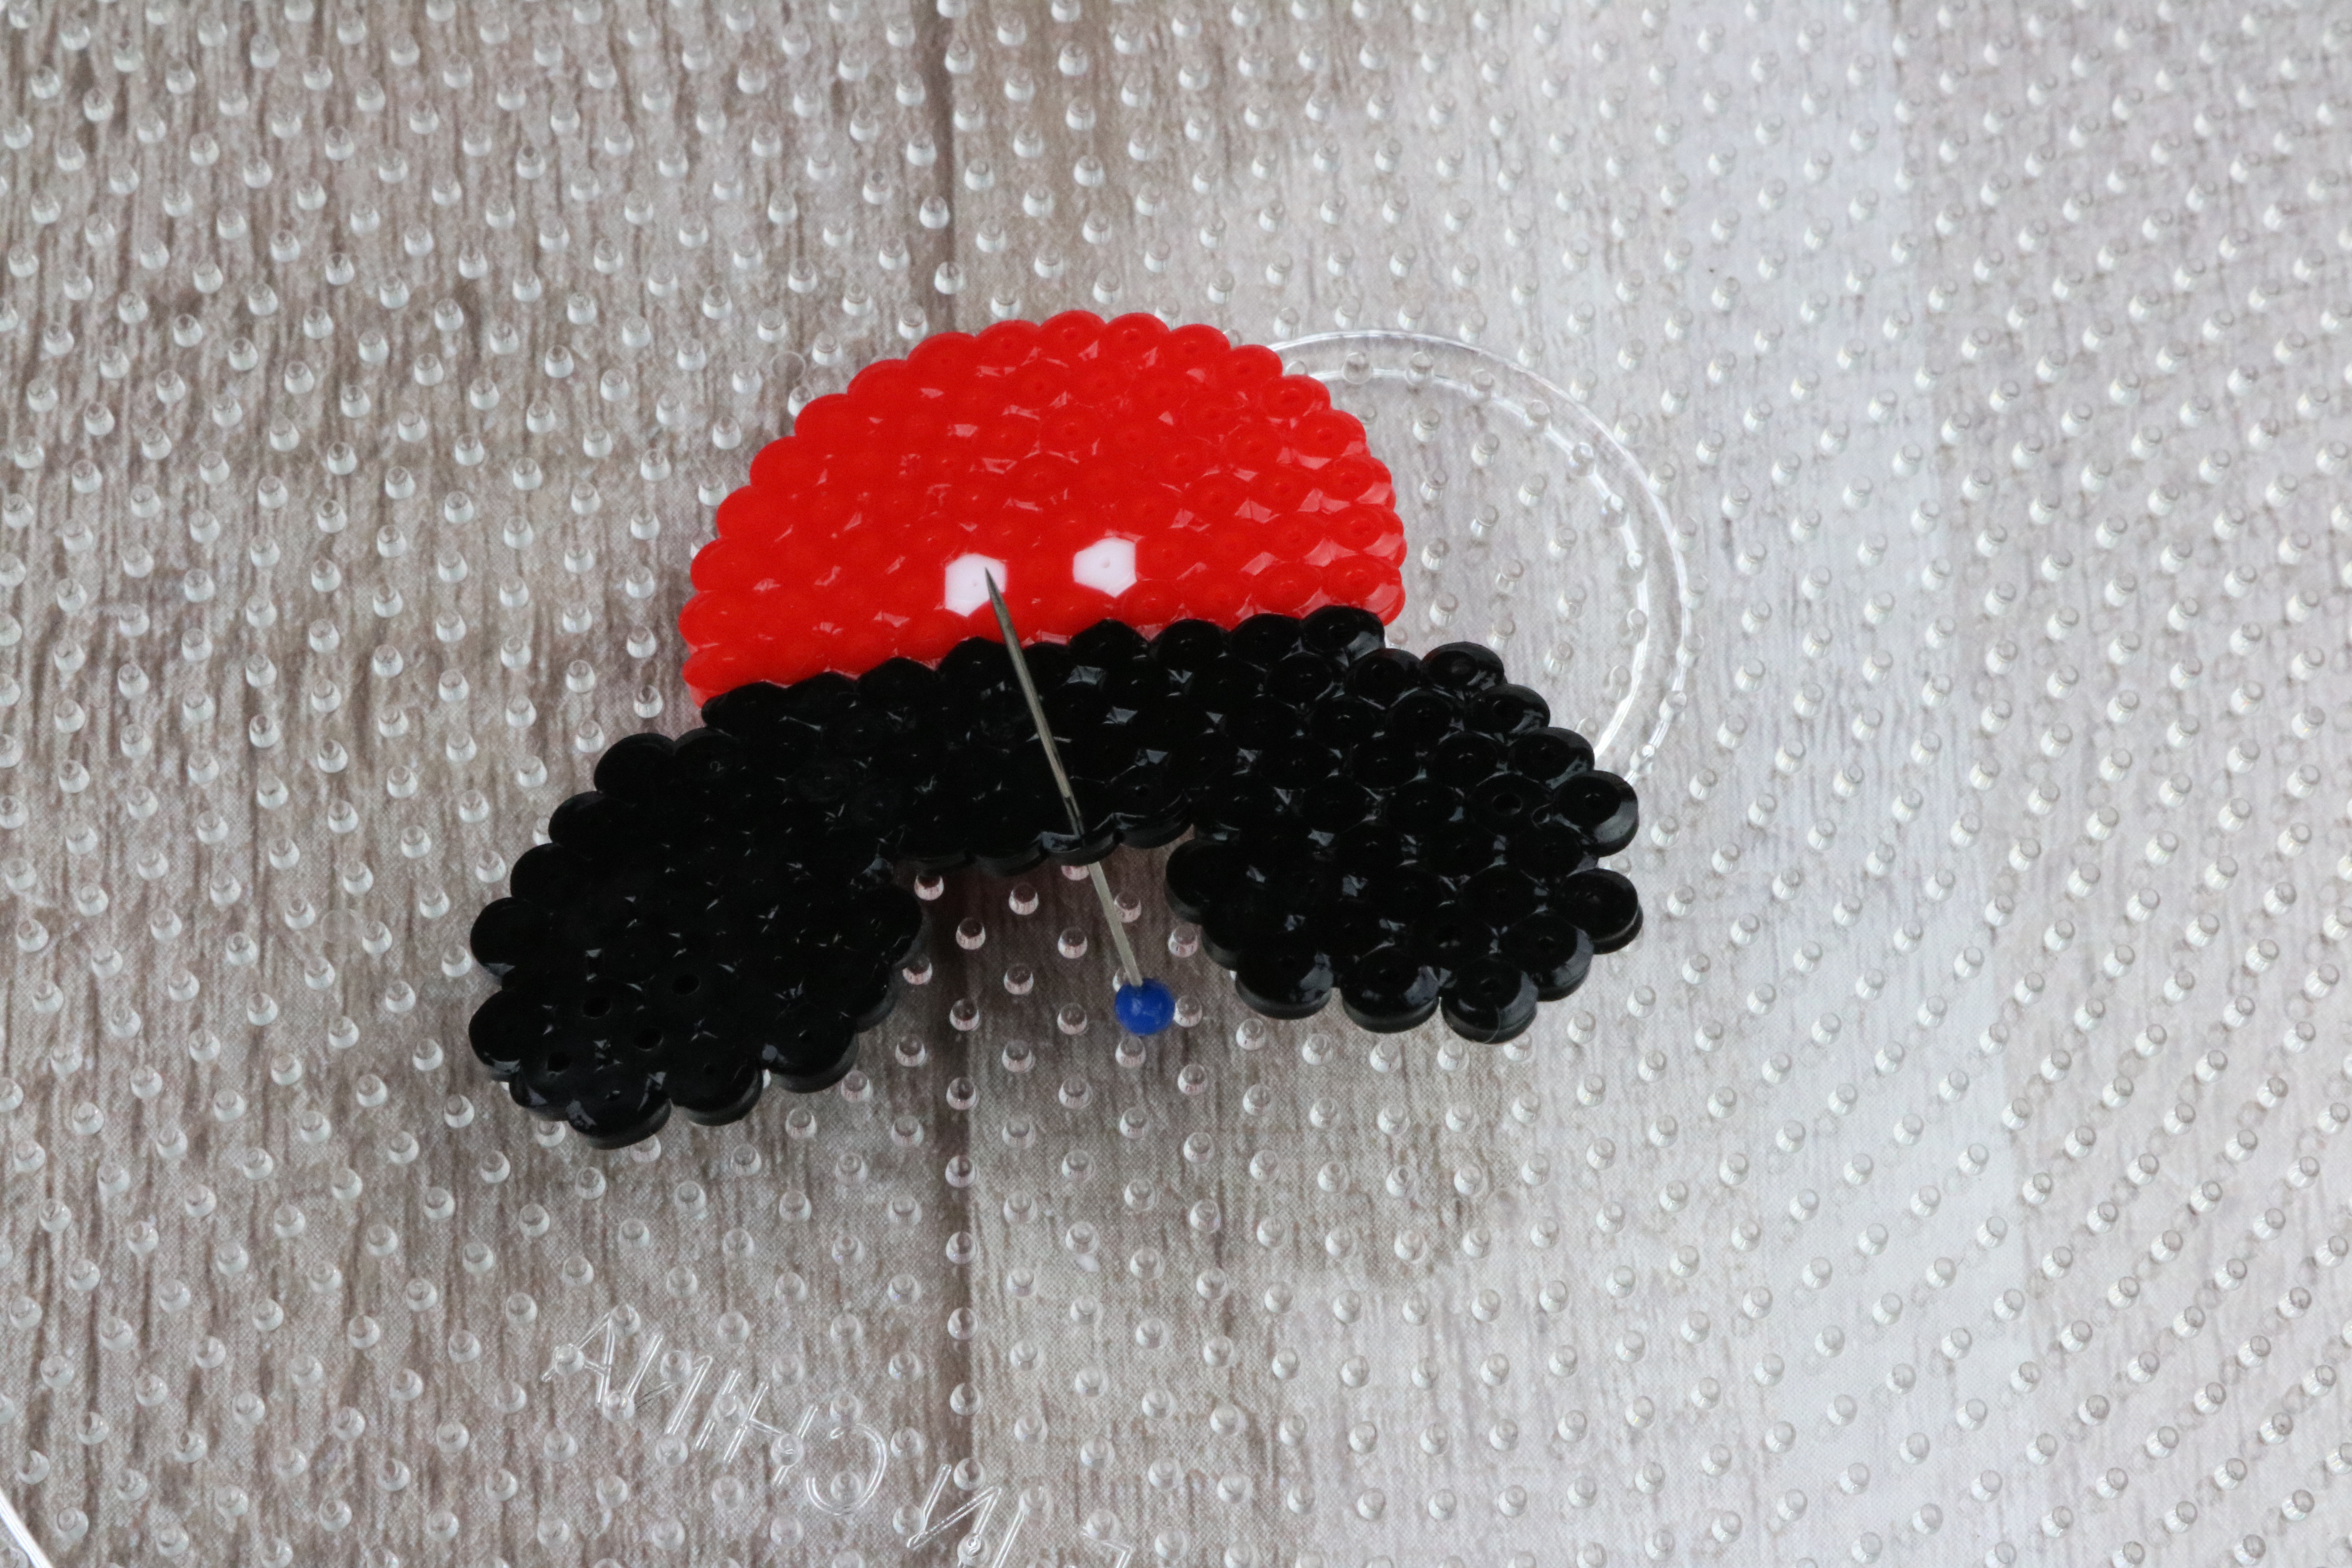
Step 5: When finished melting that side, carefully remove from the board and flip over. Place the sheet back over and iron the other side just the same as the first. The beads do not need to be back on the pegs to iron the other side.
Step 6: Push the pin through one of the black center beads to clear the hole.
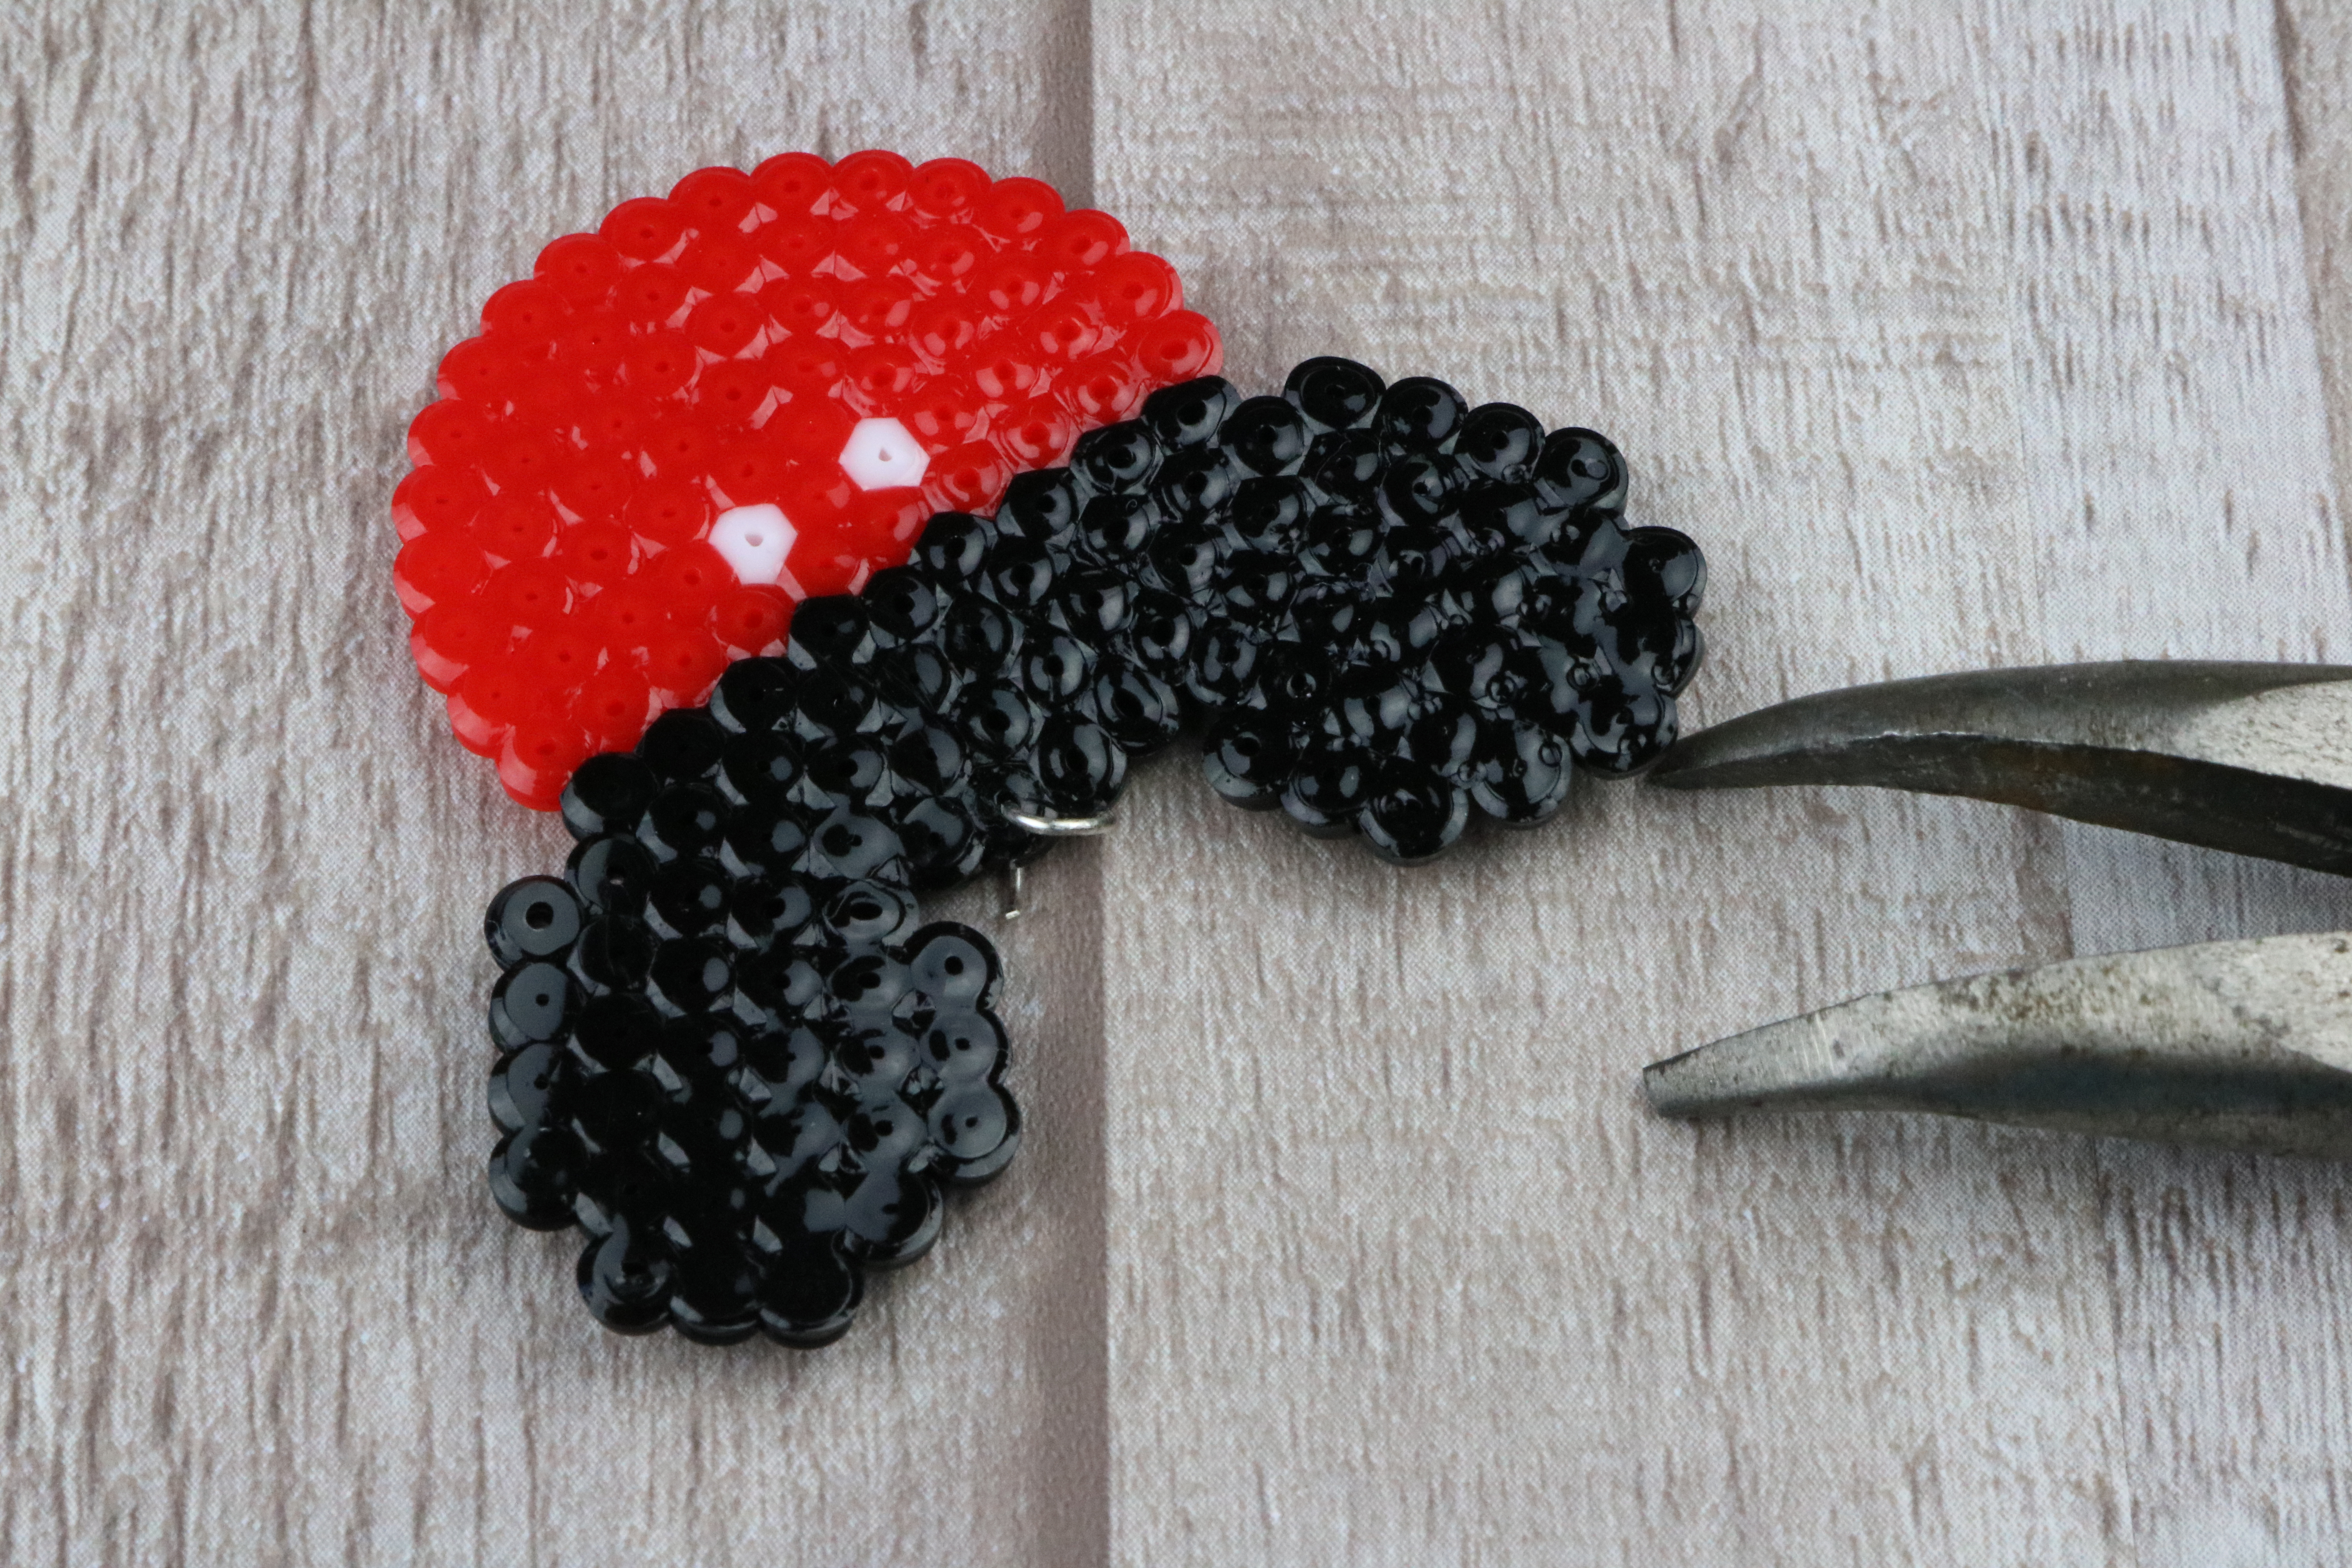
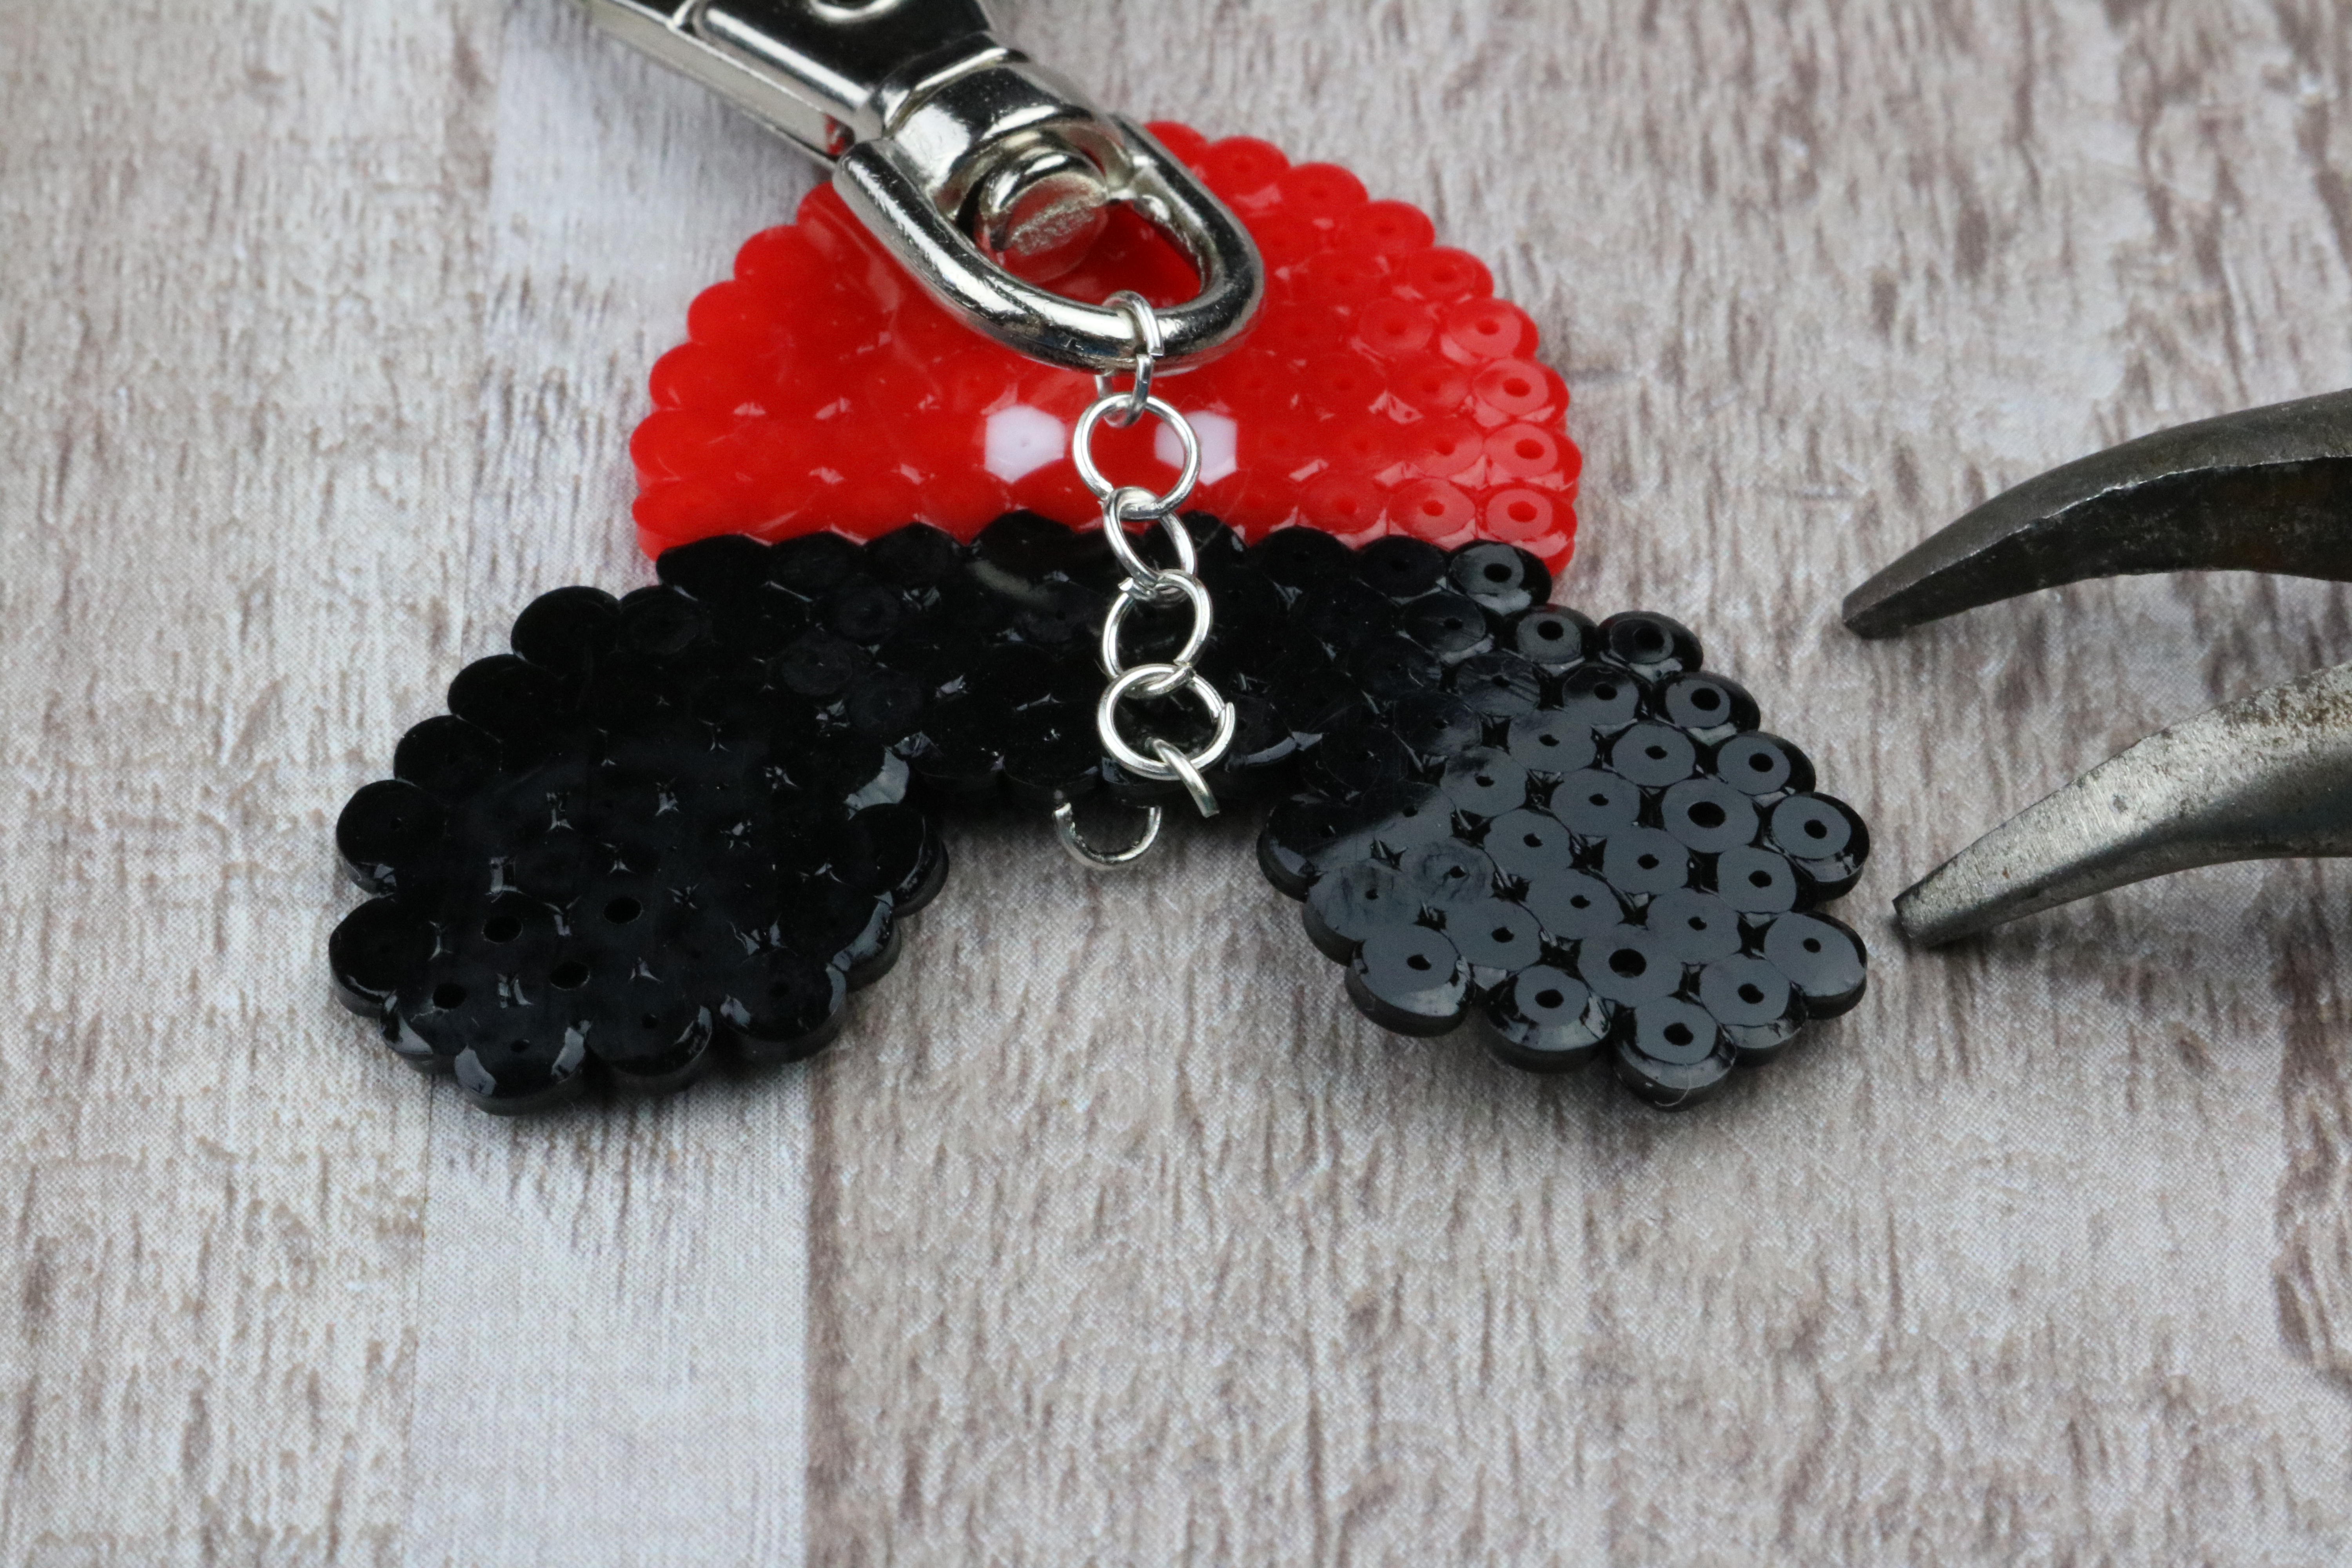
Step 7: Grab one of the jump rings, open it up, and push it through that cleared hole.
Step 8: Connect the rest of the jump rings together and one end to the clasp. Then hook them to the open ring on the beads and pinch it closed.
That’s it! Decorate your purse or backpack with this fun Mickey Mouse Keychain. Even more.. whip up a bunch and head out to Disney with the family!


