Grab some perler beads and have some fun making them into these cute perler bead earrings that are simple yet make a unique gift!
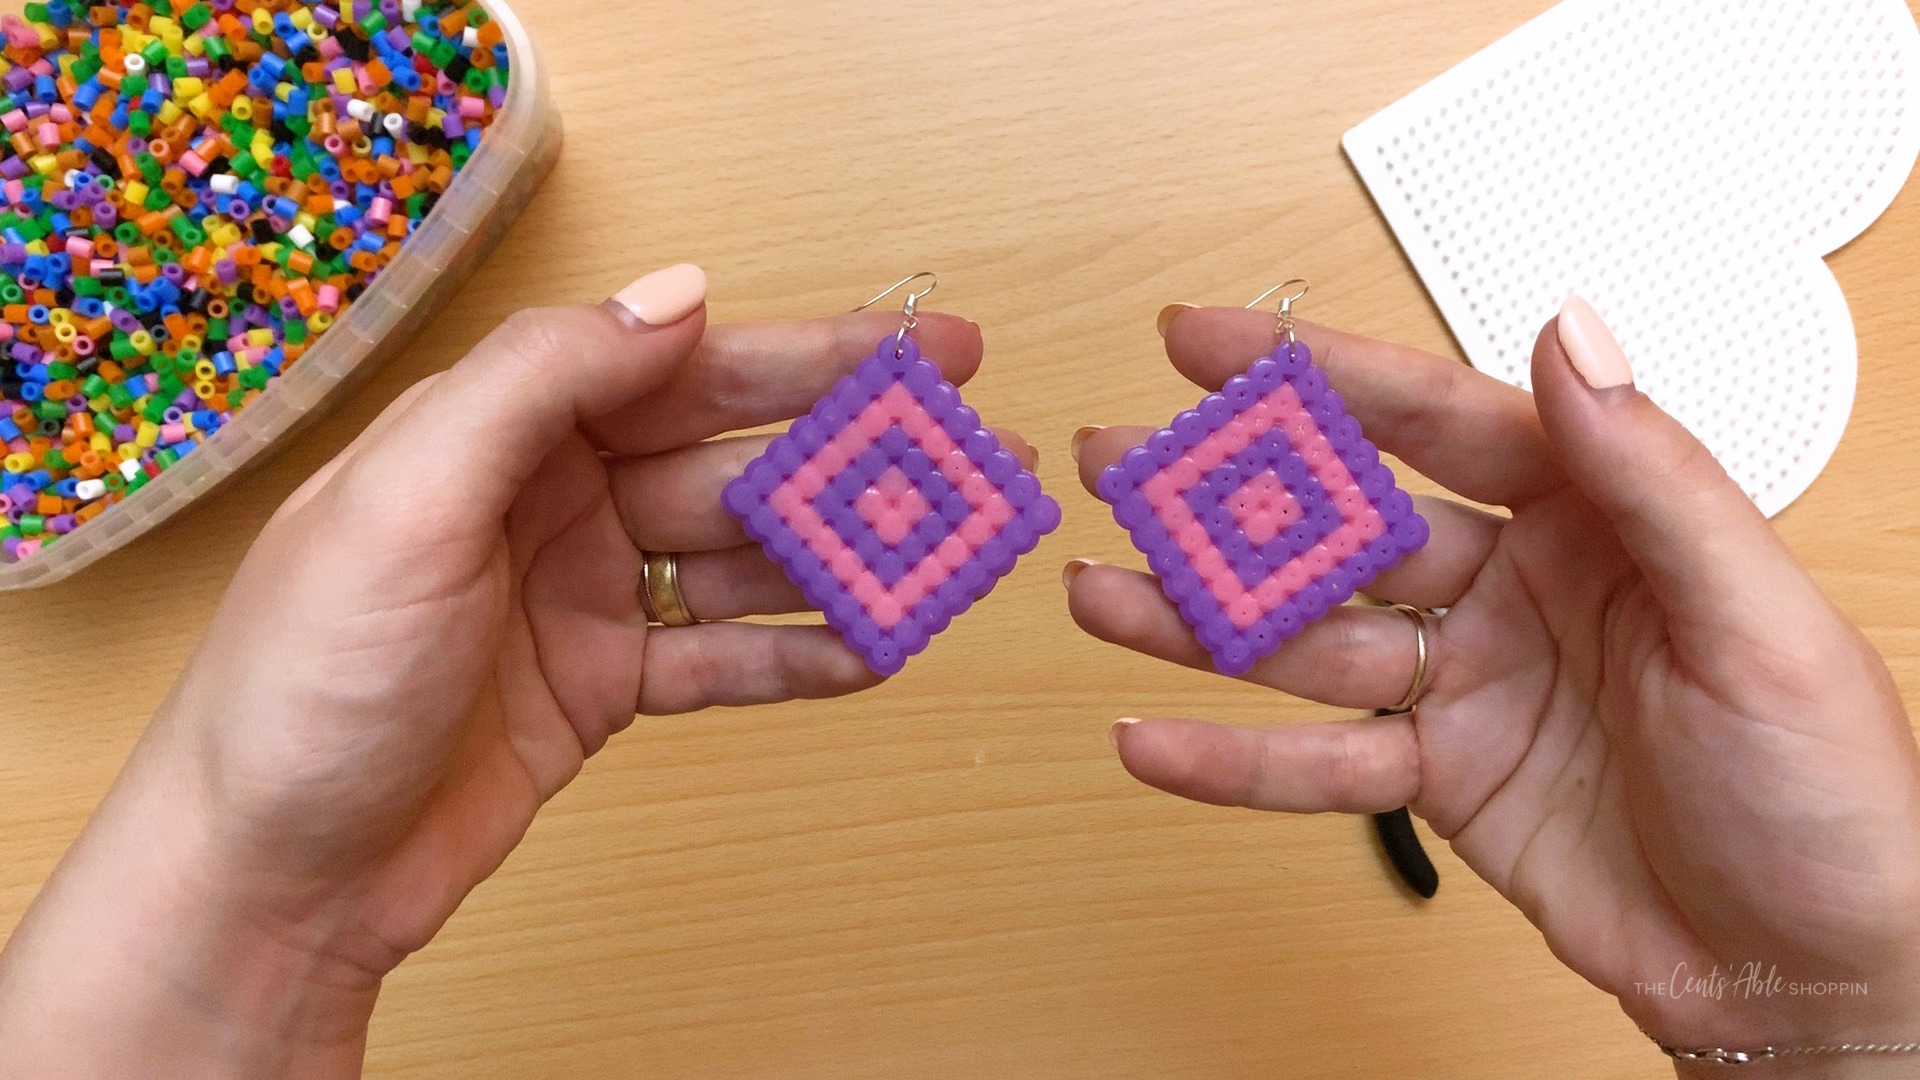
Perler beads are a really fun way to create new projects for people of all ages. From rainbow perler bead projects to LEGO head projects for the kids, they are the perfect solution to a rainy day.
They can be turned into keychains, but even more, made into fun earrings.
These pink and purple earrings are a great DIY for a teenage sleepover and simple enough for anyone to understand! Don’t like pink and purple? Then pick red and green (for Christmas…), yellow and purple to pay tribute to the Vikings (yay for football!) or… whatever colors you like..
Personalize to reflect YOU!
(That’s what makes this project so fun!) So grab a tub of perler beads and get busy!
DIY Perler Bead Earrings
Materials needed:
- 48×2 purple beads
- 28×2 pink beads
- Earring hooks
- Jump Rings
- Plier
- Iron
- Wax paper
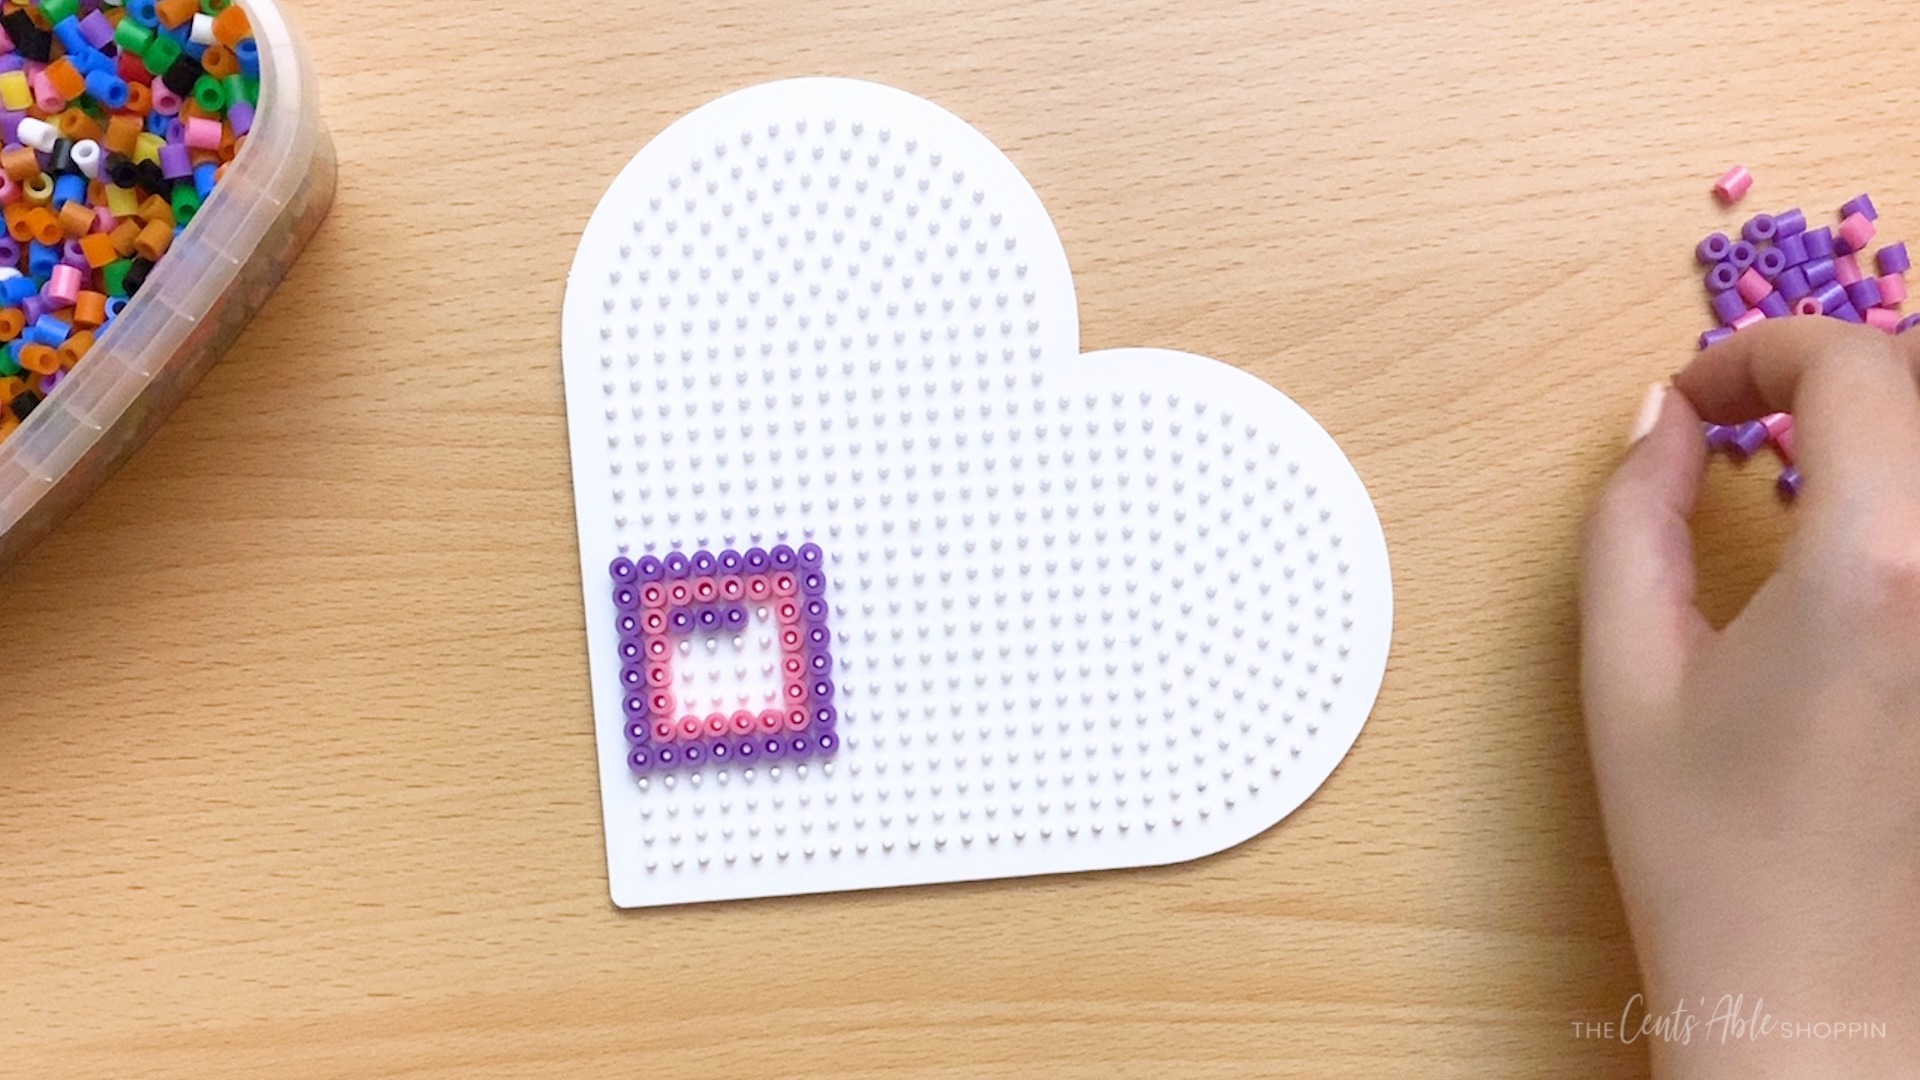
Get started by laying out all of your materials on a flat surface. I like to lay a clean terry towel down to prevent the beads from rolling around the table (and onto the floor!)
Your initial square of perler beads is has an 8-ct side. Follow up with the pink beads lining the inside of the square, a 6-ct side. Alternate back to the purple beads to accomplish the next layer..
All in all, you’ll accomplish your square with 48 purple beads and 28 pink beads. Repeat the pattern to finish a second earring. Then use the plier to attach the jump ring and earring hook to the corner of each earring.
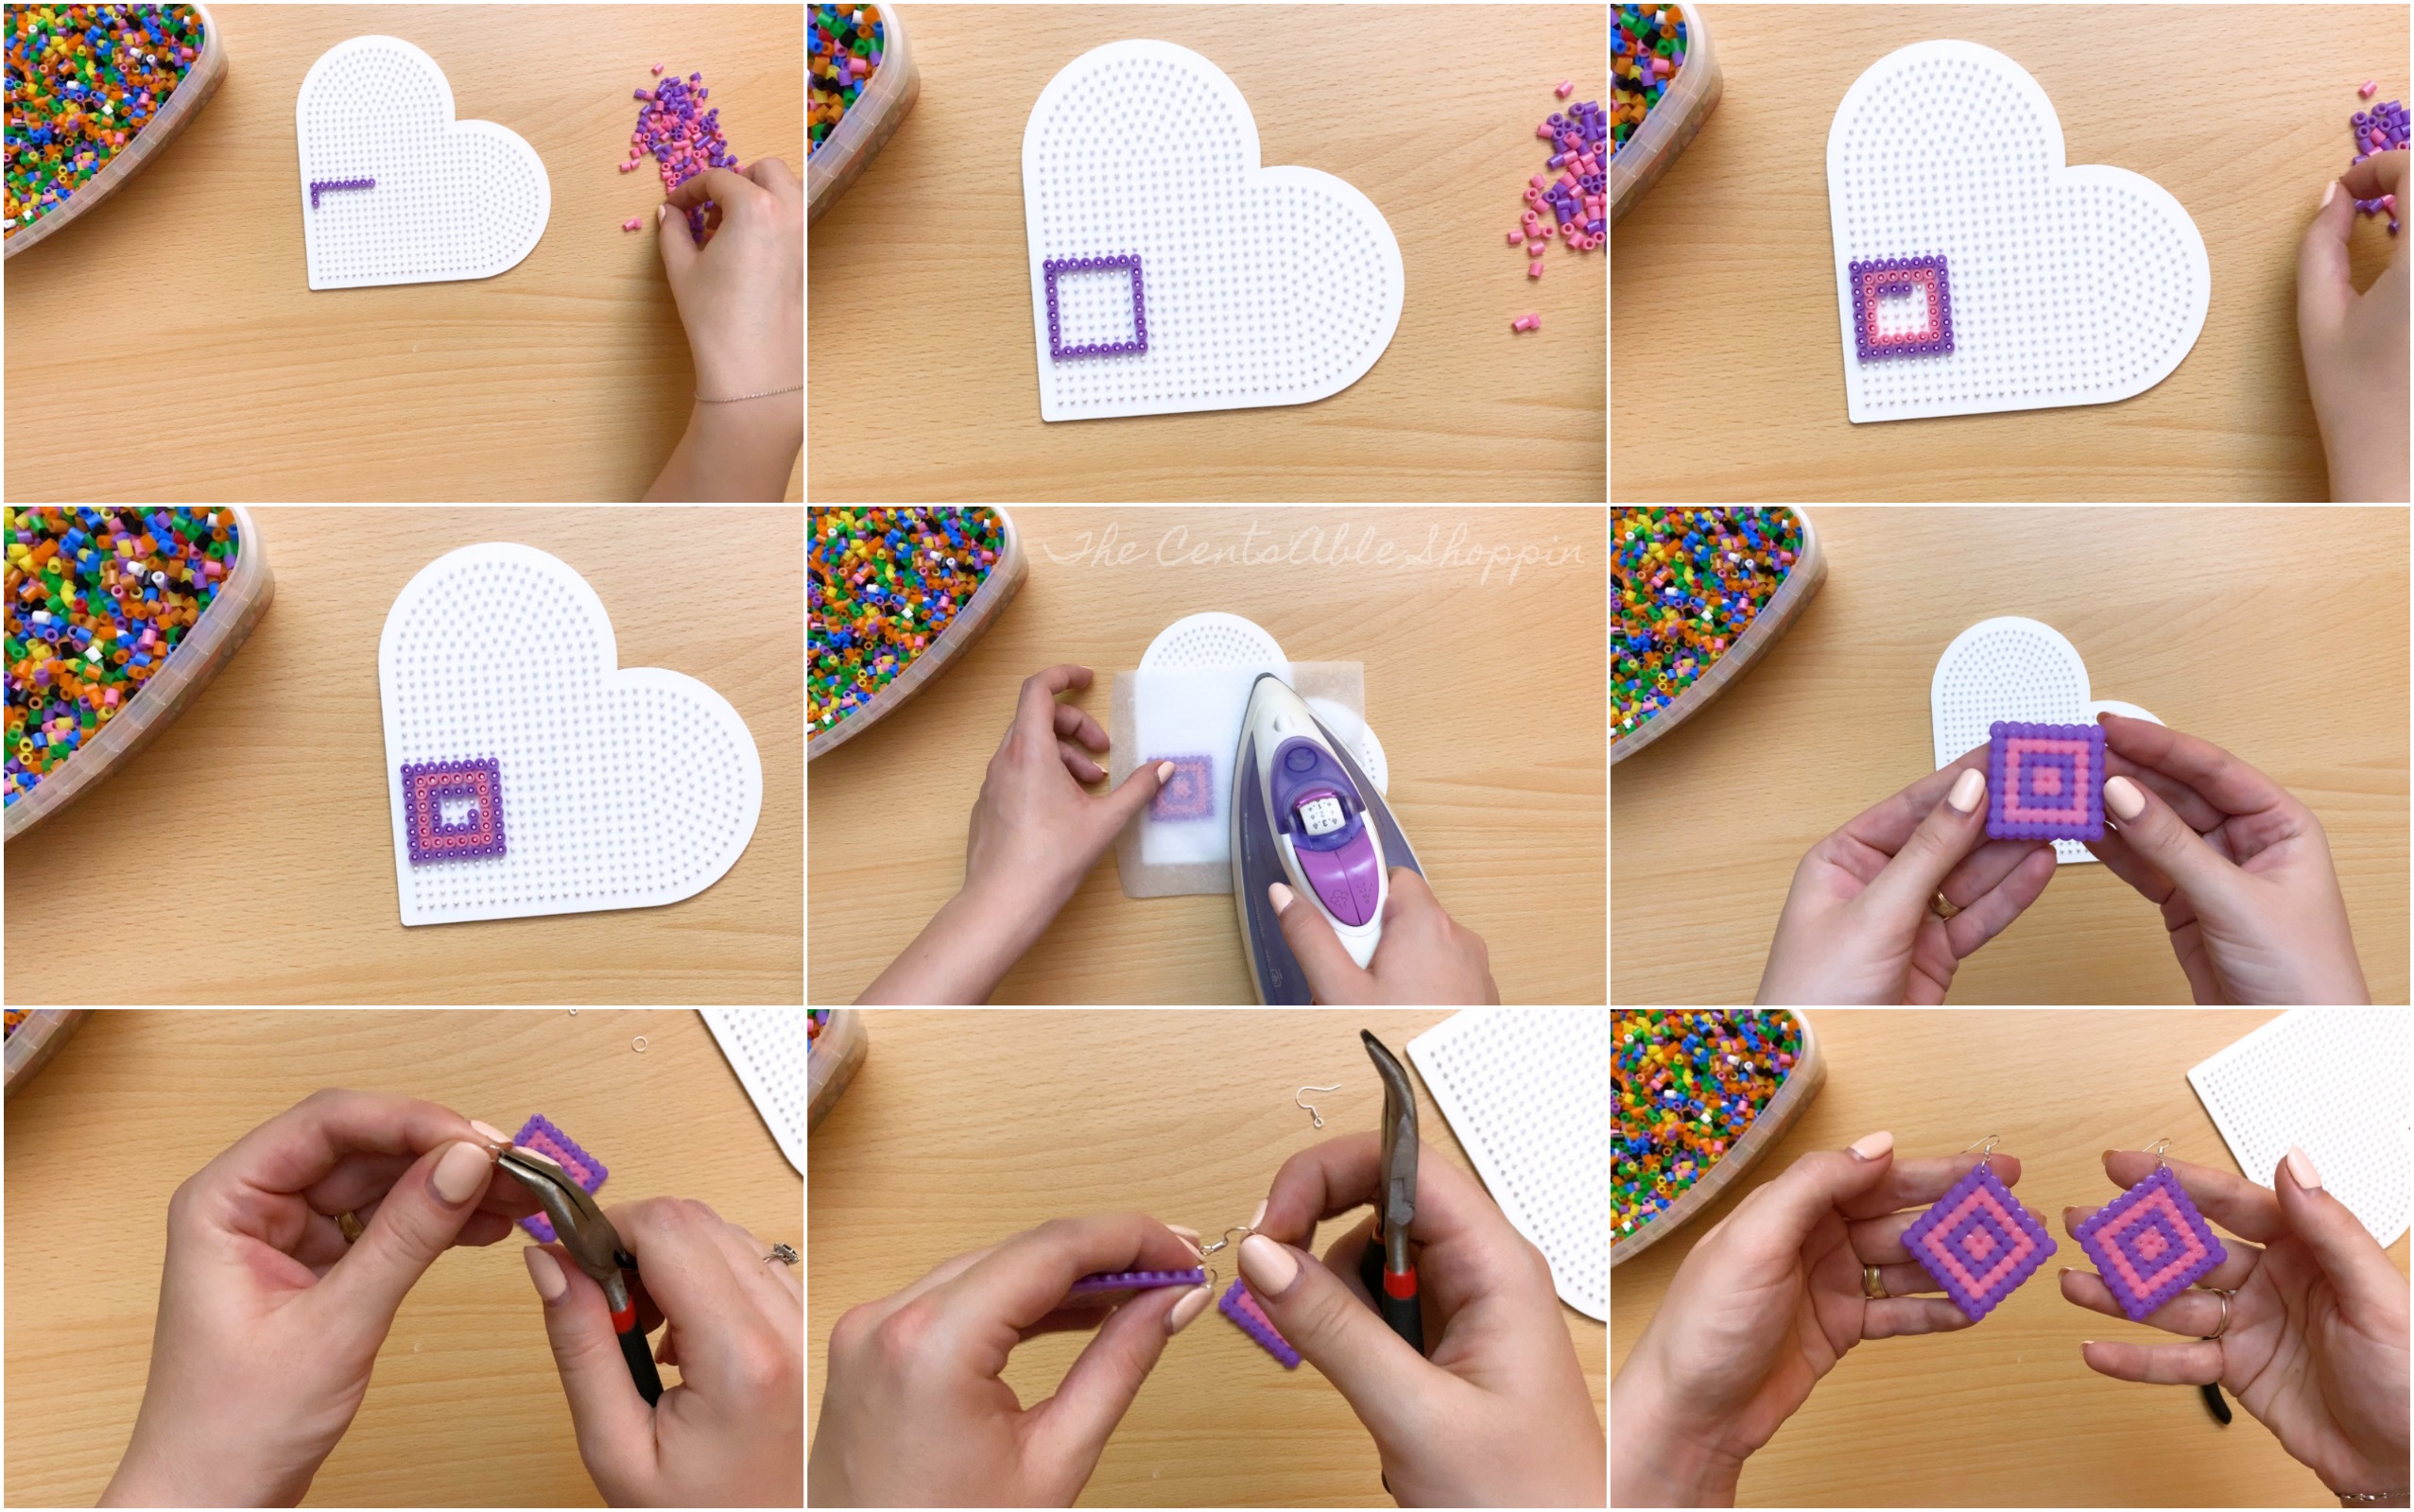
Once you have completed the earrings, lay your wax paper atop and gently press with a warm iron for 30-35 seconds. Avoid over-pressing because the beads will melt.
Allow the wax paper to cool. Then flip the beads and gently iron the other side (20-30 seconds).
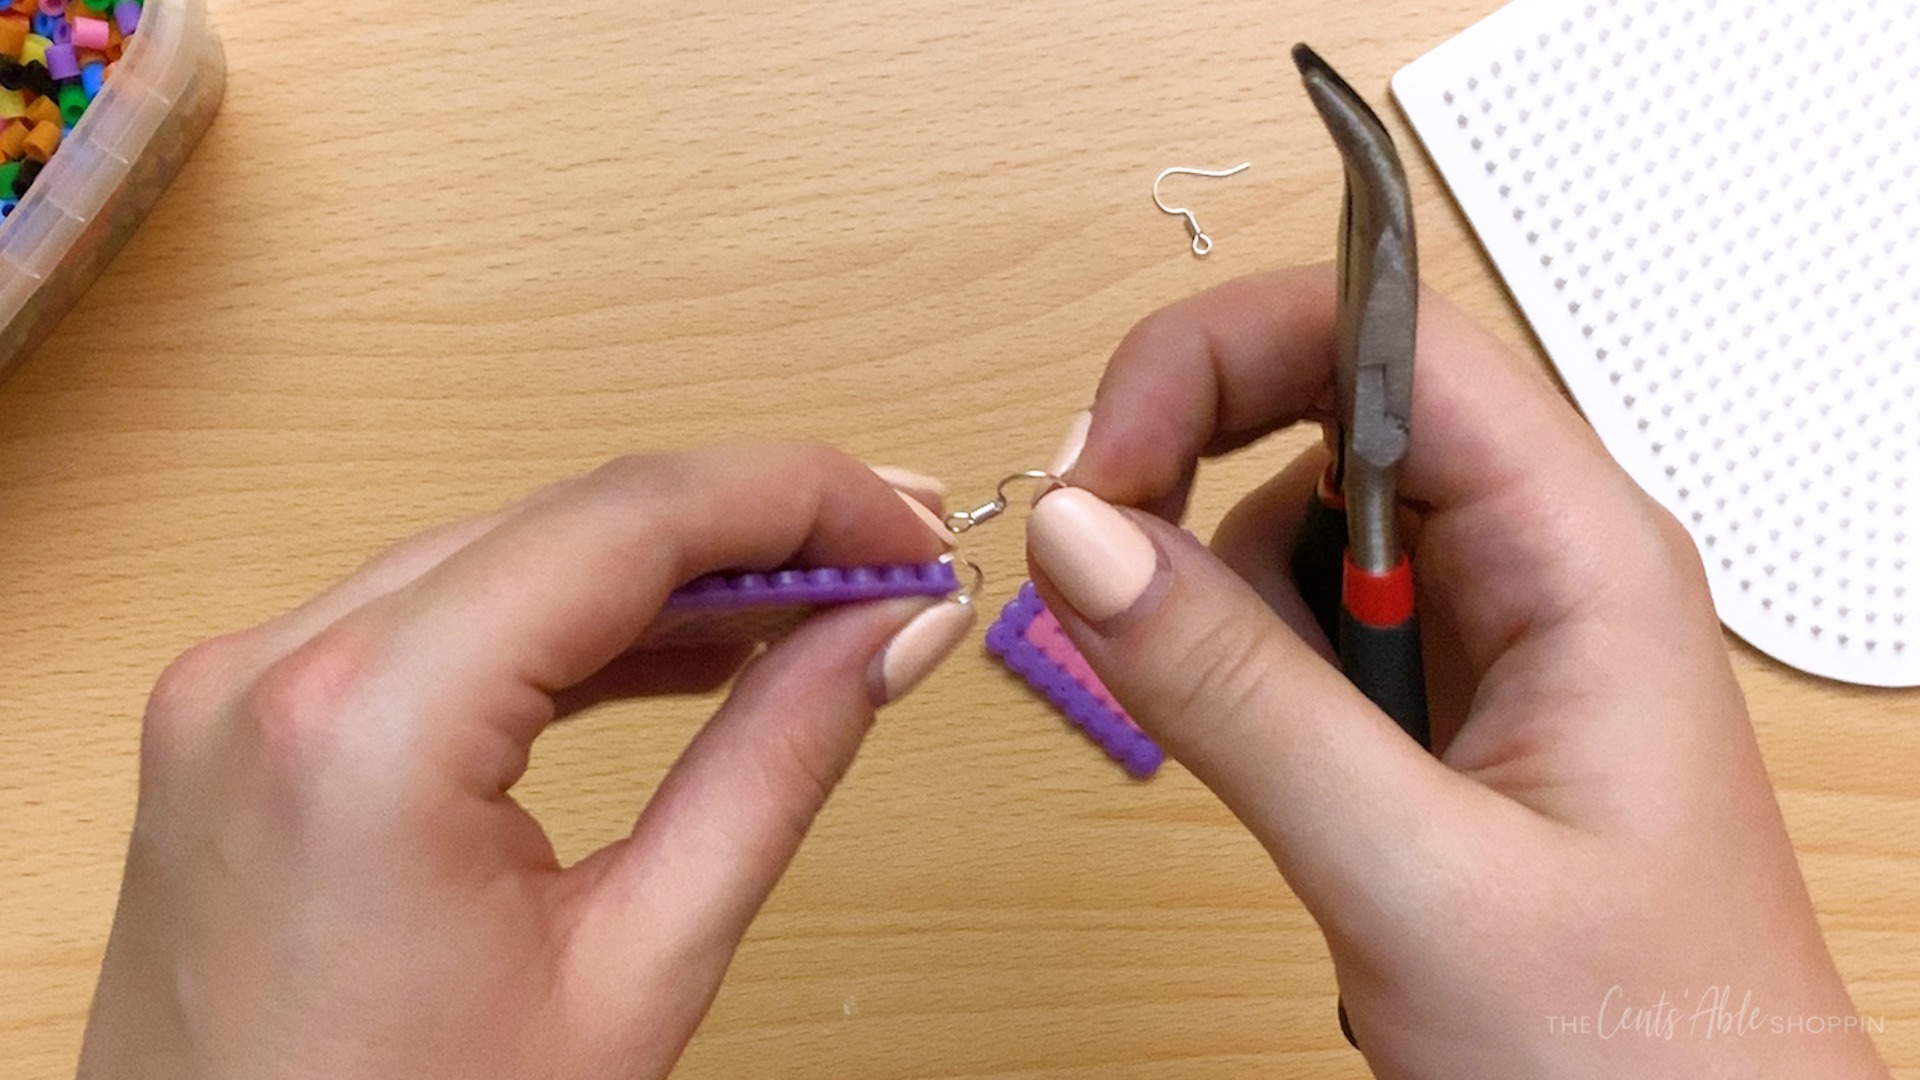
Repeat the pattern to finish a second earring. Then use the plier to attach the jump ring and earring hook to the corner of each earring. Follow the step-by-step video (above) if you need additional help.



[…] Perler Bead Earrings […]