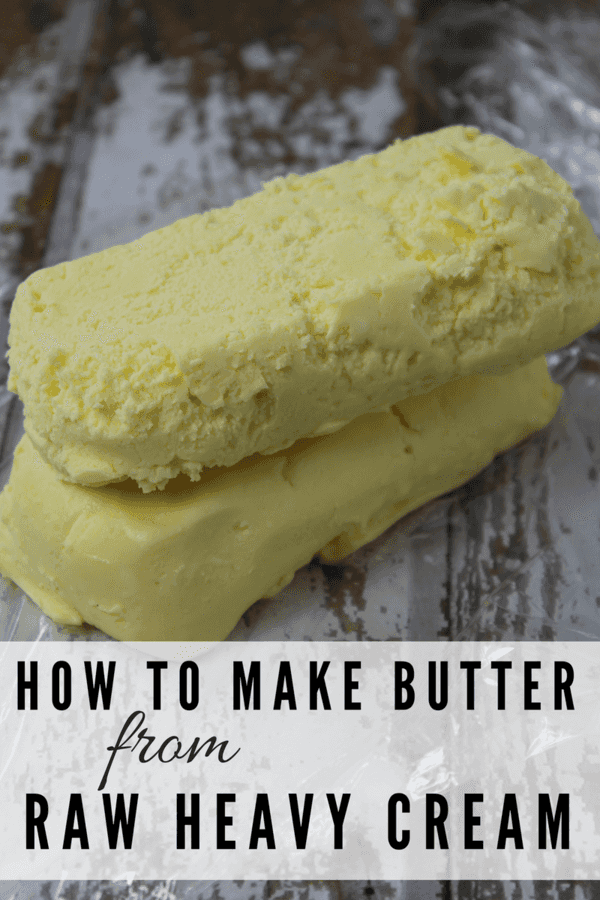
Those who know me well, will know that I have a slight obsession with turning raw milk into some pretty amazing things.
A $10 gallon of raw milk from our raw milk farm is liquid gold for us – We can use it to make sour cream, cottage cheese, and even a nice, soft cheese like mozzarella – it’s amazing to have the opportunity to do these things with a mere gallon of milk. We pick up anywhere from 6-12 gallons a week – not just for us, but we pick up for a few neighbors, too.
We made the jump to raw milk a few years ago and have several friends that are starting to understand the benefits of raw milk, and the health benefits of real butter and healthy fats. One of the best things you could do is ditch that nasty store bought margarine in favor of better options.
Read up on the health benefits of raw milk and incorporate it into your diet – you will see a huge transformation in your health.. .even if you previously thought you couldn’t drink milk or had an intolerance to dairy – you more than likely have an intolerance to what has been done to your dairy – full fat, raw milk is entirely different.
You know what?
I’m not really sure how anyone could want to eat fake butter out of a tub. My gosh.
Homemade butter is so much harder than store (commercial) butter – and that is because commercial butter has added water to the butter – they dilute it to make the legal minimum fat content 80% (which is the minimum).
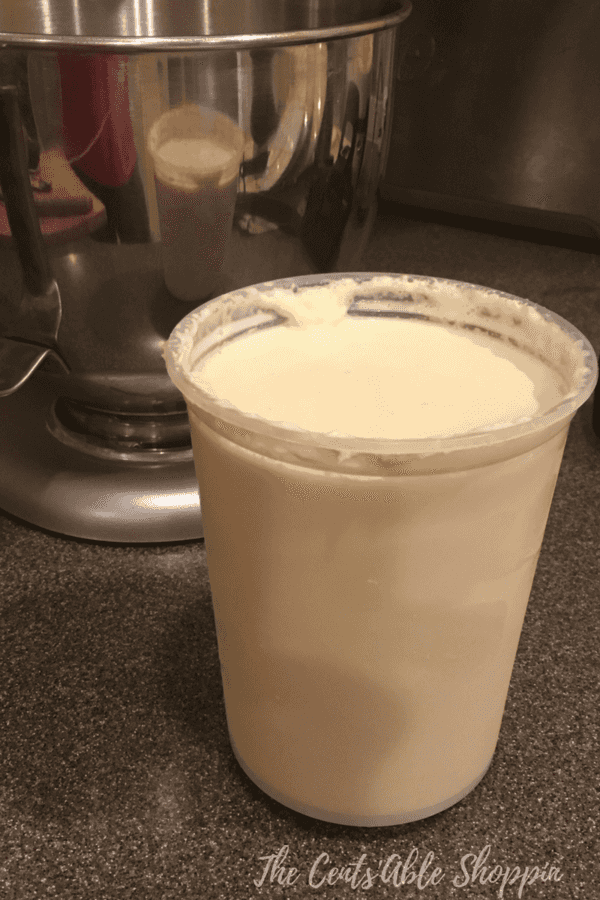
You don’t have to have your own dairy farm at home to make your own butter – you can make your own butter yourself at any time. Obviously, we still do purchase some grass fed butter at times – because we don’t always have enough cream here at home to keep enough butter for all 7 of us.
If you don’t have your own dairy cow, you can find a raw milk farm in your area and skim the cream right off the top to use to make your own butter. OR, your dairy farm may have cream available at the farm if you ask as well. Definitely worth asking.
Note: Not all states permit the sale of raw milk – so if you are outside of Arizona, then you will need to check your state laws and you can do that here.
Types of Butter
There are two types of butter that you can make yourself – one is sweet cream and the other is cultured butter. Both are similar yet slightly different:
Sweet Cream Butter: This type of butter is made with fresh cream – this is easier for most people who may not have access to raw dairy products. I personally believe that raw dairy products are healthier for our family in more ways than one, so butter is such a good way to capture those healthy fats your body needs.
Cultured Butter: This type of butter comes from raw cream that has ripened in your fridge for a while … until it starts to sour. That ripened butter has amazing bacteria that has been allowed to ferment to room temperature.
While both will yield the end result of butter – one (Cultured) just has more probiotic goodness than the other. Which is great for your gut. Yum!
Equipment for Making Butter
Your really don’t need anything special for making butter . A simple KitchenAid mixer will do just fine – or, you can use a food processor.
My favorite appliance is my KitchenAid – and I like it because I can just let it mix, mix and mix when I am working around the house. The only problem with my stand mixer is that it flings cream all over my kitchen as I whip up the butter. ….so to take care of that problem I place a huge kitchen towel over the mixer to capture the splatters.
Your food processor works wonderfully for making butter as well – let it run until the butter churns up and then remove and push through a strainer. I don’t have a fancy food processor, but if i’m making a small amount of butter it works super.
- Mesophilic culture
- Food Processor (this is what I have – you might have something fancier)
- KitchenAid Mixer
- Butter Mold (not necessary, just nice)
- Mesh Strainers (we have these)
How to Make Butter
If you are making regular sweet cream butter, simply pour a quart of cream (or, more) into your KitchenAid, and turn it on medium. Put a towel over your mixer unless you want a decorative layer of cream on your counter and kitchen walls.. Don’t fill the blender too full or you will have a lot of sloshing going on.
Last time I made cream in the blender – which I love doing. But I should have cut it in half – I had 9 cups of raw heavy cream and I was impatient and didn’t want to make two batches of butter. So I put way too much in there – the blender totally did the job but was such a sloppy mess of raw cream for about 30 minutes. We won’t do that again. ;)
If you are making cultured butter, use the same amount of cream – which is a quart. You will want to let that cream culture on it’s own before you pour into the blender. So let it sit on the counter for 24-48 hours until it thickens up even more than it was before, and has a nice, sour smell.
That’s all the good bacteria going to work to make that cream amazing ;) That good bacteria does amazing things for your gut.
If you are using pasteurized (NOT raw) cream, you will need to add 1/8 tsp mesophilic culture to the cream because the beneficial bacteria was killed when the cream was pasteurized. Or, if you opt not to buy culture, you can use anything else that would contain live, active cultures like buttermilk, yogurt, or sour cream. To culture, sprinkle the culture on top of the cream, and stir it in carefully – allow it to sit at room temperature for 24-48 hours where it will ferment until it gets rather thick and smell very sour.
https://www.youtube.com/watch?v=H6HMGfOm9FA
Continue by pouring your cream into the mixer, and mixing it on medium-high.
The cream will thicken up nicely at first.
Then it will turn into this beautiful, yummy whip cream. Resist the urge to spoon it into your mouth. MUST resist!
Then, the whip cream will transform and look a little chunky….
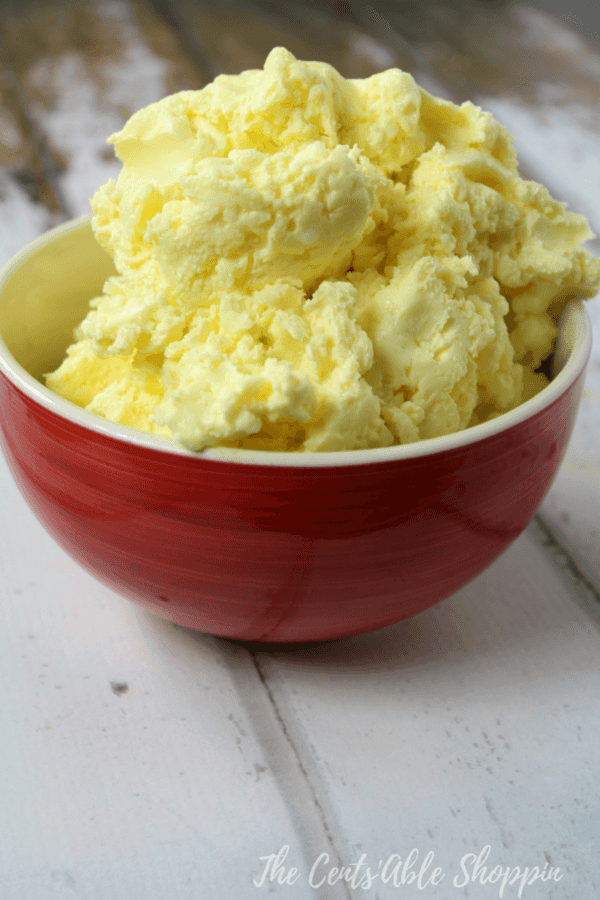
Then, the butterfat will separate and you will see beautiful yellow globs.
You’ll also see a yellowish liquid. You want to keep that – it makes amazing pancakes or biscuits!
Grab a bowl, and set a large strainer within that bowl, and then pour the contents of the mixer or food processor into the strainer, and rinse with cold water (this helps remove that buttermilk that’s leftover). Keep that buttermilk so you can use it for pancakes or biscuits. How yummy – right?
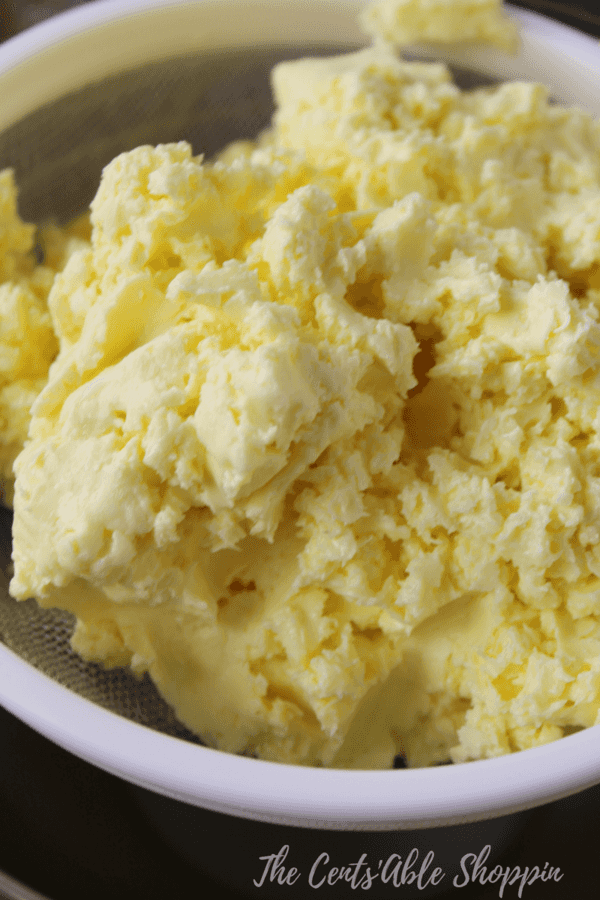
After you rinse the butter with cold water, push it against the strainer with a wooden spoon to get rid of ALL the excess liquid in the butter – not only will it taste amazing it will last a little longer for you in the fridge.
Keep pushing that butter to remove more and more of the water. The more you push/squeeze it, the more liquid you will squeeze out and the less chance you have of it spoiling faster.
Then as it gets colder, you will see it firm up more and more – mix in some salt (if you’d like) or keep it salt free – your choice – do as you wish!
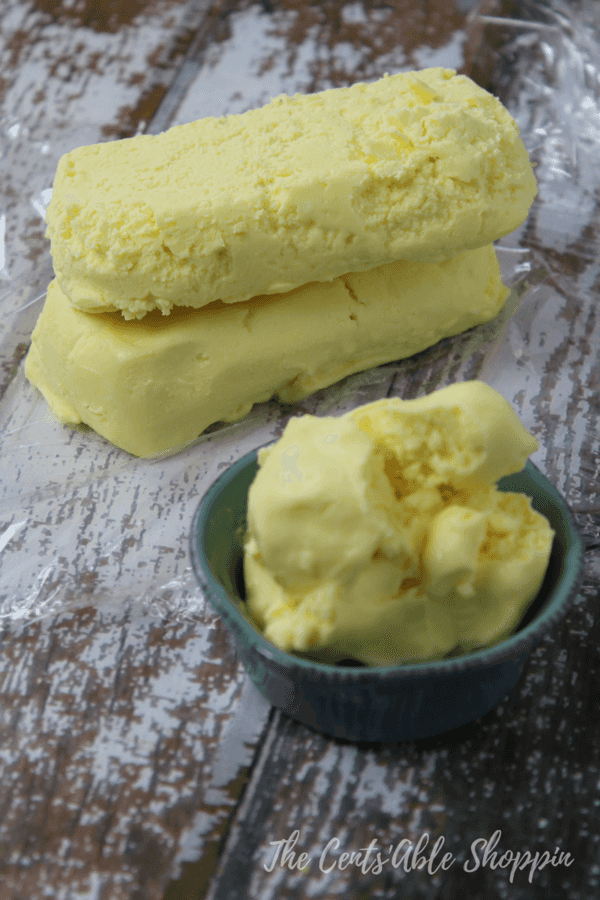
How do you Keep your Butter?
Butter is wonderful when you use it fresh – or, if you can’t eat that much butter then you can wrap it up and put it in the fridge.
You can pick up a wood butter mold on Amazon, or you can go a more simple route of forming your own shapes and wrapping in plastic wrap. Not fancy but it works – I can attest to that!
If you are freezing, make sure you wrap tightly.
Have you ever made your own butter?



[…] make our own butter at home from raw heavy cream direct from the farm… which is full of flavor, and amazingly wonderful […]