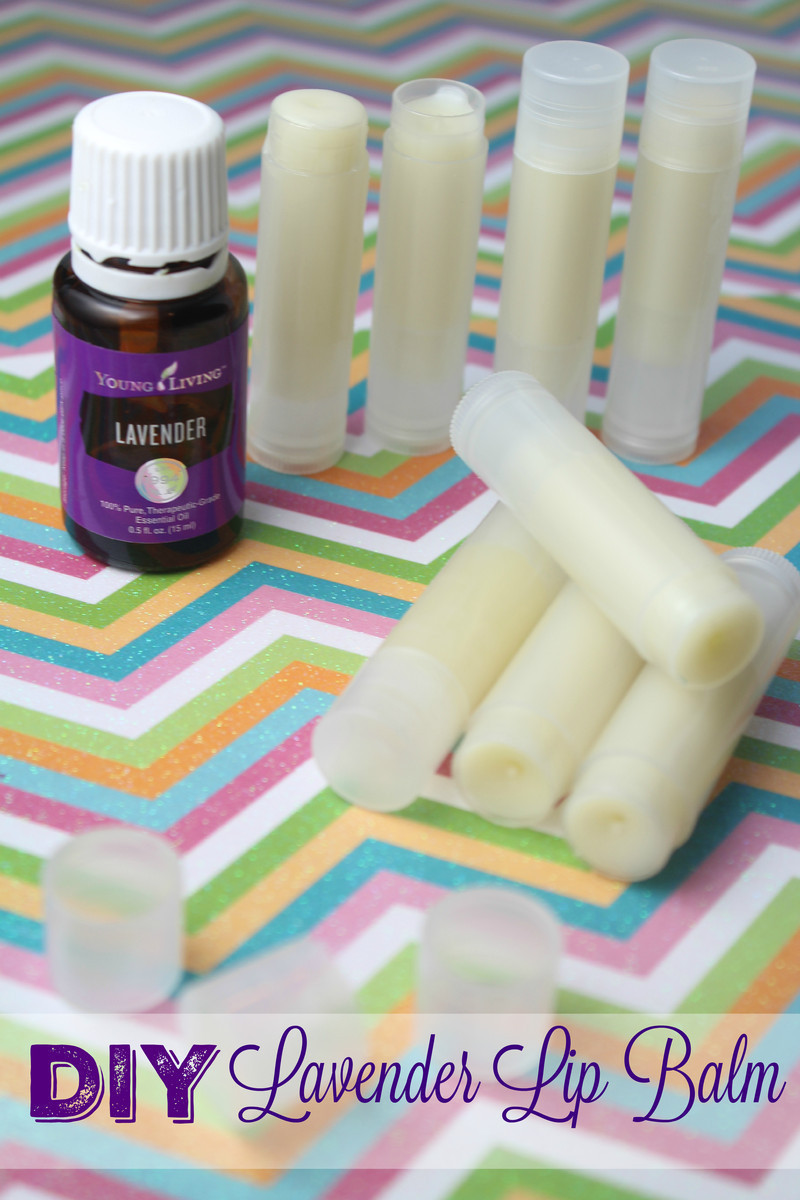
Here in Arizona it’s so easy to get dry lips – the summer is hot, and then we have some chilly weather in the fall – there really isn’t much of an in between – it’s either hot, or cold.
Since we deal so much with the blazing sun for most of the year, it’s important for ALL of us to use some type of lip balm to keep our lips soft & supple.
While we used to pick up Carmex for close to free at Fry’s a few years ago, the coupon scene has changed, and finding deals on Chapstick just aren’t as easy – thankfully it’s cheap to actually make your own – for less than $.10 a tube you can whip up Lip Balm for yourself and probably your entire family AND office.
The BEST part about this lip balm is that all of the ingredients are ingredients we use in other things here – our Body Butter, Comfort Cream, Sugar Scrubs, and more – so we already had everything in the cabinet. Although they are a cost up front, they literally last FOREVER – I have had the Beeswax, and Shea for a year now and still haven’t used them all up – so quite a savings.
When you make your own, you can’t just make “1”… which means that everyone else in the family or your office is going to benefit – you might just be everyone’s new best friend when you come to work with a mountain of Lip Balm to pass around ;)
Plus – making your own is just FUN – and entirely TOO easy! I made these (above) + about a dozen more that are already bagged up, in less than 15 minutes – that’s less than half the time it would have taken me to clip, drive and buy at the store.
Ingredients:
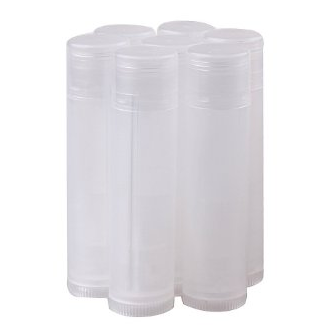
- 25 Natural Lip Balm Containers (HERE)
- 2 Tbsp. Shea Butter (I used THIS)
- 2 Tbsp. Beeswax Pellets (I used THIS)
- 2 Tbsp. Coconut Oil (I used THIS)
- 20 Drops Lavender Essential Oil (what I recommend HERE)
- Avery Labels 2″ x 4″ (may have to cut down slightly!)
- Glass Droppers (1 for you and 1 for each person helping you!)
You’ll want to pick a glass dish you can use ONLY for these projects, as the Beeswax will harden once it cools – so wipe the glass container out immediately once you are done, or re-heat slightly to wipe out. I have a Pyrex dish I use only for these projects.
Instructions:
Gather your double broiler – or make shift double broiler — put a pyrex dish in a saucepan with 1 inch of water.
Melt on low heat for 5-7 minutes – in the meantime, get your lip balm containers ready – you can flip over an egg carton, make holes in the top of each “egg”, and stand up the lip balm tubes that way to make it easier to work with.
Once the mixture has fully melted, turn off the stove, and wait for it to cool slightly – then add your oils (20-30 drops). Then take your glass dropper and fill up each lip balm tube – this recipe makes about 18 tubes.
HURRY though – the Beeswax will cool QUICKLY so you need to work fast!
Once you fill up each tube, top off as they cool (because the wax mixture will settle) – and then let cool 1 hour if not a little more on your counter top. Add the caps to each tube once cooled.
Use the Avery Labels to design some fun ones – we haven’t gotten that far yet – but we hope to this weekend!
Find a happy medium to your mixture – I use a little extra Beeswax to make my lip balm a bit harder (since we are in Arizona that helps!) – or, if you wish you can sub Shea Butter with Mango Butter which is a little harder than Shea butter).
We prefer using Lavender for our Lip Balm – it’s always a hit so we stay with what works. Plus, who doesn’t love Lavender?

And, we have mentioned before that Young Living’s Lavender comes from the largest herb farm and distillery in the world, their lavender farm in Mona, Utah – which features nearly 1,400 acres of fragrant herbs and is open to visitors year round.
It is open year round to visitors. I don’t know of any other Essential Oil company that opens up their doors like that… that’s pretty amazing!
I LOVE and exclusively use ONLY Young Living Essential Oils – if you would like to read more about why we do, and how we started head HERE.

Leave a Reply
You must be logged in to post a comment.