This easy paper snowman craft is a breeze to put together and fun for kids of all ages at the holidays! Make several and paste on paper bags to gift!
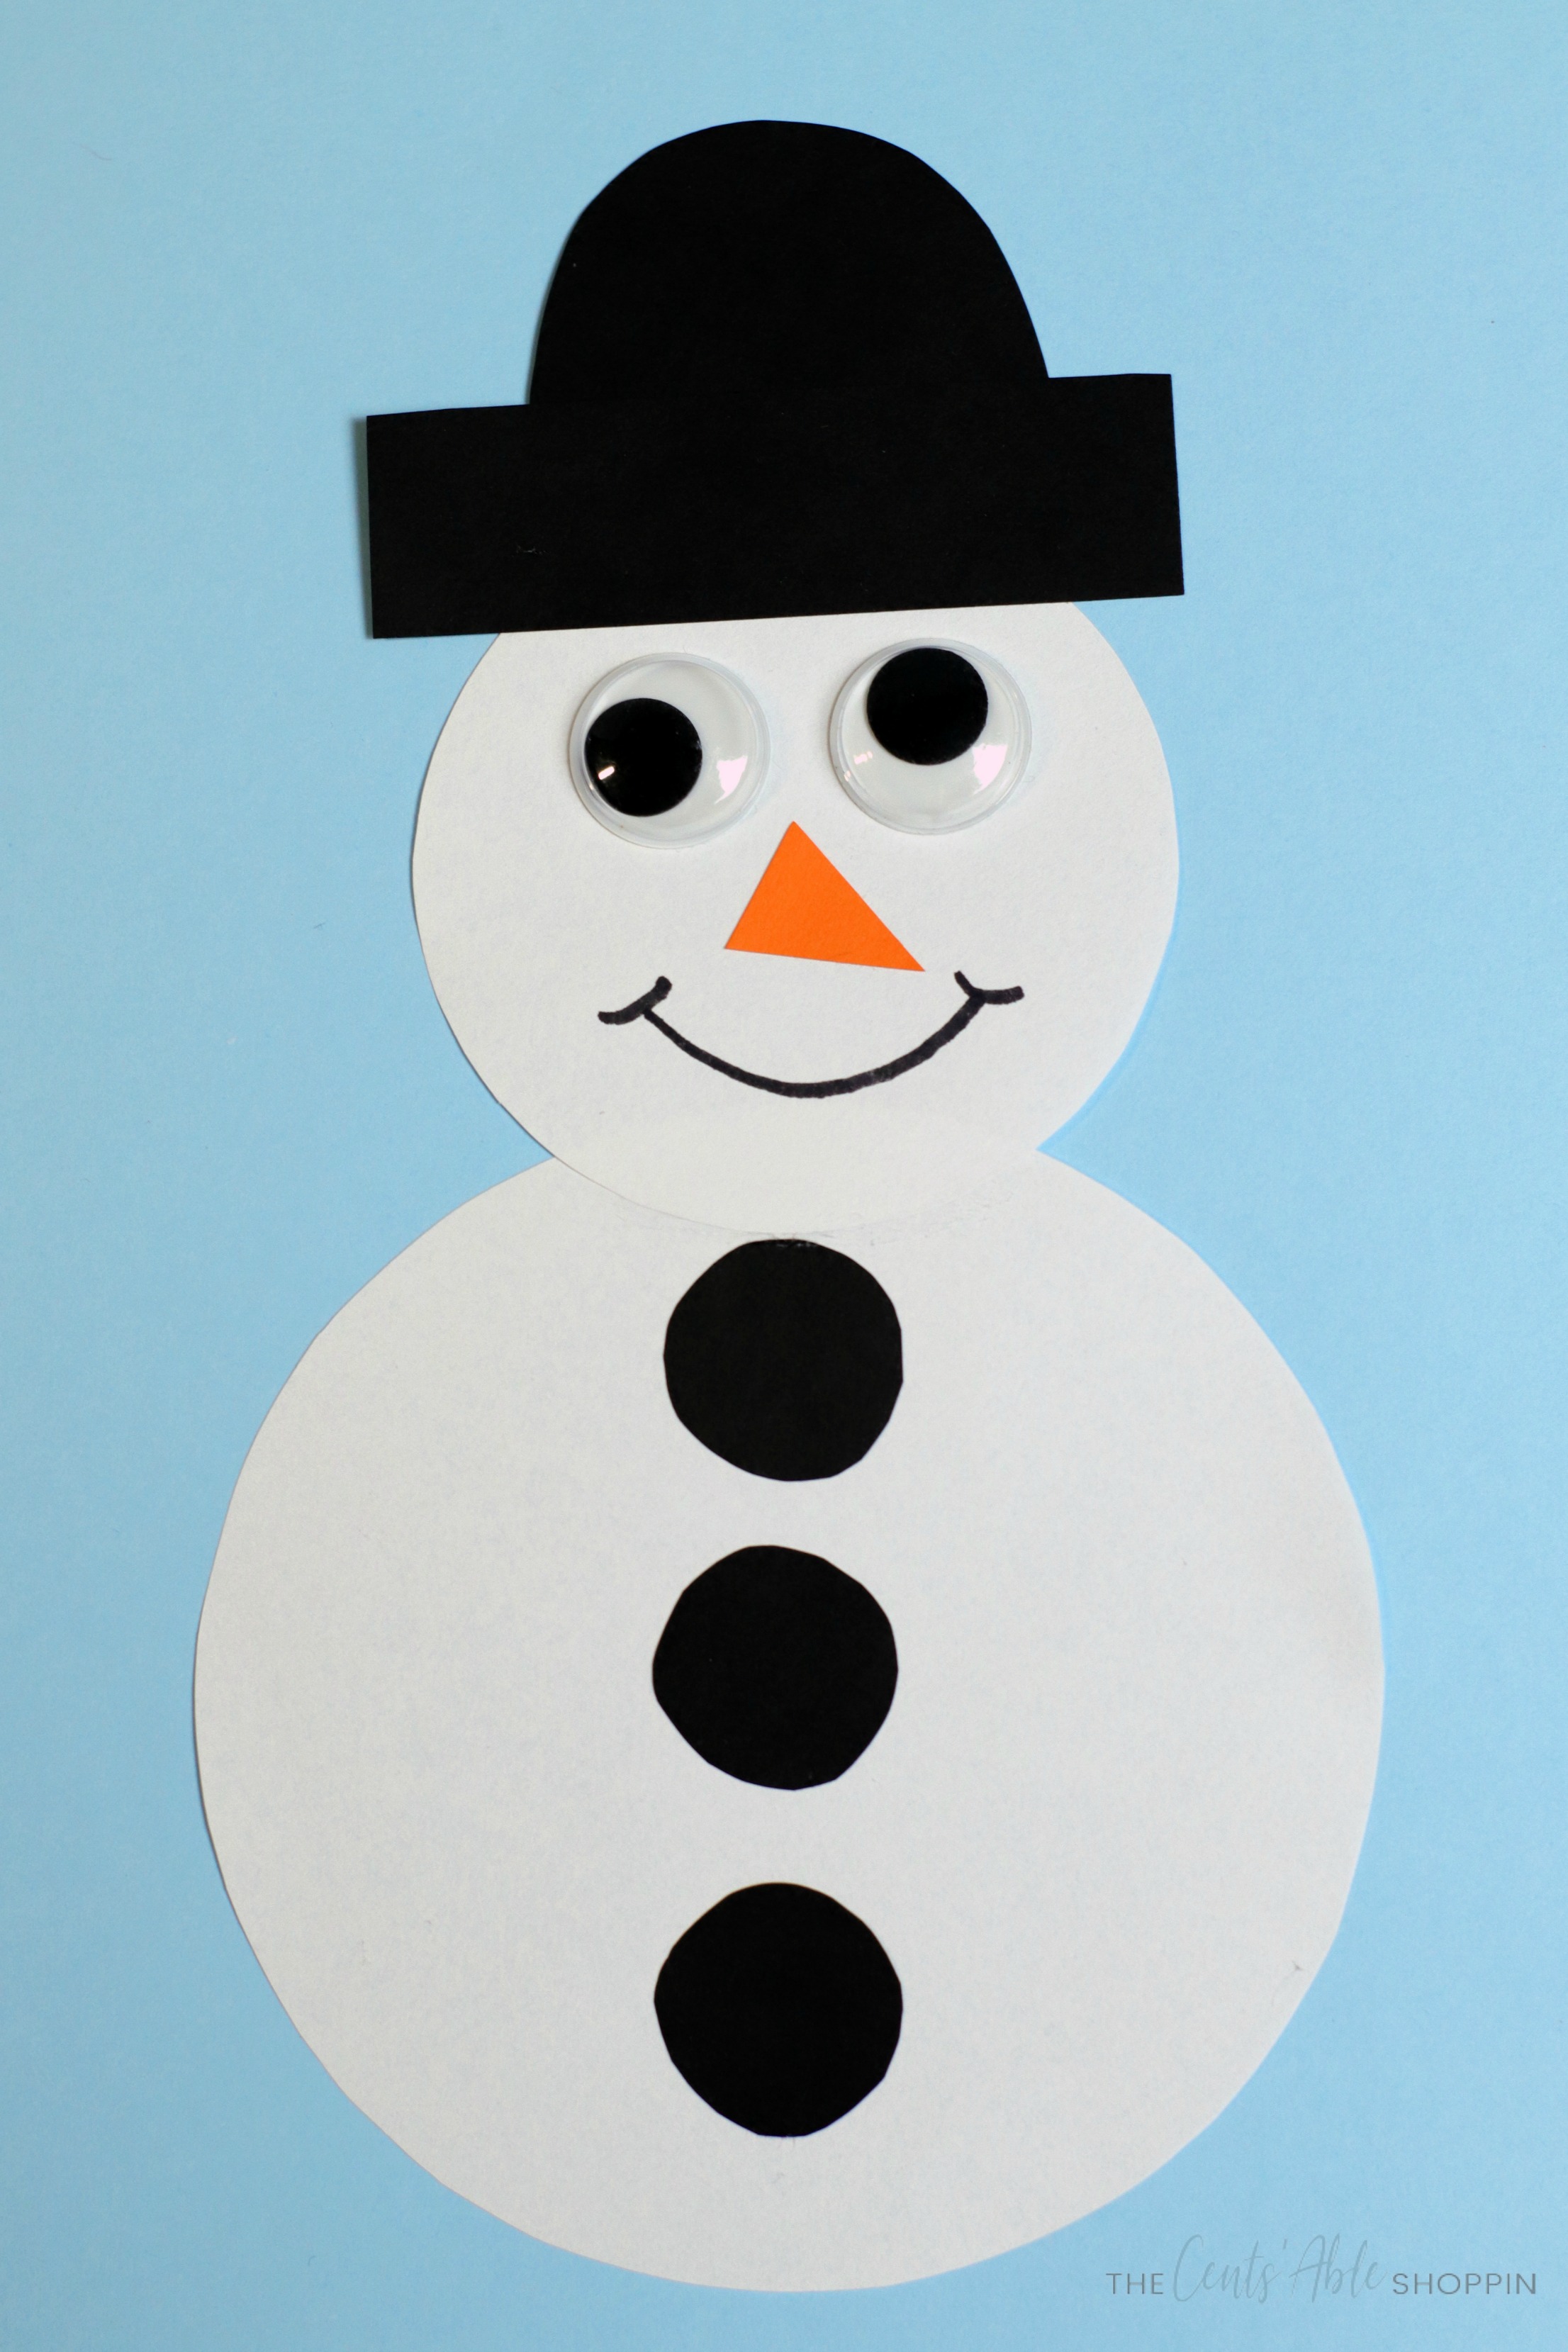
Time for another snowman! We’ve made a paper snowman craft for kids – fun to play with, even more fun to bounce around. You can make several of these and use them as a garland, wall decor or paste them on paper bags as gift sacks at the holidays.
I love paper crafts because they are not only inexpensive, the possibilities are endless!
Paper Snowman Craft
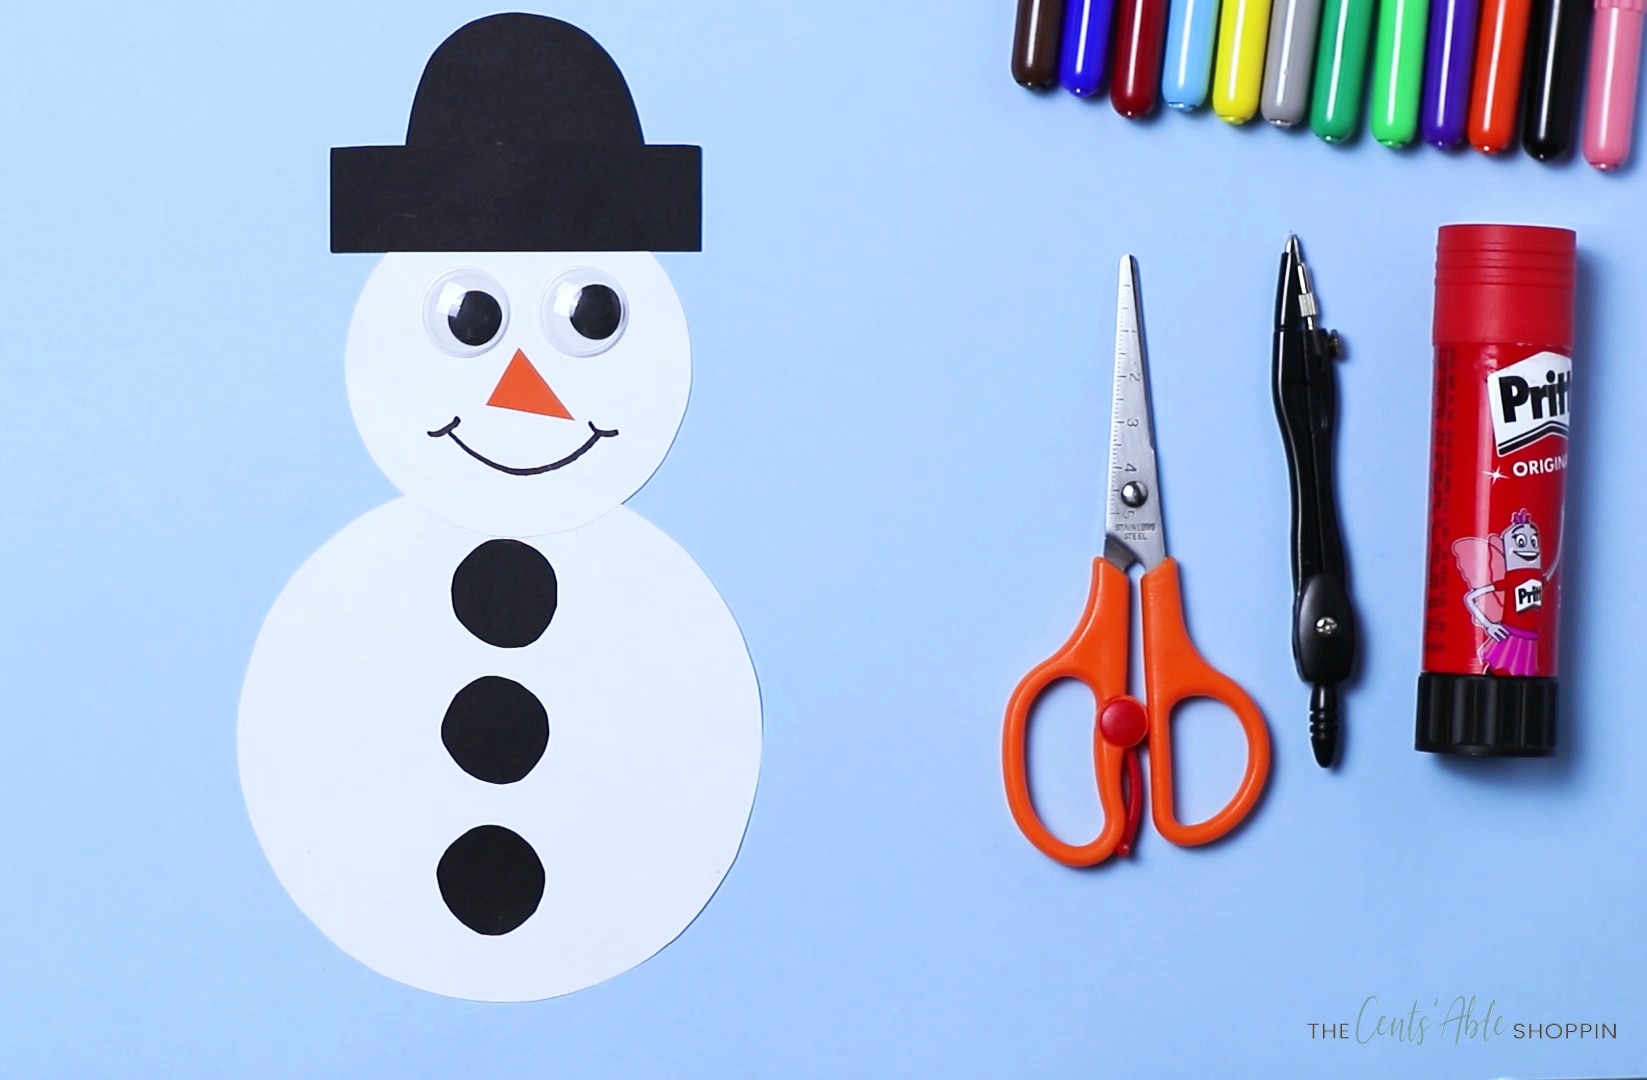
What you need:
- Paper (white, black, orange)
- Marker (black)
- Googly eyes
- Scissors
- Glue stick
- Calipers
Watch the video tutorial
Or, follow these step by step instructions:
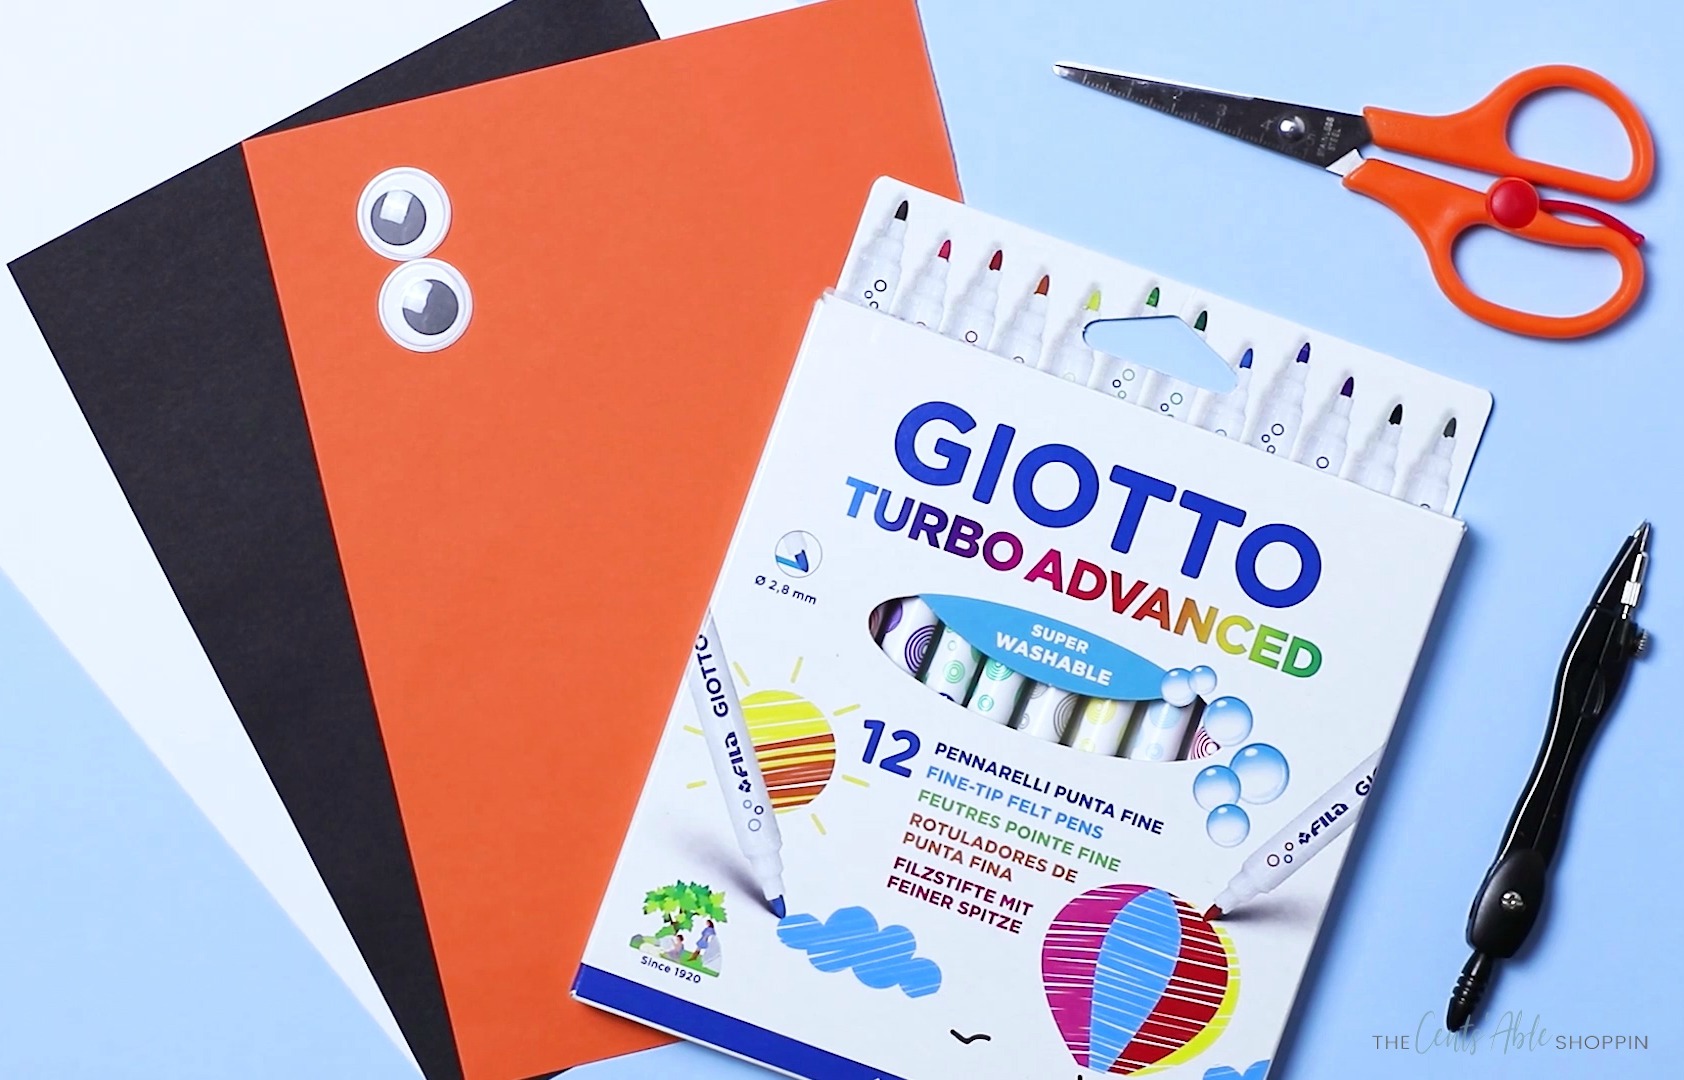
Gather all of your materials and lay them out on a flat surface. You’ll also want a compass to help you cut the body of the snowman.
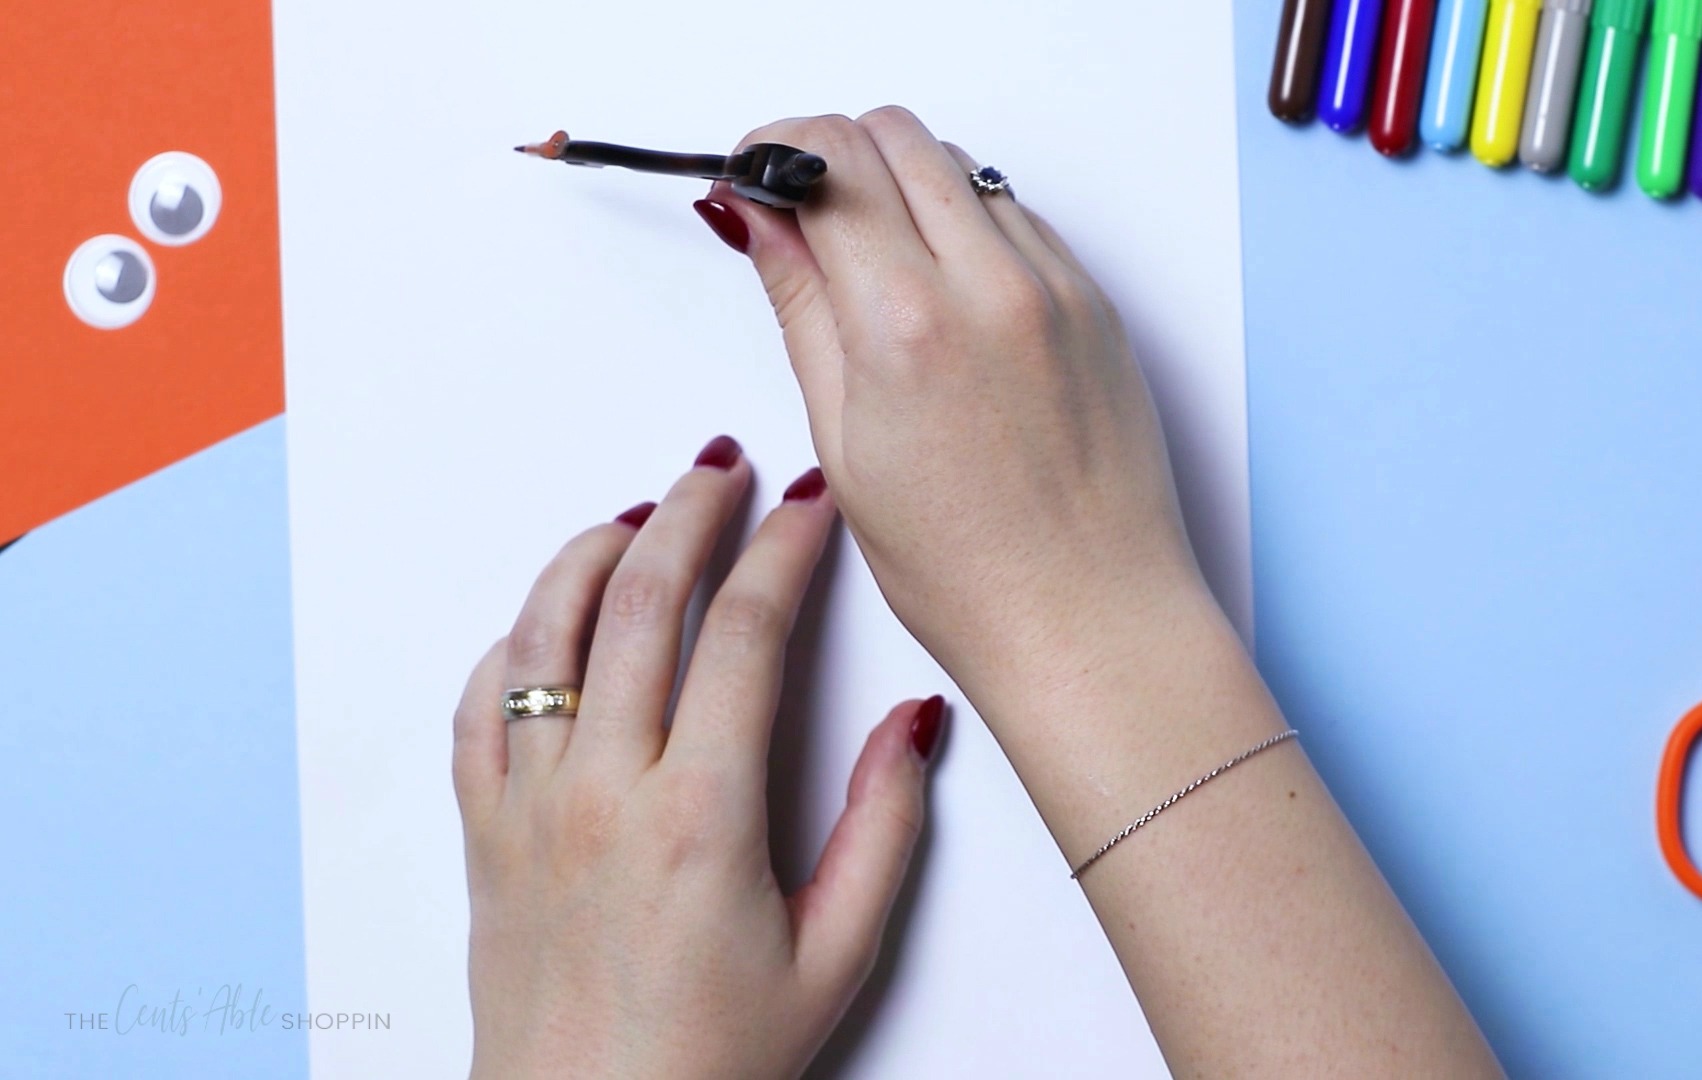
Use your compass for the body of the snowman, drawing and cutting out two circles – one slightly larger than the other. If you desire a larger snowman, you could even do three circles.
Cut the circles out using your scissors and lay them to the side on your flat surface.
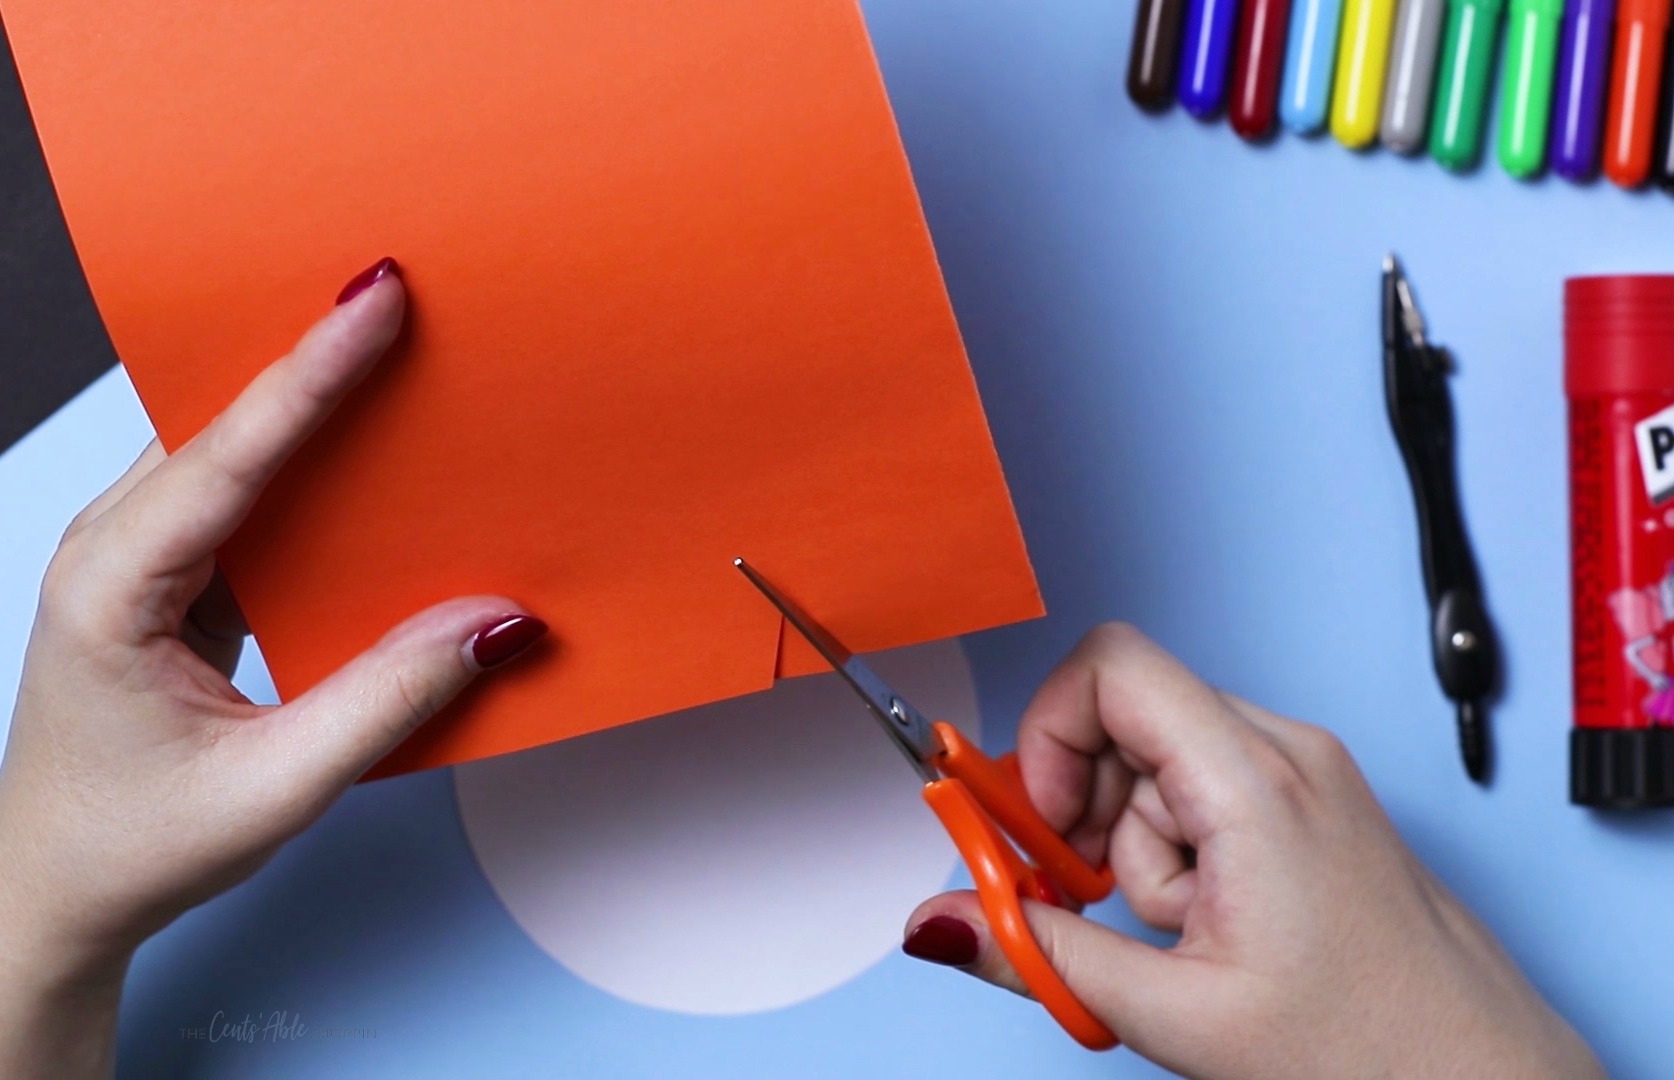
Now it’s time to cut the nose. Use your scissors to cut a small triangle shape from your orange paper. Set it aside. If you are making more than one snowman you’ll want to cut several of the noses to have them ready for assembly.
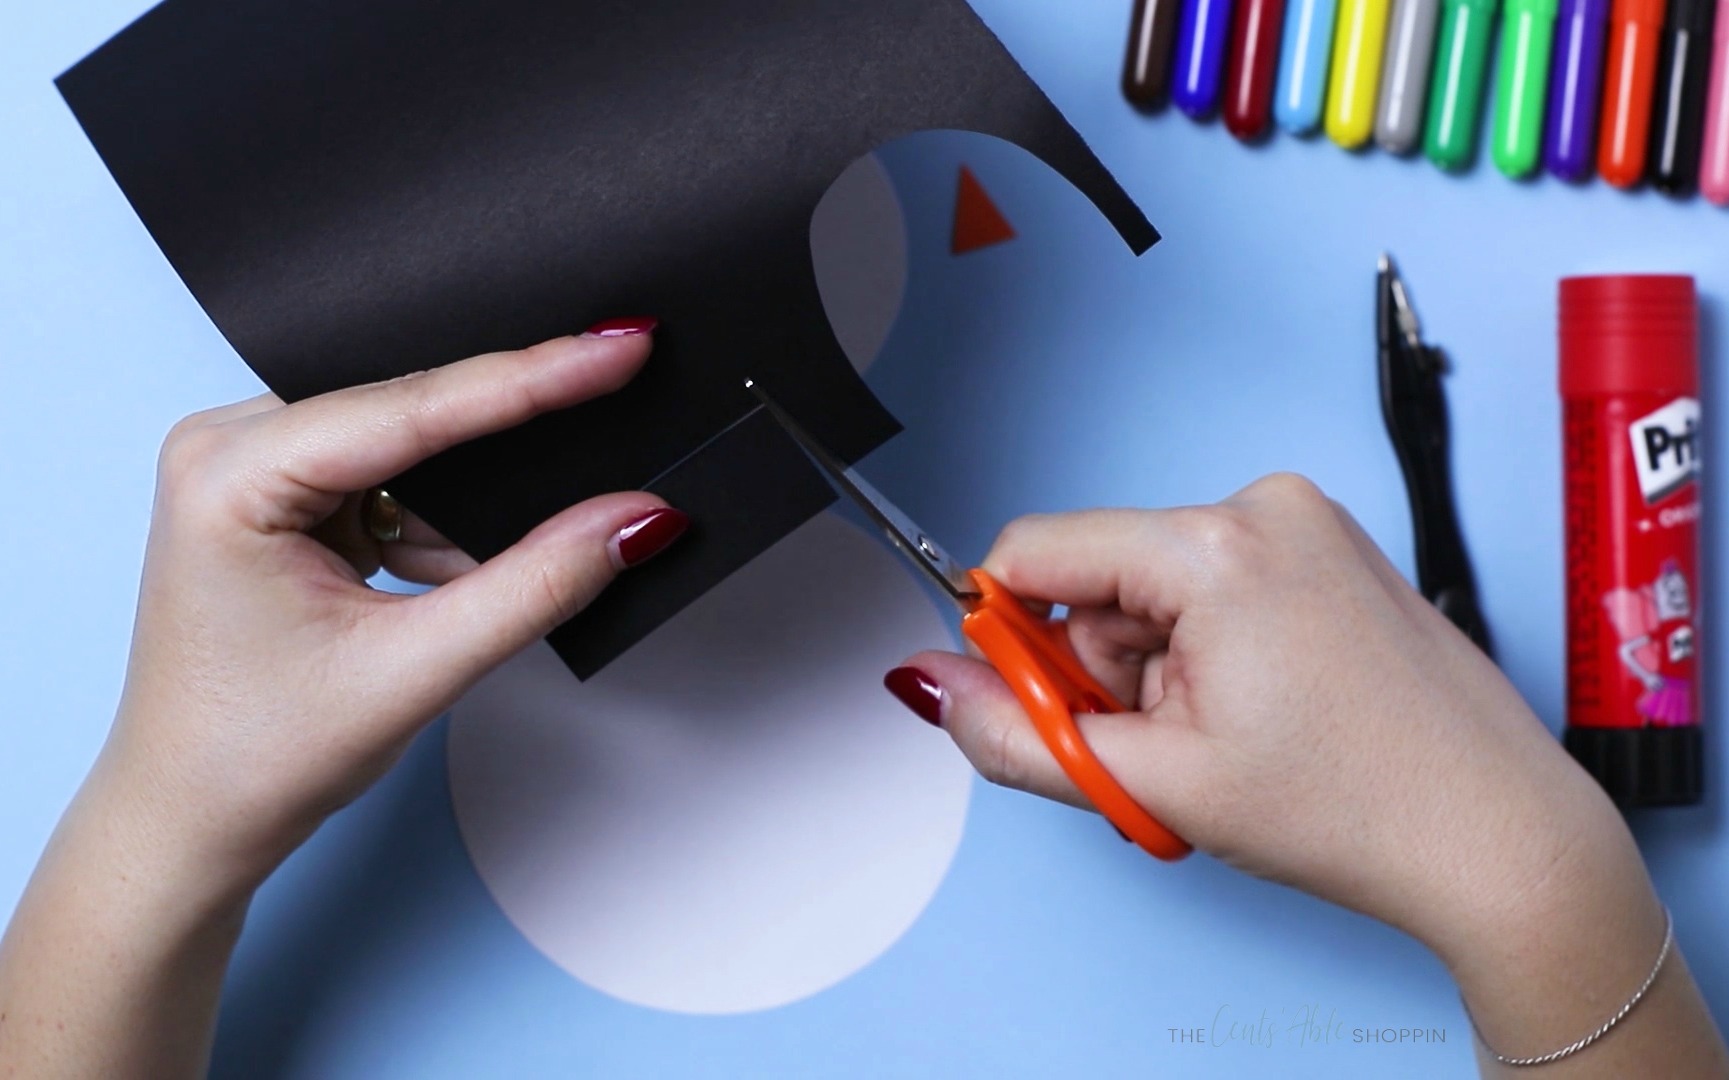
Grab your black construction paper and cut two pieces to make the hat. One should be a sort of half circle while the other is a rectangular shape. The half circle will eventually be glued on top of the rectangle block to form a hat.
After cutting the hat, you’ll want to cut three, equal-size, round buttons for the front of the snowman body. Set those aside as well.
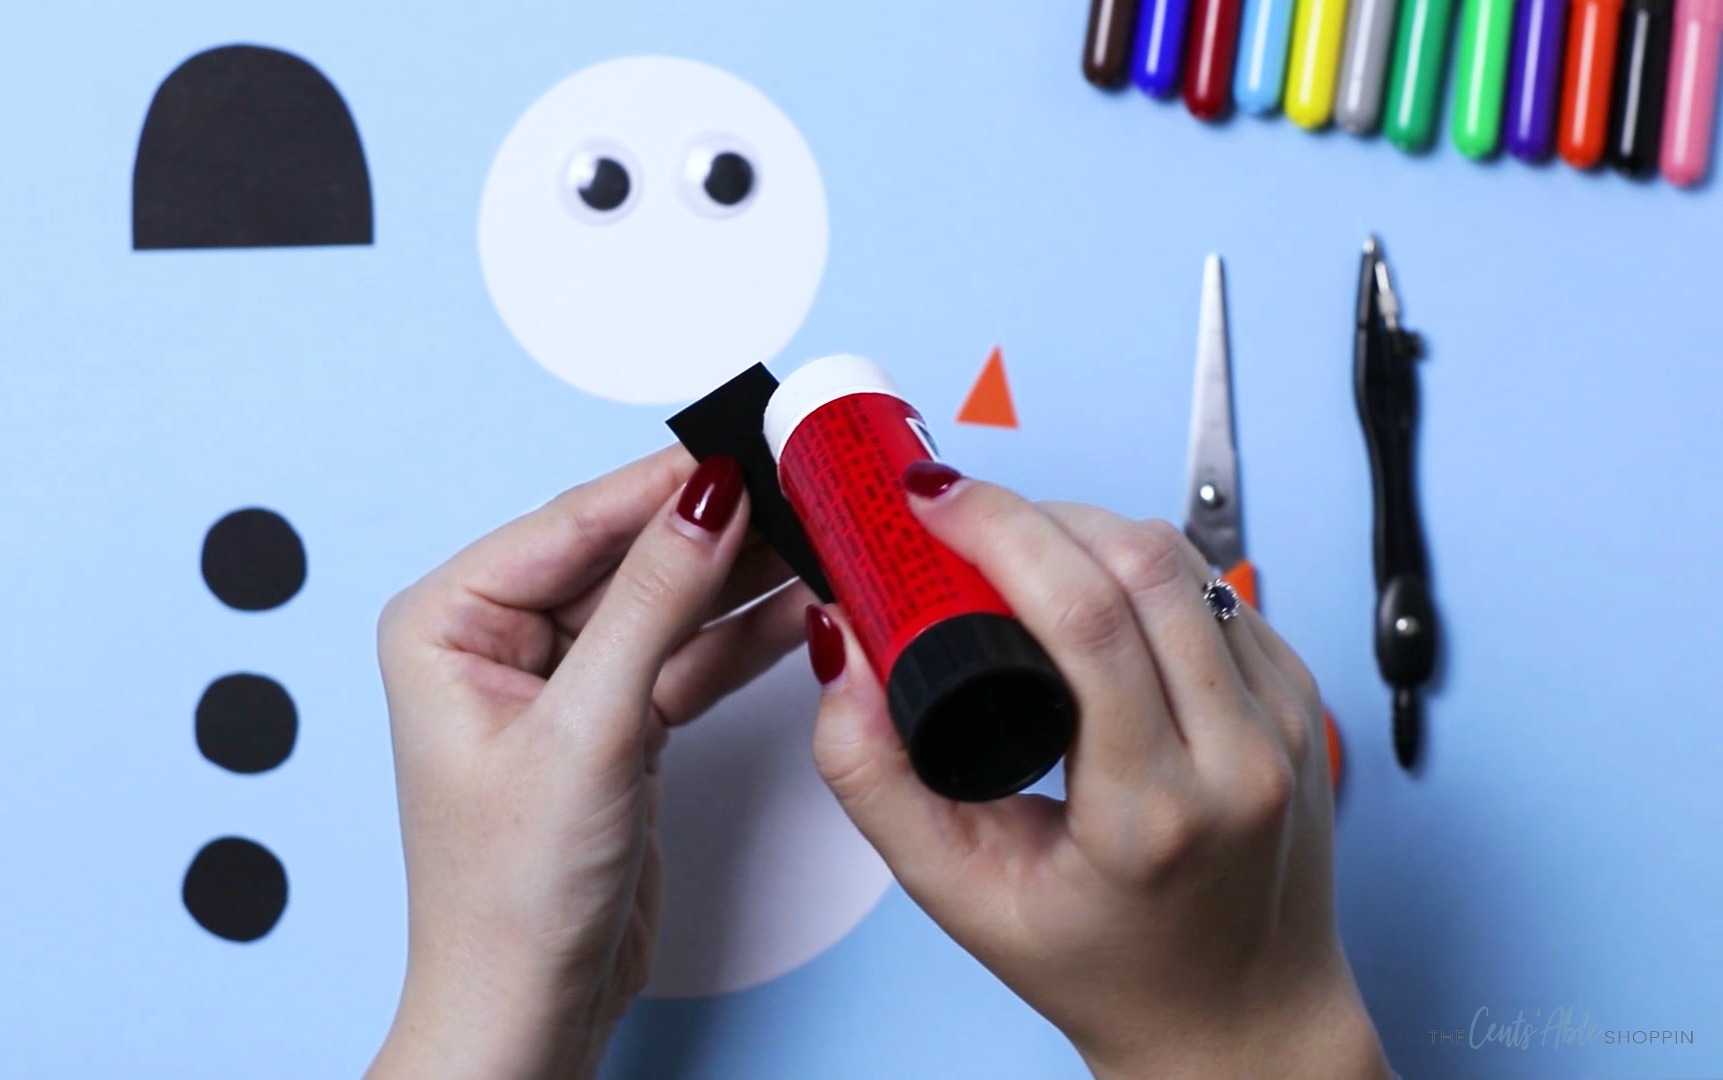
Now it’s time to assemble the snowman! Pull out your glue stick and glue the googly eyes on the face of the snowman. Then, use the same stick to attach the hat – first the rectangle, then the half circle.
After the eyes and the hat, you’ll want to glue the buttons on the front of the snowman (there are 3!)
Follow up with the orange nose and then attach the body of the snowman together with a little glue on the white circles you traced and cut out with the scissors. Lastly, draw a smile on the snowman with a black marker – that’s it!
Your finished snowman is now ready for action! My favorite way to use these is to make several – paste them on the front of brown paper sacks and fill with cookies and treats at the holidays. They make a wonderful way to “Elf” your neighbors!
