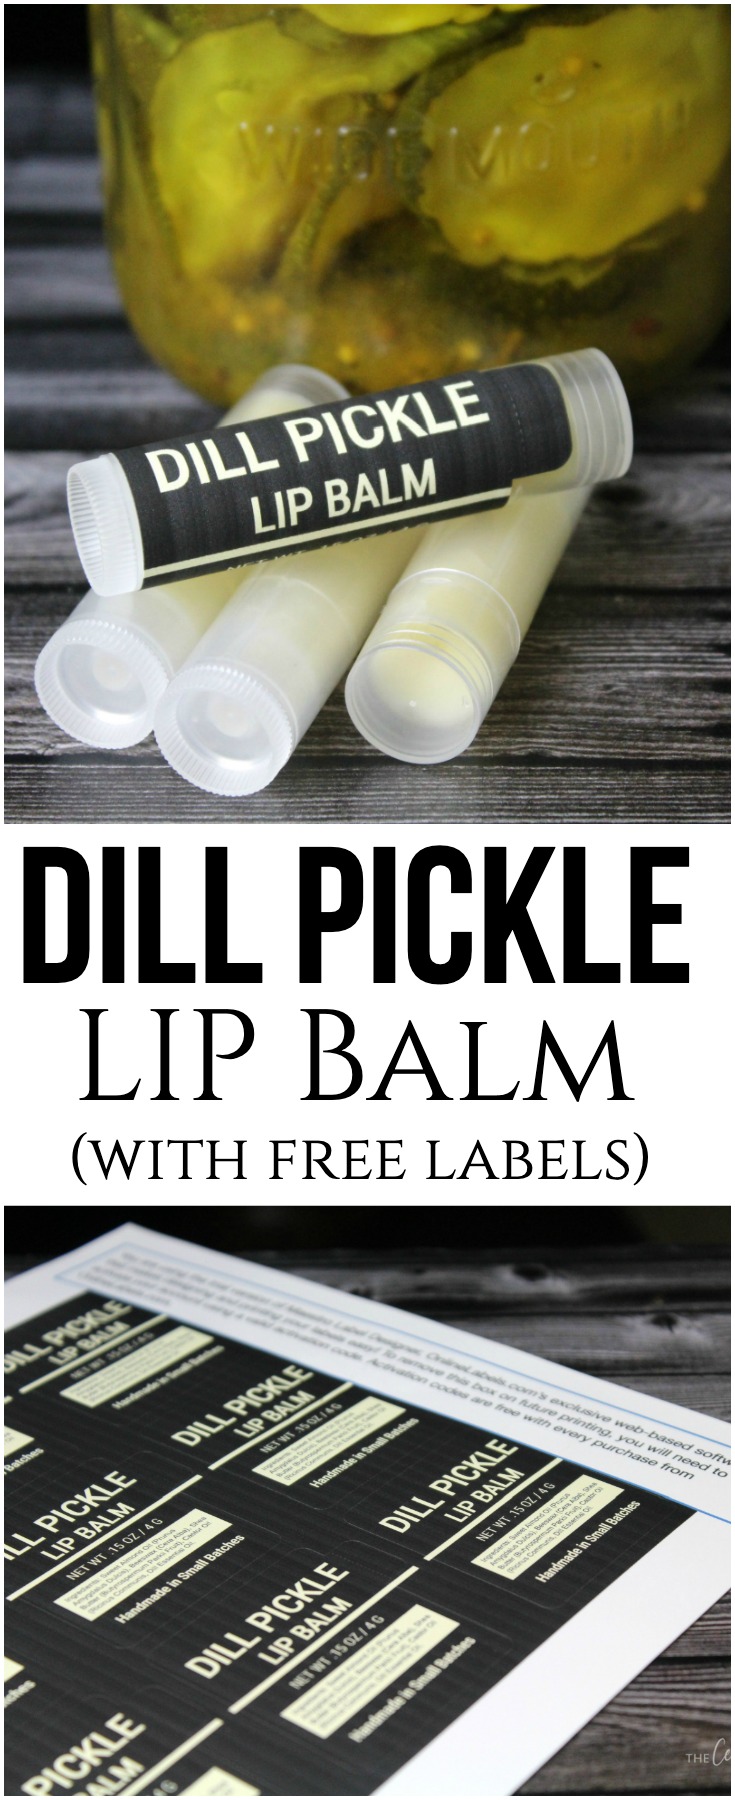
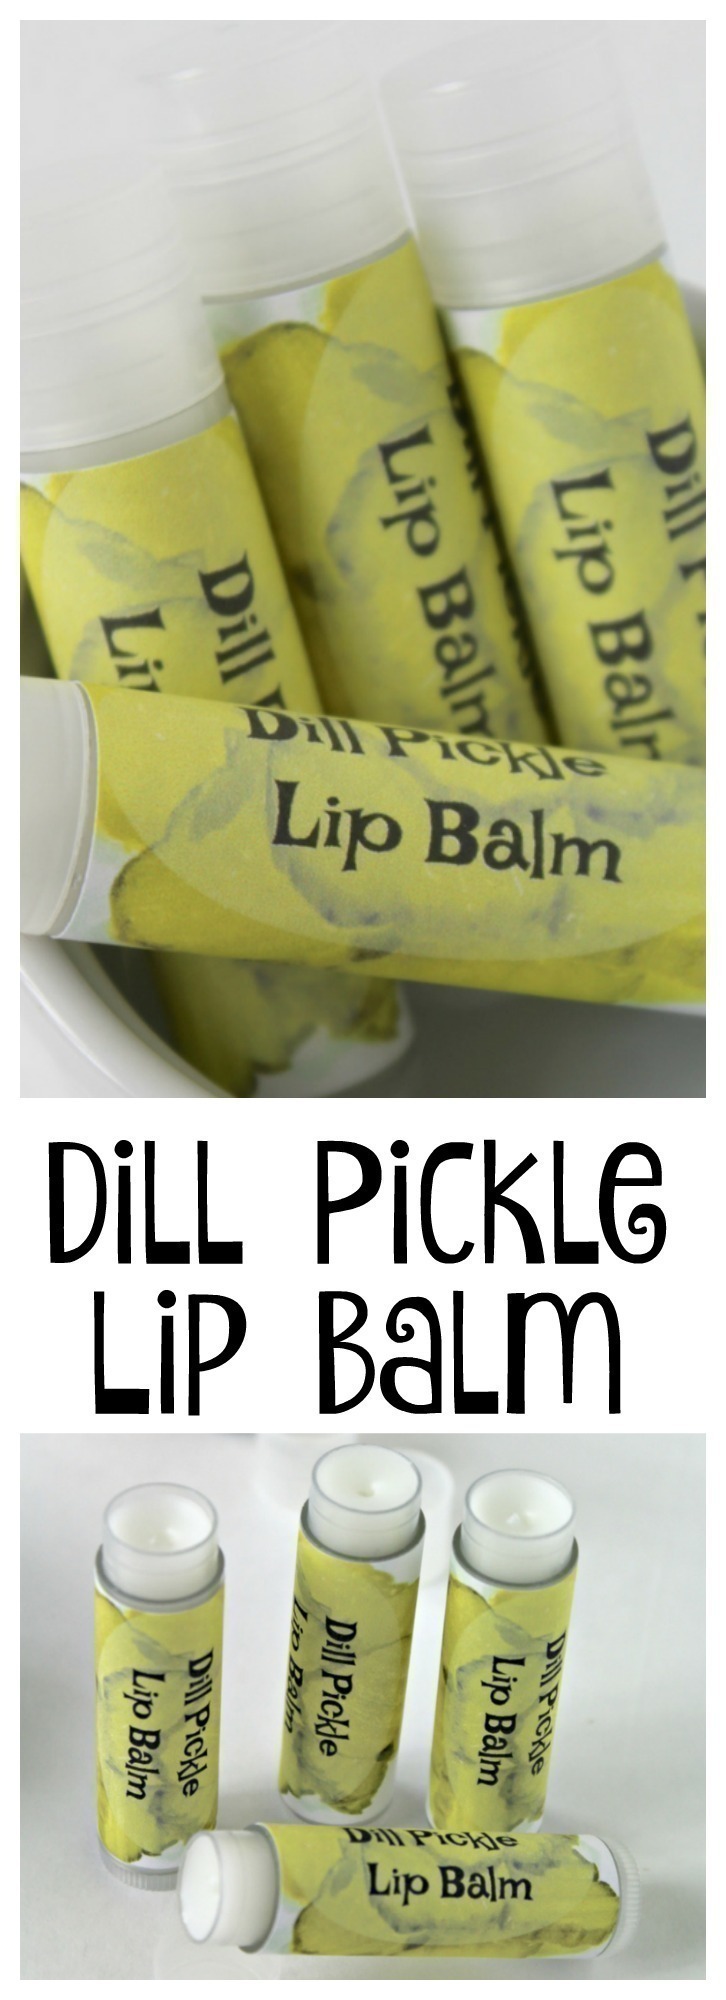
This Dill Pickle Lip Balm is easy to throw together with simple ingredients that come together to make the ideal gift for anyone crazy about dill pickles!
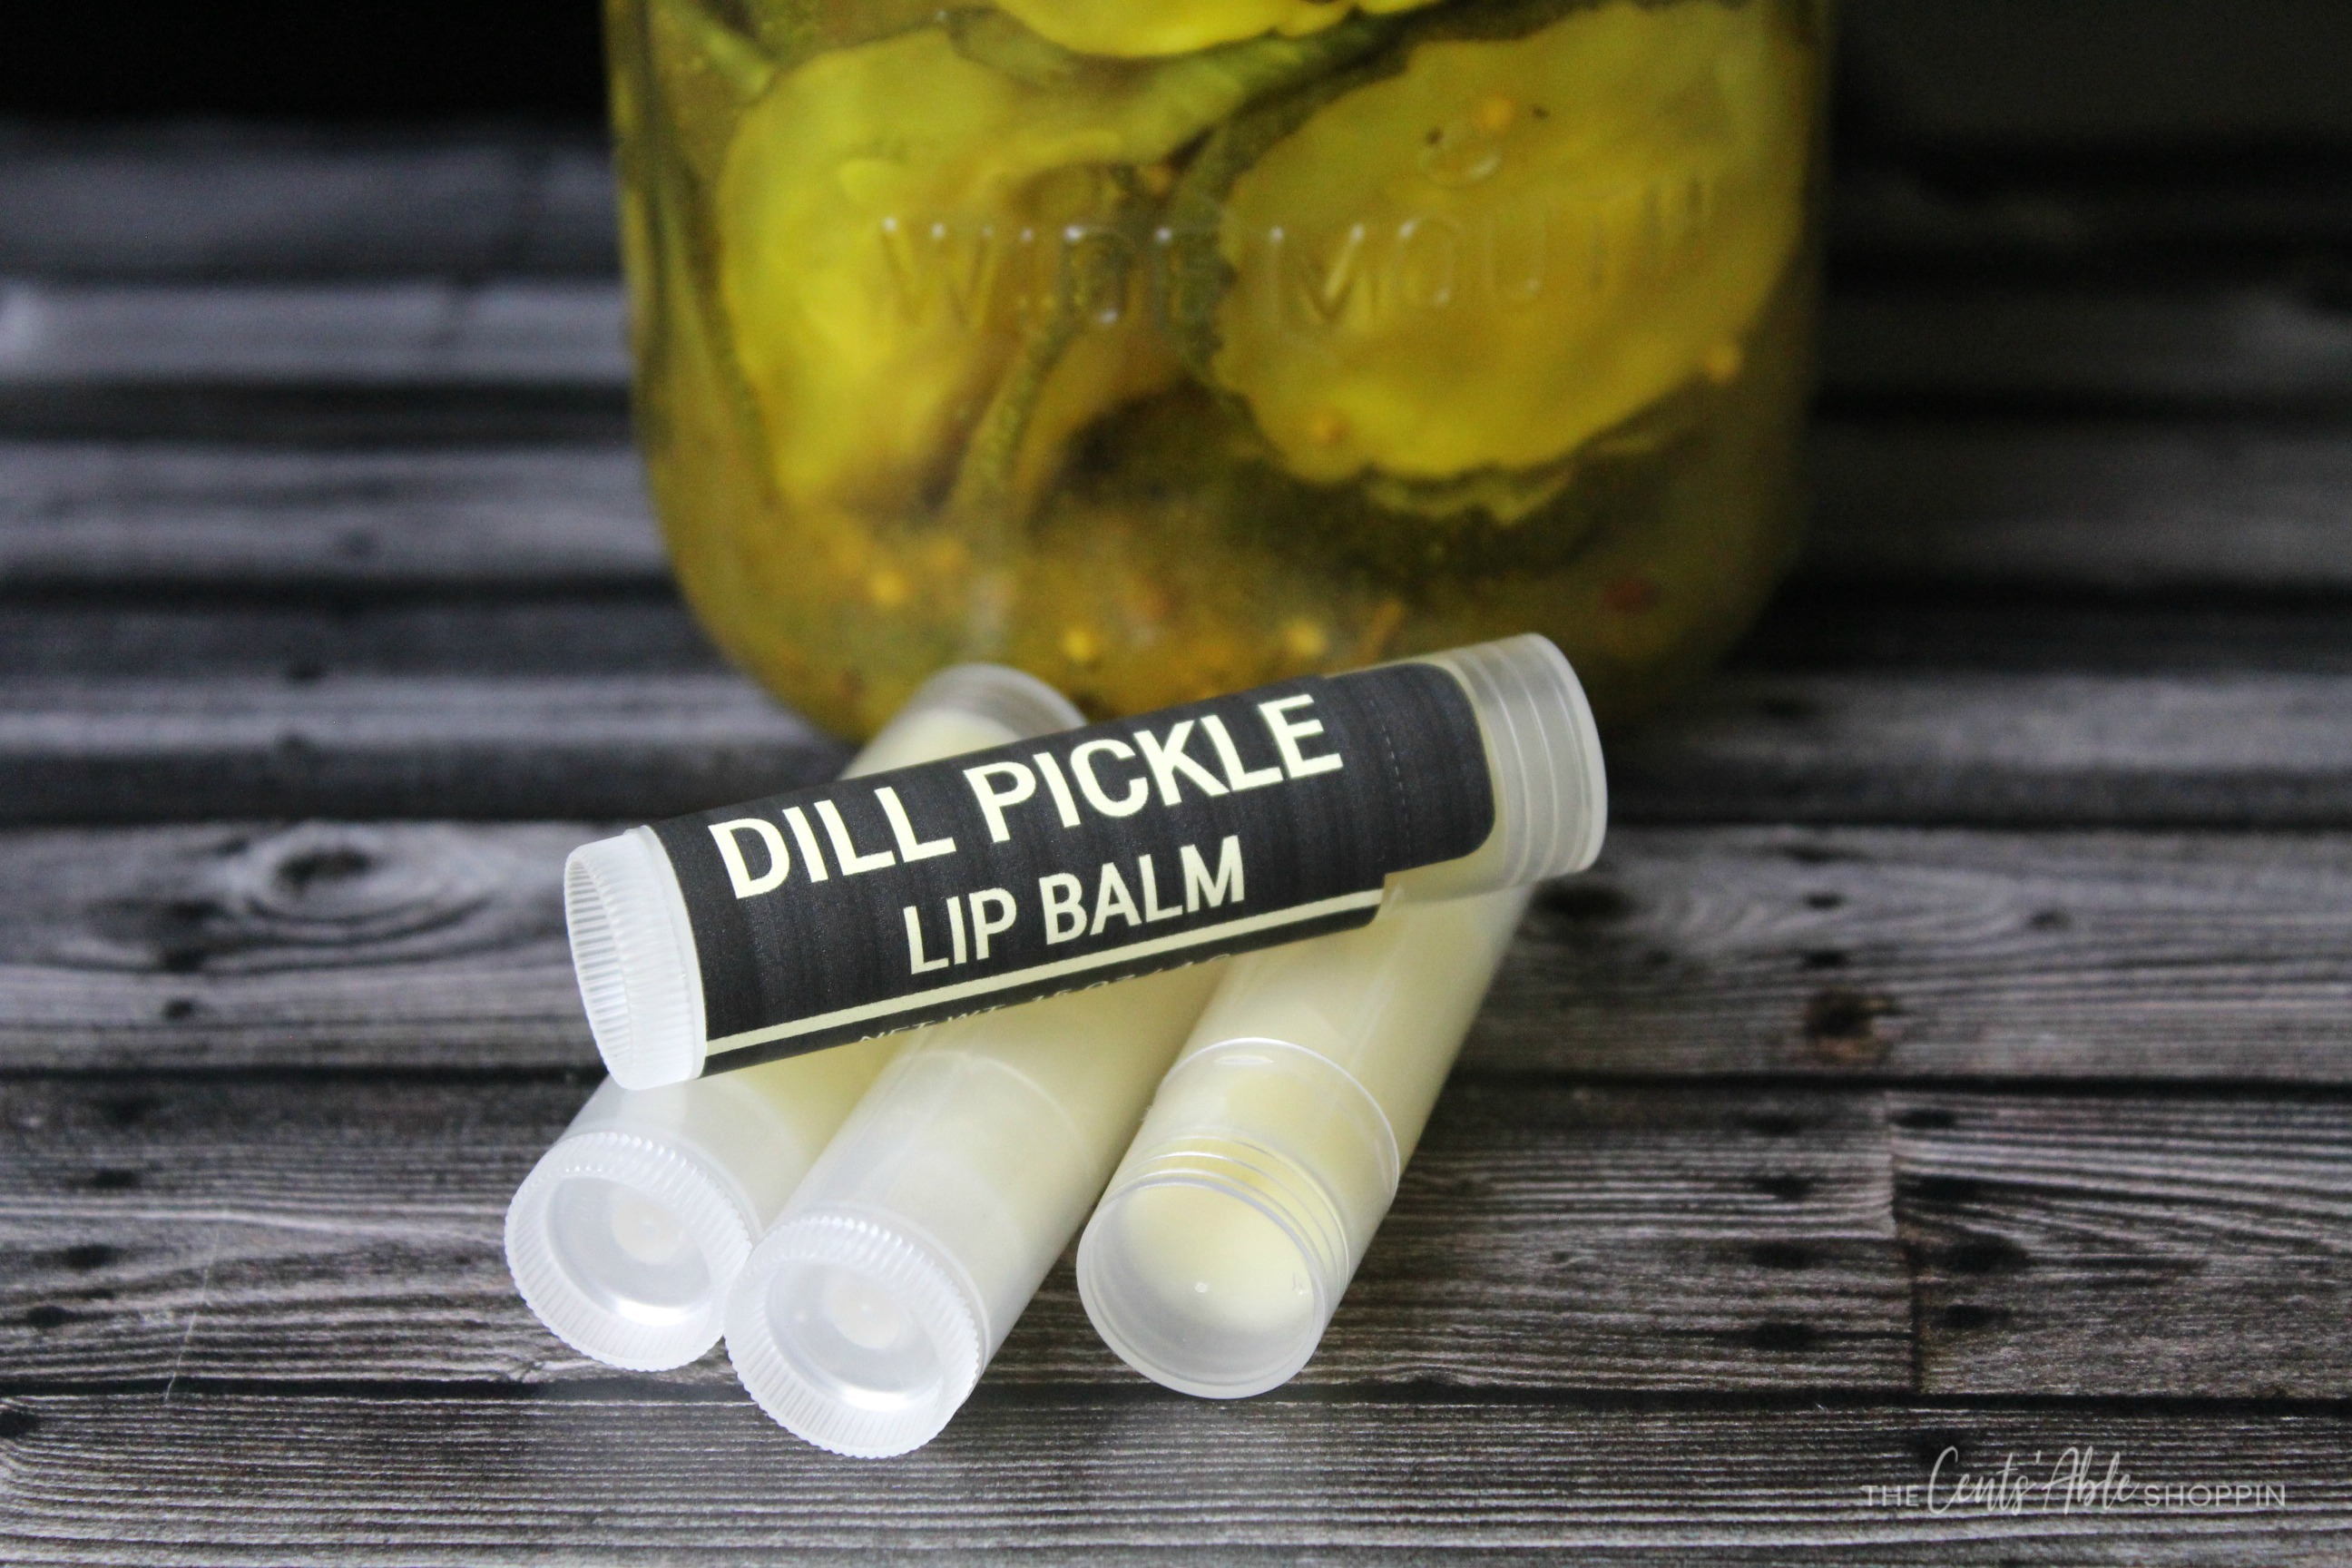
I absolutely love dill pickles and dill pickle lip balm is my favorite thing to use on my lips all year long. I can’t seem to have enough of these around, so I keep a few in my purse, in the car and even in the bathroom.
Plus, Dill Pickle Lip Balm is so easy to make. Grab these easy ingredients, a few empty lip balm tubes and 5 spare minutes to whip these up. We even included the labels far below if you don’t want to make your own.
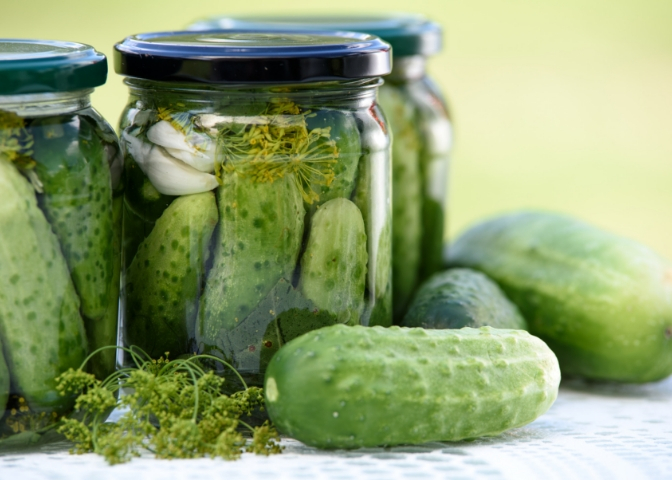
Admit it though: nothing screams summer better than popsicles and dill pickles. Why not bring dill pickles to life all summer long in the form of dill pickle lip balm?
It’s so fun to pull out and show friends and family exactly how much of a die-hard pickle fan you are when you even have your own unique lip balm.
Dill Pickle Lip Balm
Ingredients (makes 14-16 tubes of lip balm)
- .60-75 oz beeswax pellets (less for a softer balm, more for a harder balm)
- .25 oz castor oil
- 1.25 oz sweet almond oil
- .50 oz unrefined shea butter (can replace with lard or tallow too)
- 25 drops dill pickle essential oil
- empty lip balm containers
(Having a scale helps make sure the lip balm stays consistent! I can’t recommend having one enough — it pays for itself after just a few uses!)
Instructions:
In a Pyrex measuring cup with a spout, measure and combine all of the ingredients with the exception of the essential oil. Set the cup/glass in a skillet with 1 ½ – 2 inches of water and melt over low/medium. Or, add items (except essential oil) to a glass pyrex cup and melt in the microwave for 10-15 seconds at a time until melted.
Once melted, and essential oil, then pour into lip balm tubes or tubs and finish cooling.
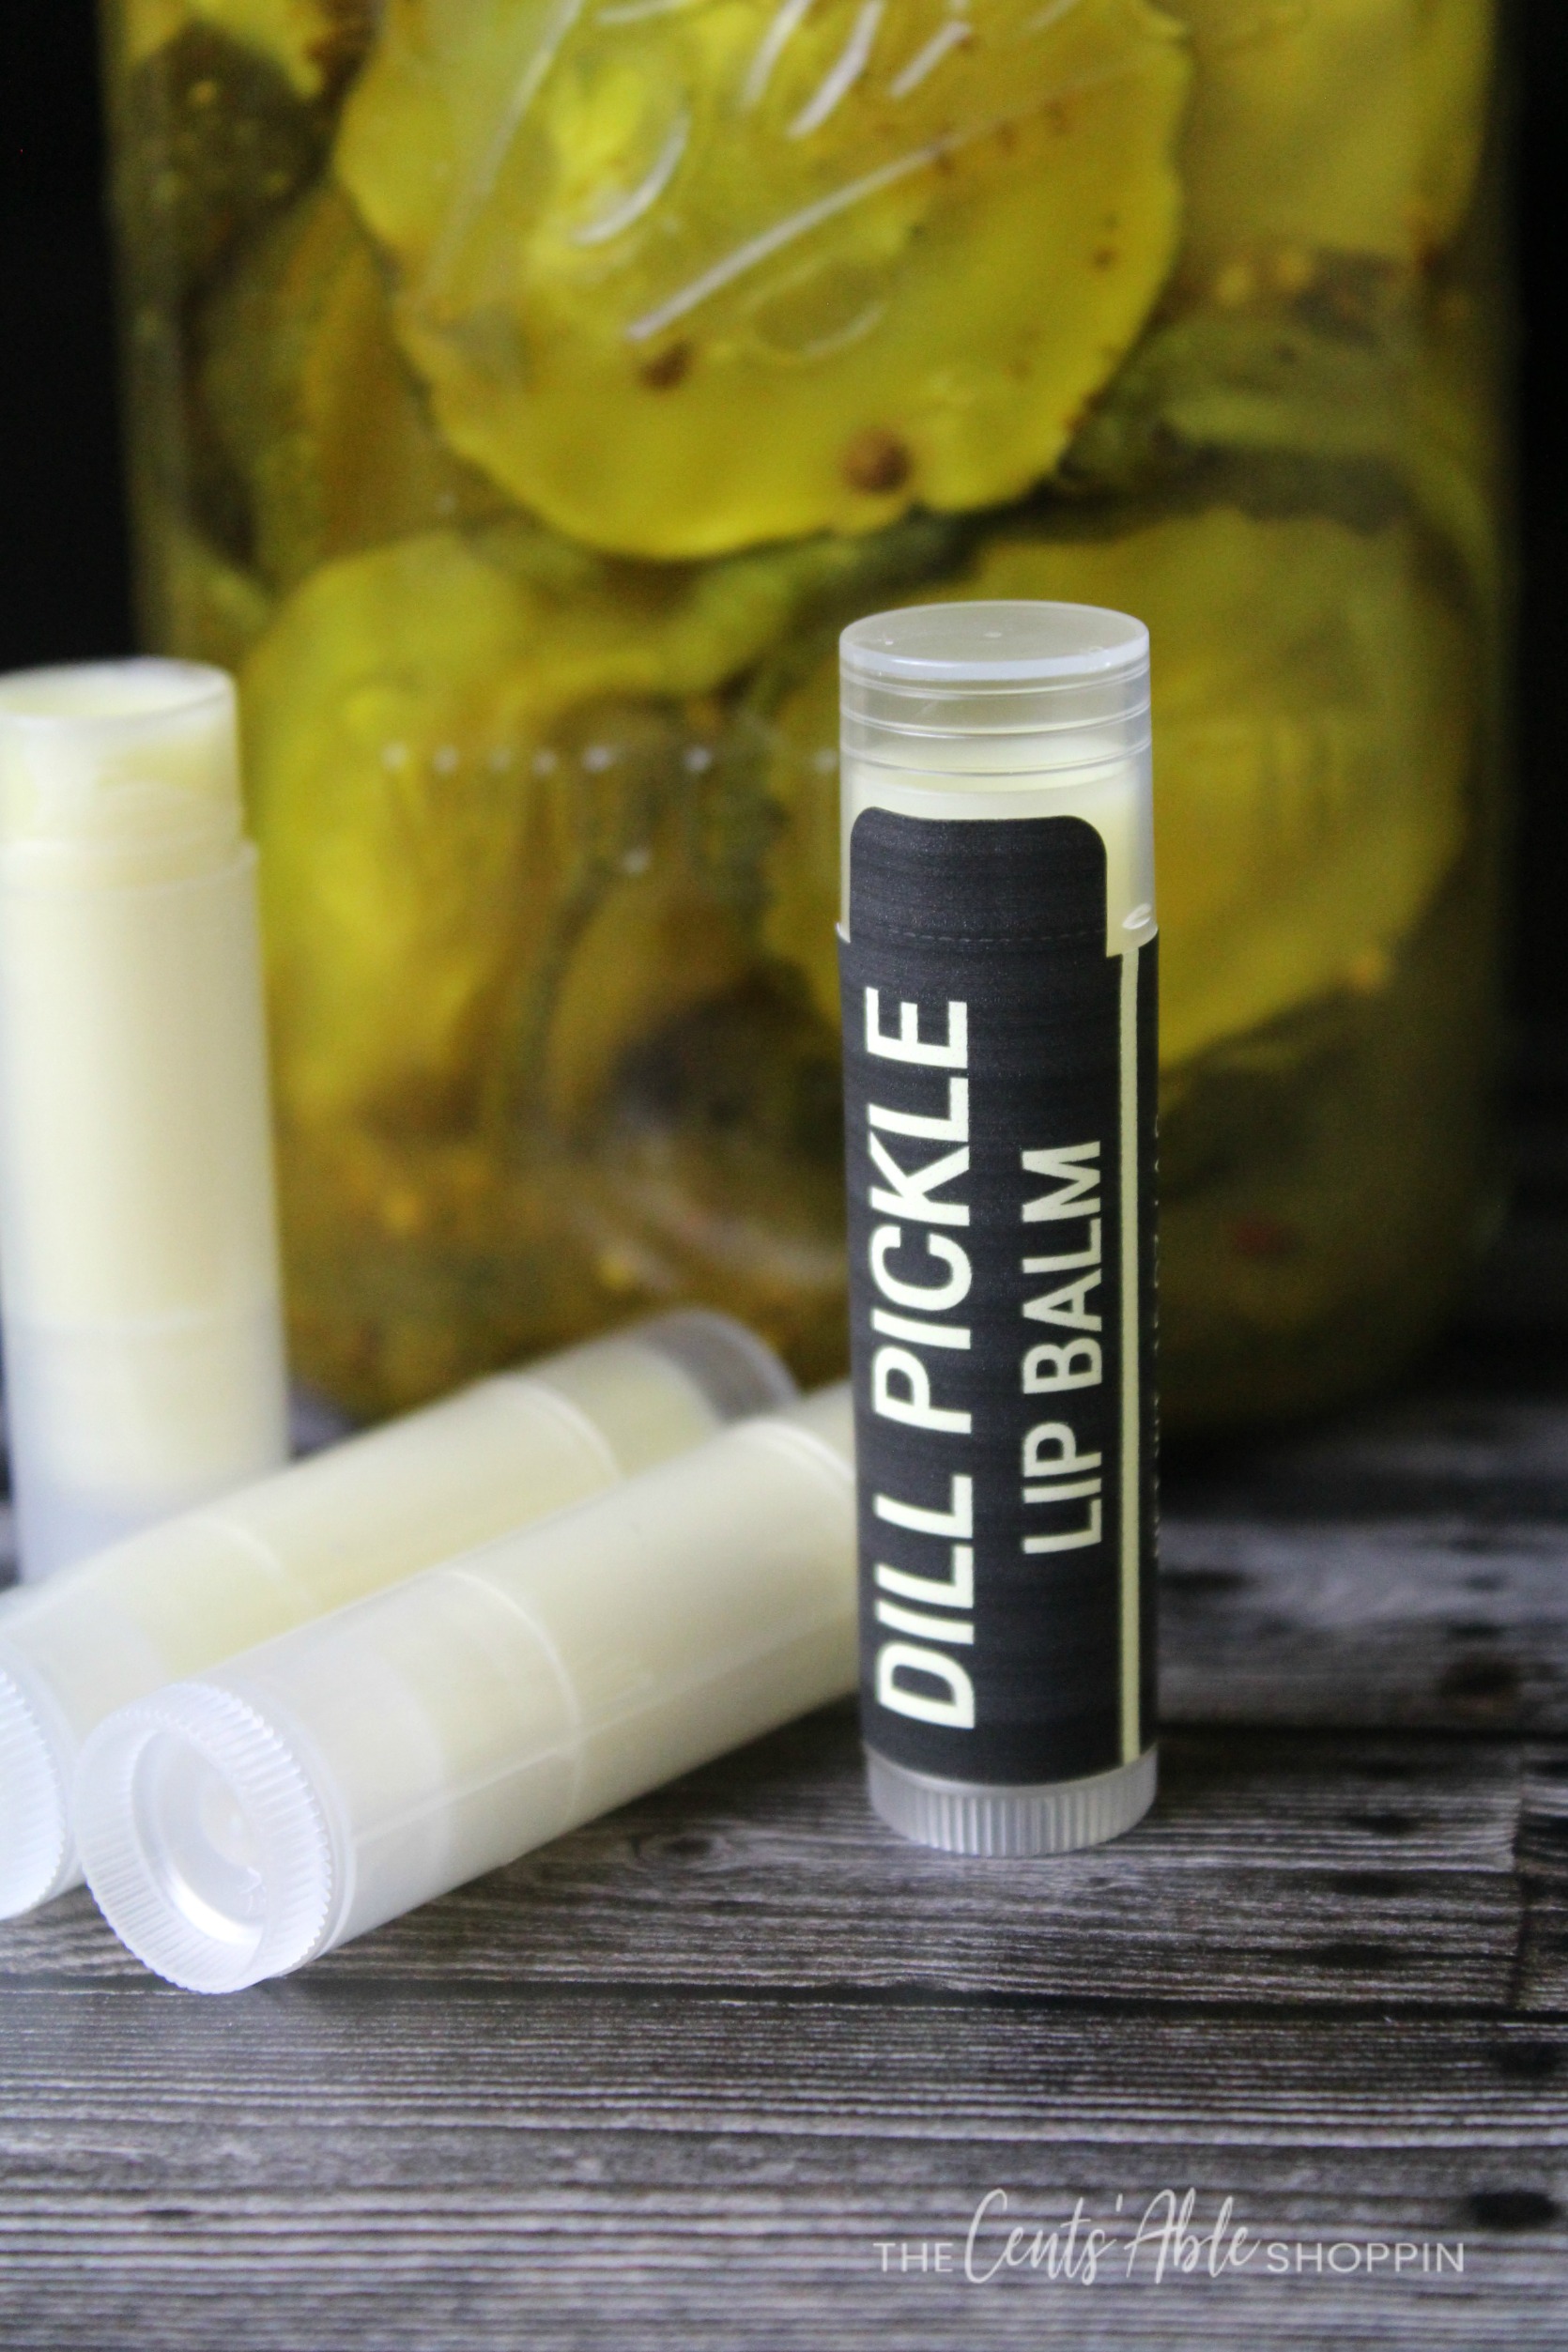
While a lip balm holder helps keep the tubes steady while pouring, it’s not essential. I have poured lip balm successfully by rubber-banding the tubes together.
Recently though, I picked up the lip balm tray and can’t imagine not using it (even though I did go without for quite a while!)
Definitely helpful, but not a necessity!
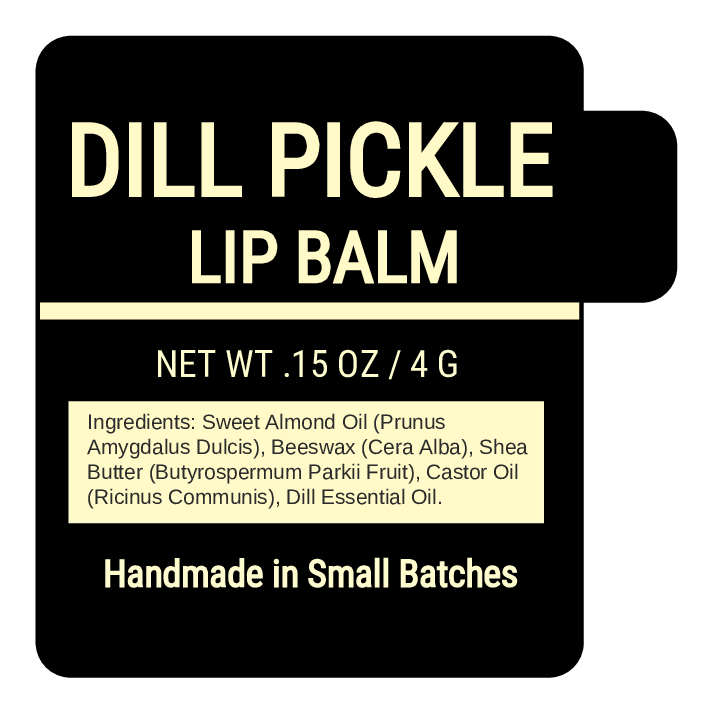
How do I label?
If you are labeling to give to friends and family, you can create your labels by using Avery Labels 22806. You will have to trim the edge just a bit.
Or, opt to use the Maestro Label Designer (here). The designer allows you to design your own lip balm labels. You can export as a “sheet” or as a single image. That single image can be uploaded to Avery and printed as lip balm square labels with the seal.
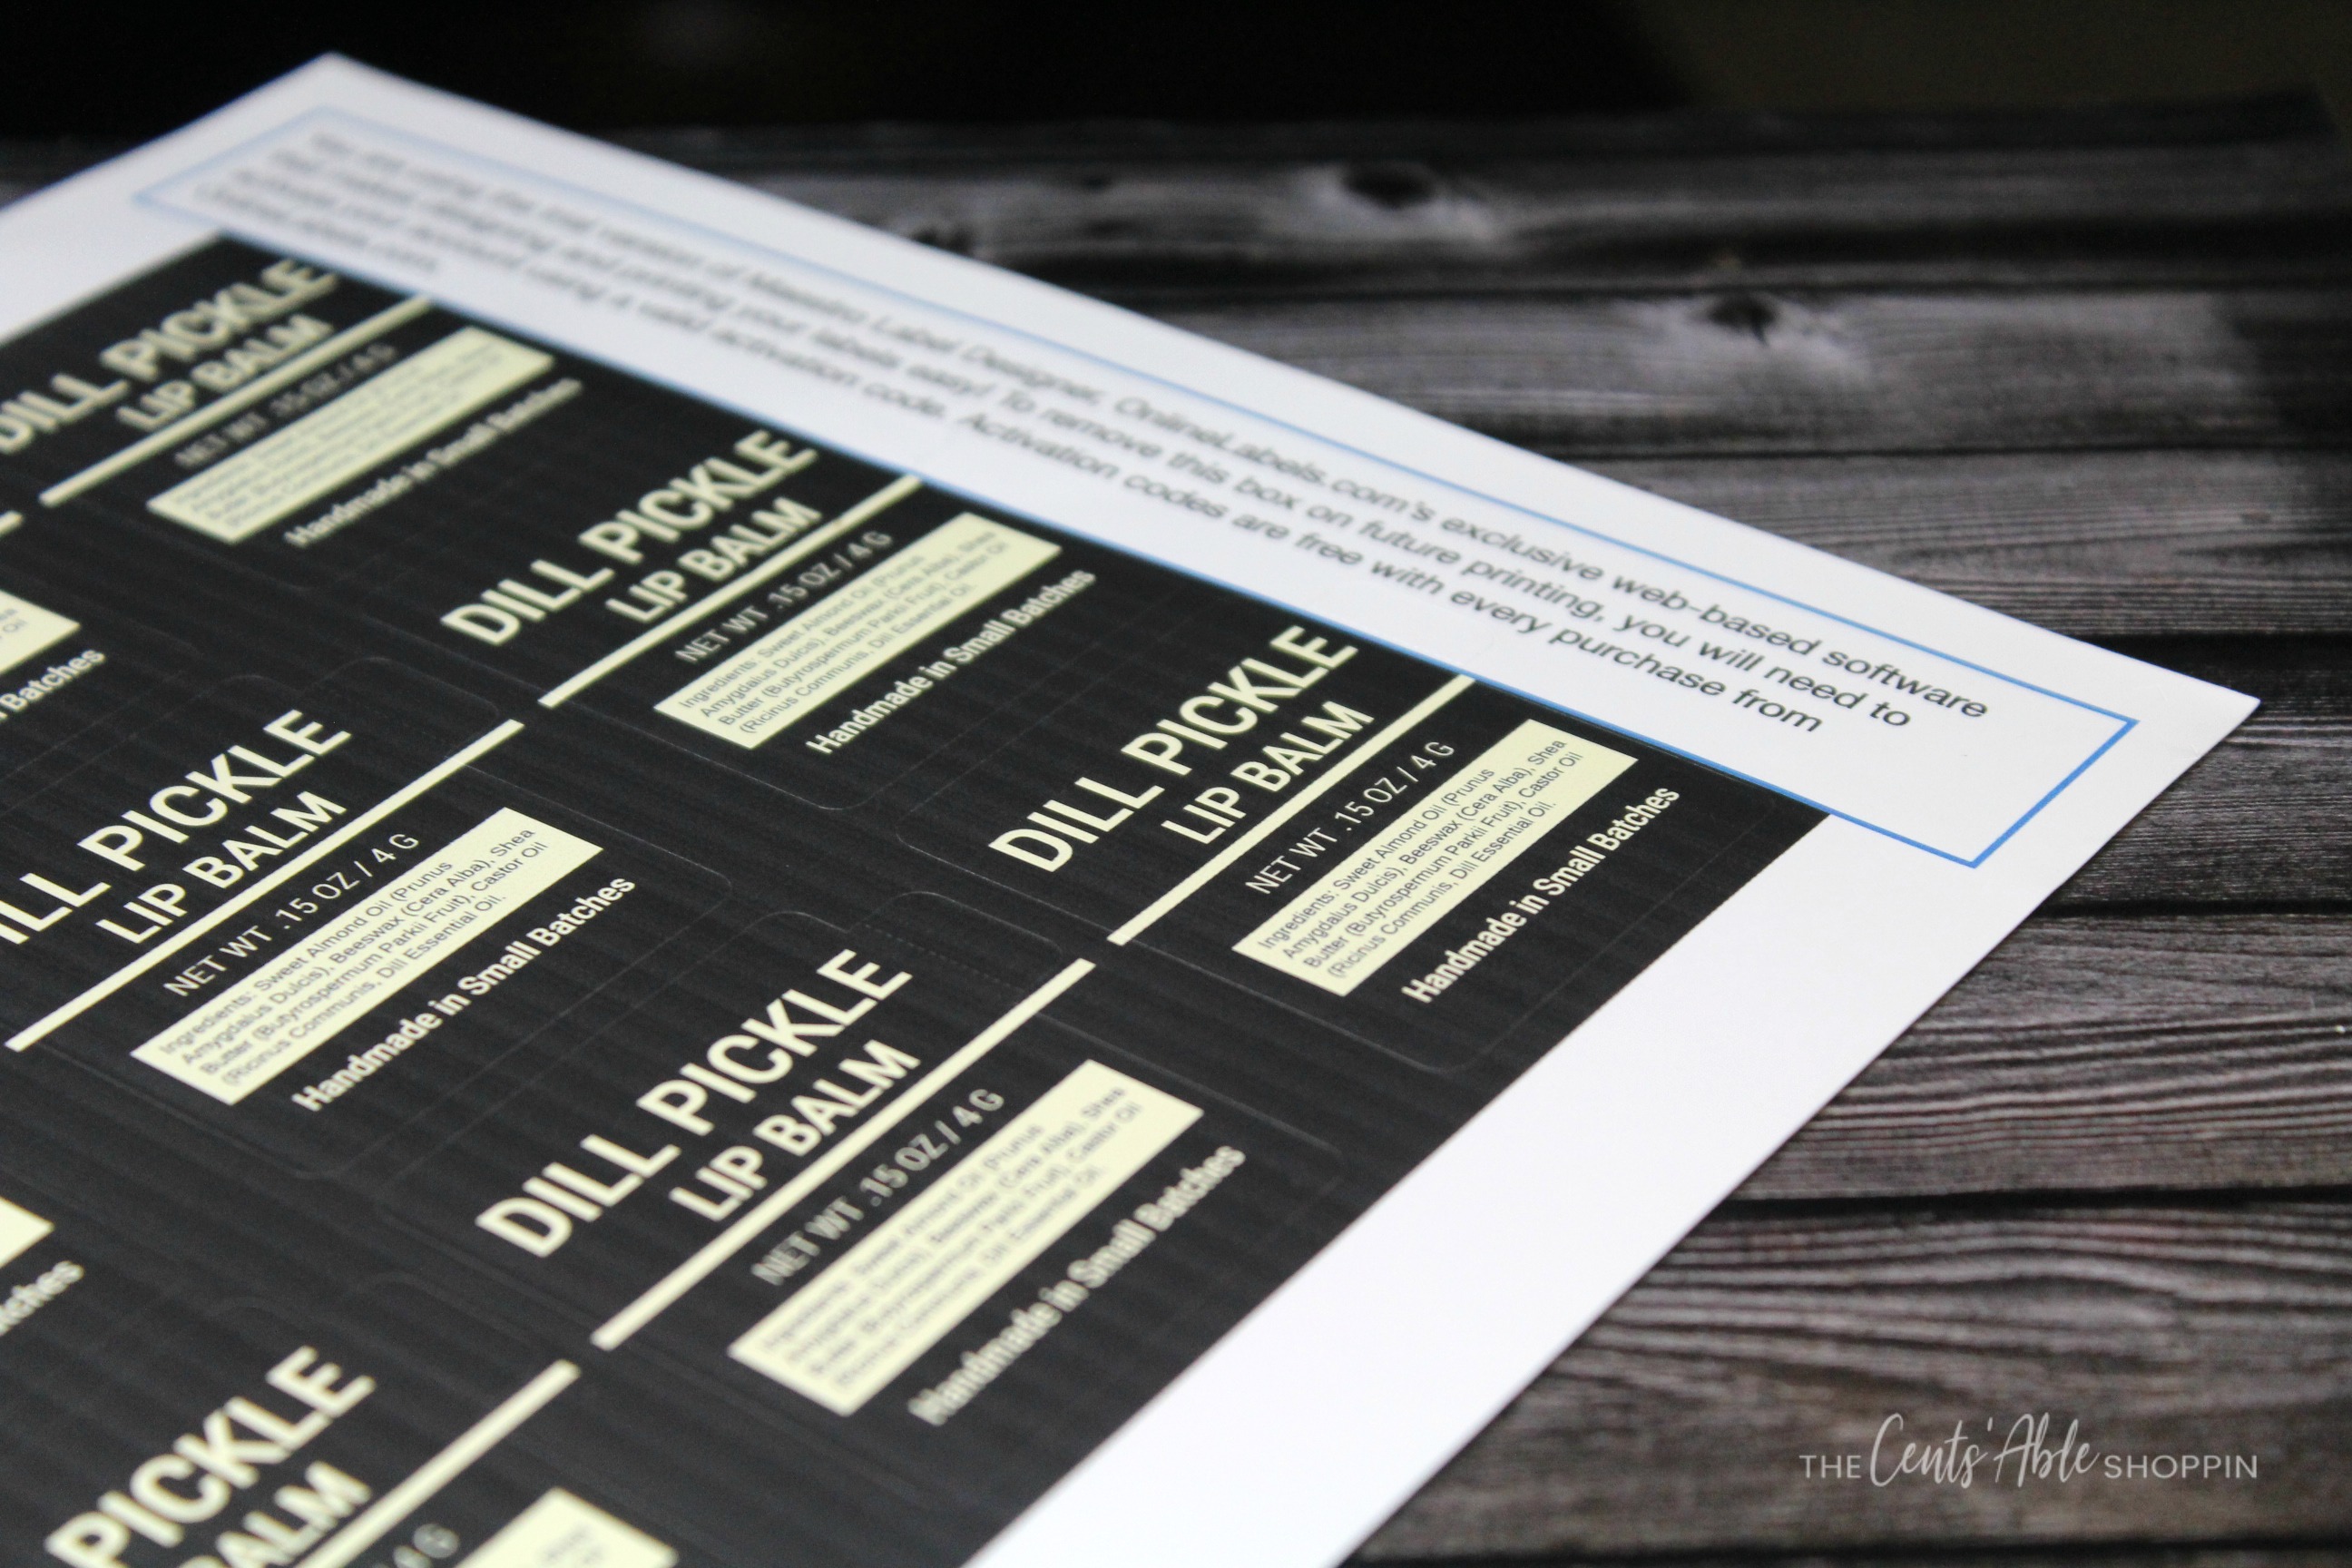
I personally love using Maestro Label Designer to create my labels. Buy these lip balm labels on Amazon (which are Maestro OL1102 lip balm labels, 2.25 x 2.25). Then pay just a mere $7 to activate Maestro for one month to print your labels (they will print with a watermark unless you pay for the Maestro designer activation for one month).
If you buy these labels from Amazon, you can still print the full sheet (linked below) — the watermark only cuts off one row (leaving you with 9 solid labels). Otherwise, pay for the 1 month Maestro designer ($70 and print the full sheet. Or make your own depending on what ingredients you use.
Get this label:
- Find the single lip balm design here (and upload to Maestro using their Import Menu Option)
- Or click here for the full sheet of 12 labels – which is a PDF file (will have a watermark unless you activate Maestro label designer)


what brand of essential oil do you use?
Thanks so much for the recipe and tips! I can’t wait to make some!!