This Dryer Vent Pumpkin transforms a standard dryer vent into a decorative pumpkin that can be used to decorate for the fall season!
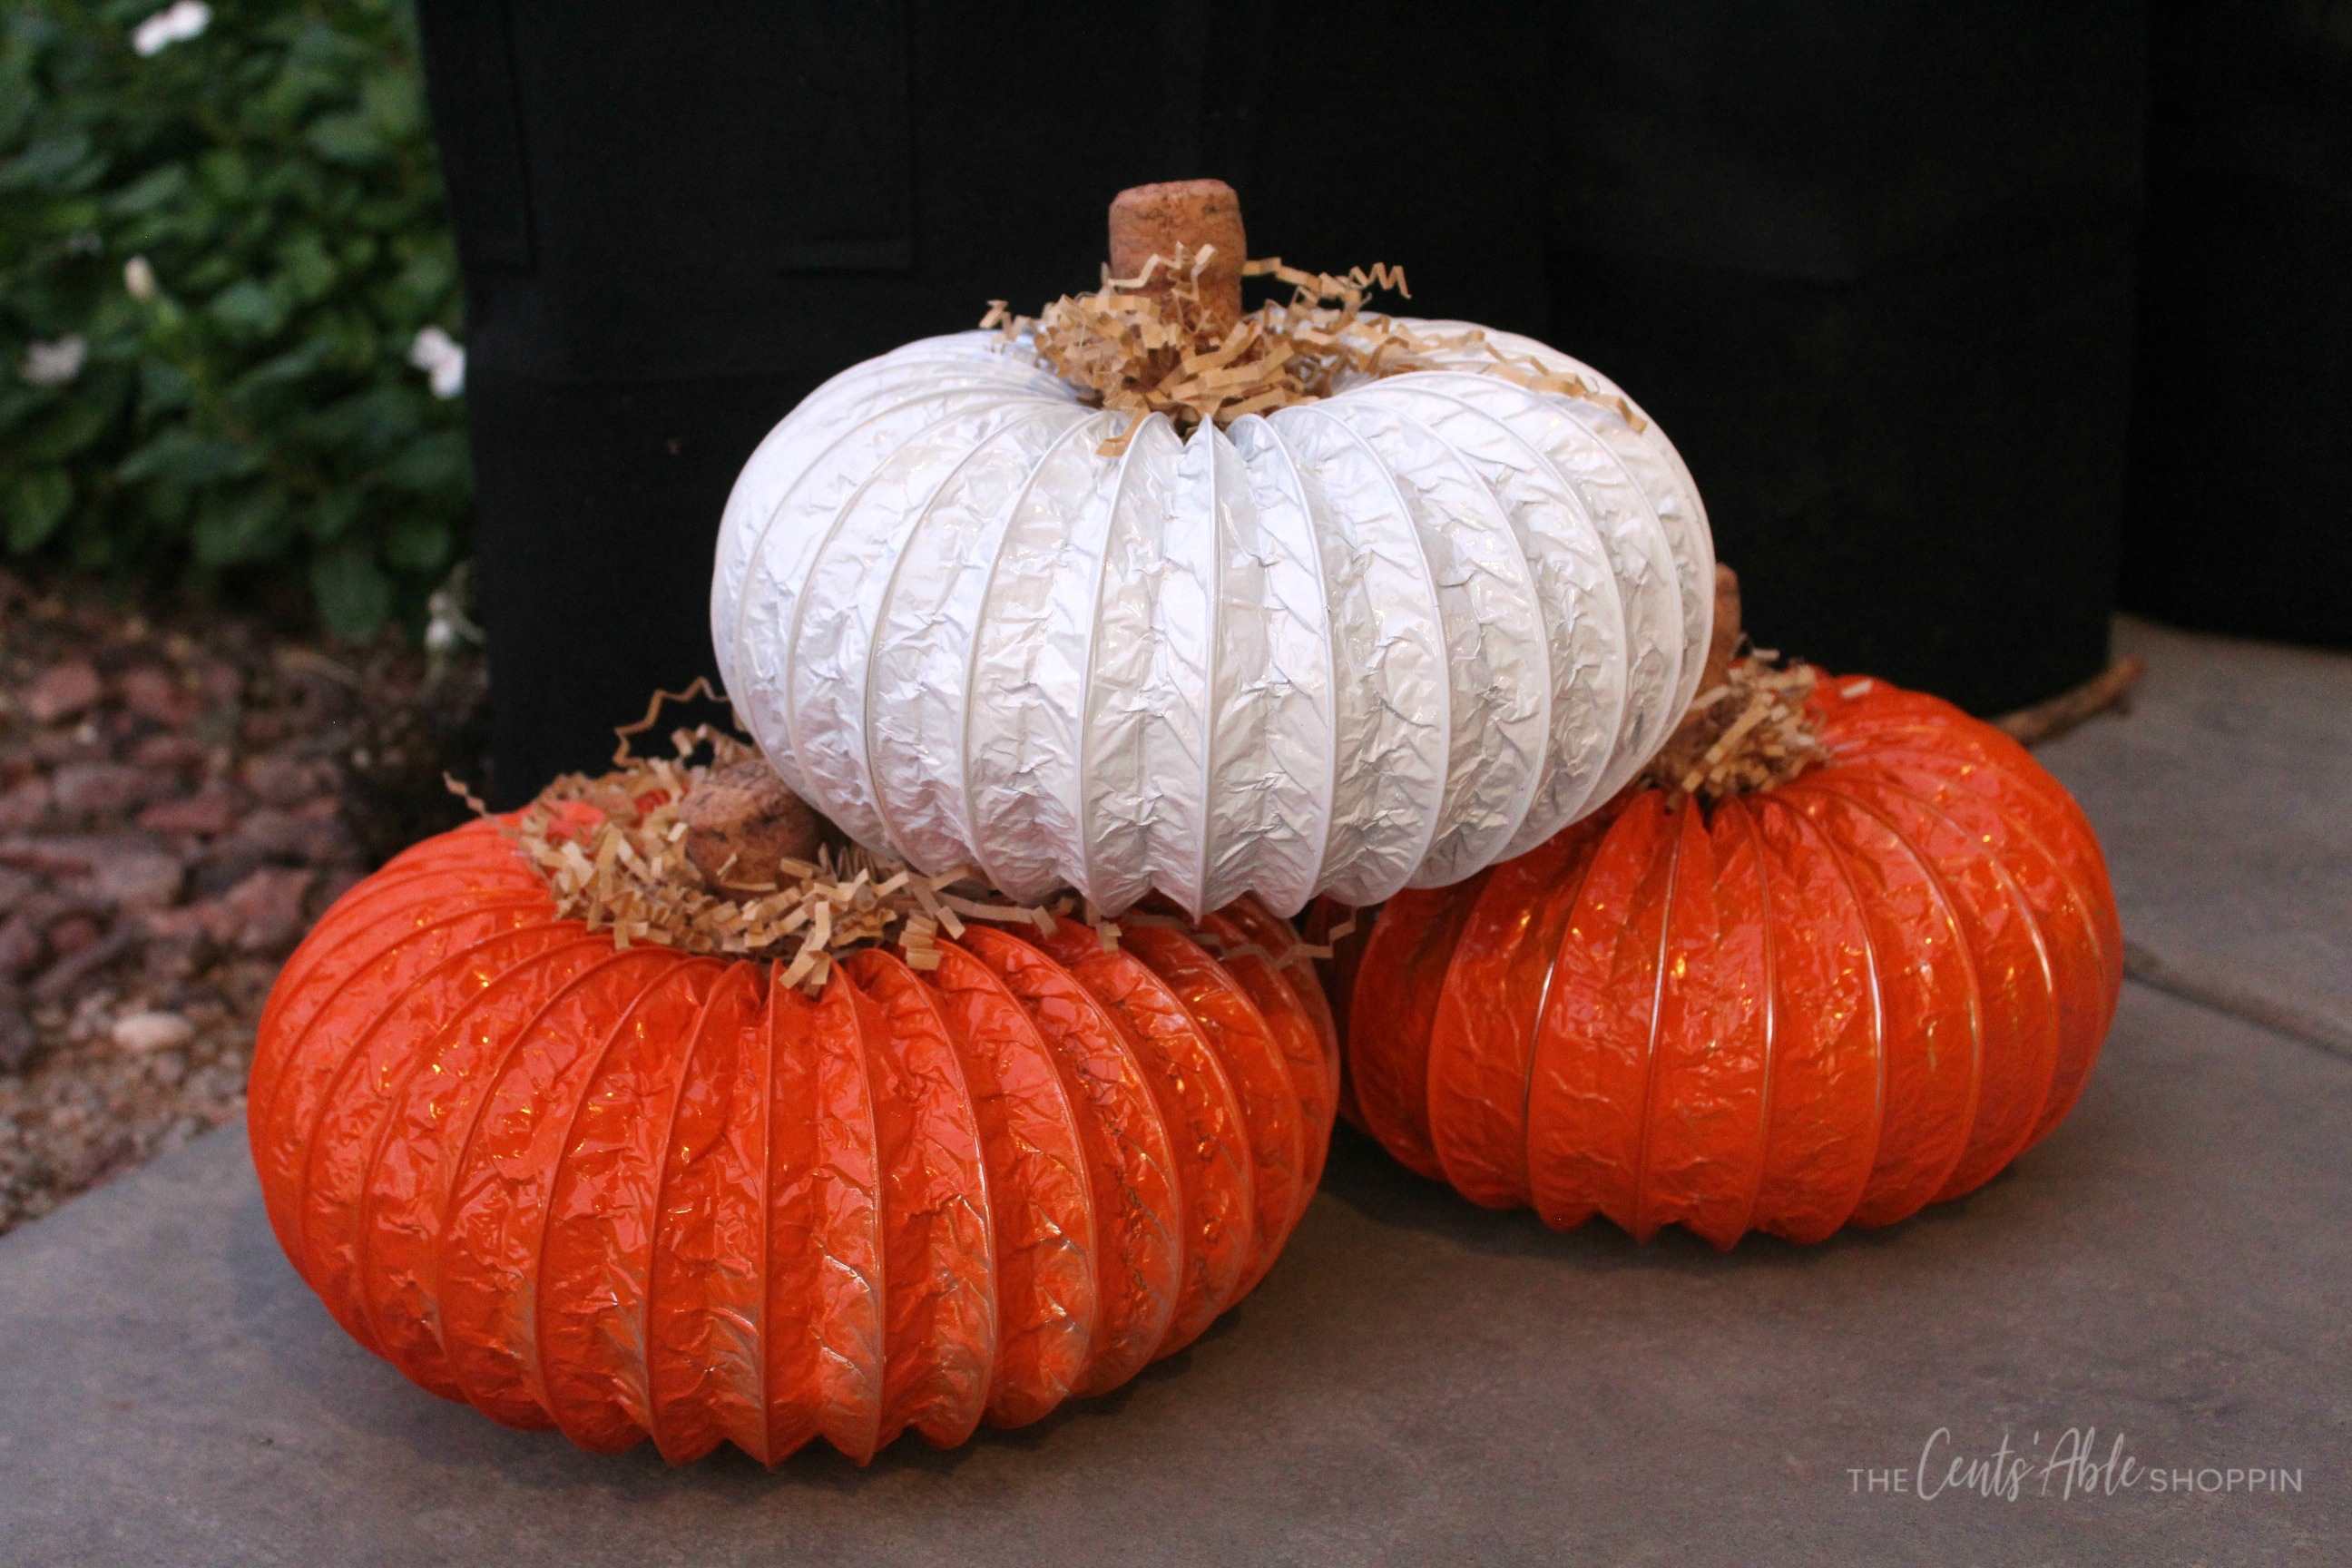
It’s that time of the year when pumpkins start popping up in stores and as decor in almost every home. It’s hard to believe that though, at least here in Phoenix, because it’s hot.
When I was a kid, September marked the beginning of school and harvesting of corn. Cool nights and the smell of crisp, cool air. Twenty years later I’m in Arizona struggling to comprehend why September temps are still upwards of 105 degrees.
I think we’re all just ready for a break of cool weather.
These dryer coil pumpkins were such a fun project to work on with the kids over the last week. Dryer coil is a right around $12 at the local Home Depot, and we already had a few cans of spray paint at home (you’ll want orange, maybe white!)
This dryer coil might even actually be called a “dryer vent” (that sounds more official – right?) In any case, it’s smushed really tight in this little box. When you pull it out and stretch it , it is about 8′ in length.
That was enough for 3 pumpkins – which is a rather cheap DIY.
Dryer Vent Pumpkin DIY
This dryer vent fall pumpkin is really easy to make. You can stack them outside your door, or group them on a mantle or shelf for a Halloween/fall display.
Supplies needed:
- 8′ Dryer Vent (we got ours at Home Depot)
- Orange Spray Paint
- Hot Glue & Gun
- Wine Cork or Sticks (check your local thrift store for wine corks)
- Floral Moss
- Wine cutter from the garage
Directions:
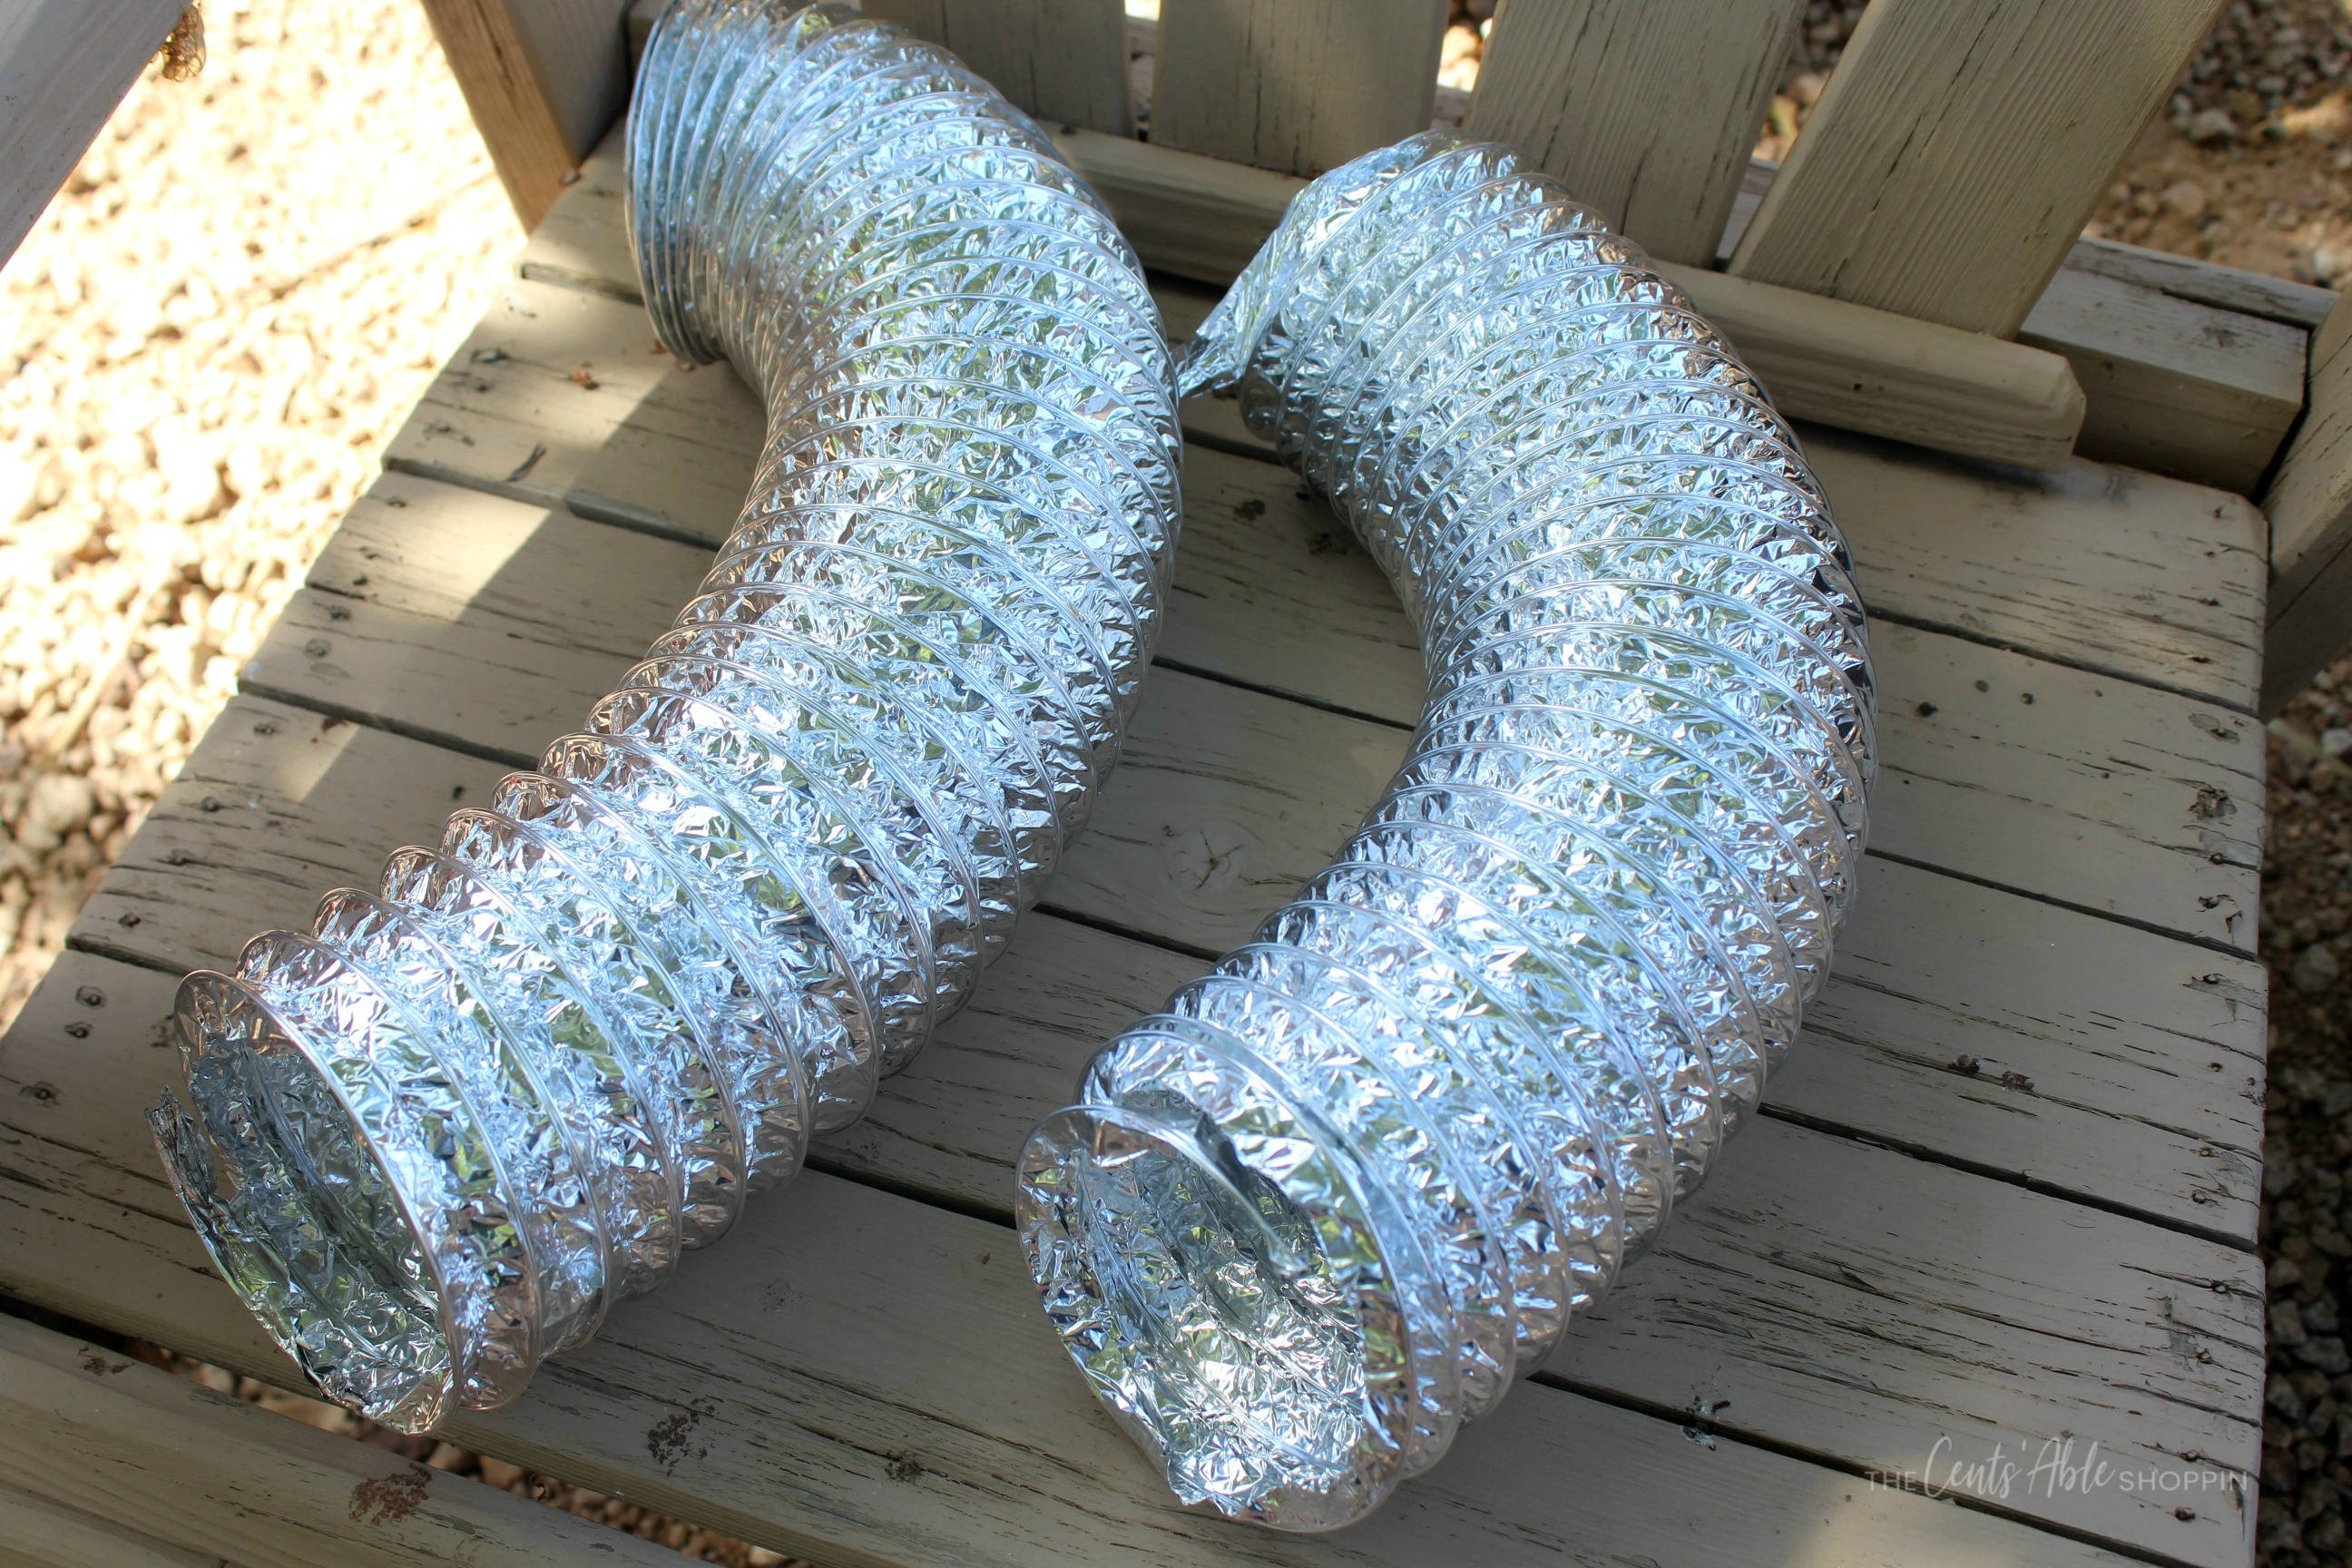
Stretch out your dryer vent to full length. Use your wire cutters to cut 2-3 pumpkins. You can opt for (2) 4′ pumpkins or, (2) 3′ pumpkins and (1) 2′ pumpkin.
If you do them any smaller than 2′, you will have a hard time making it into a pumpkin.
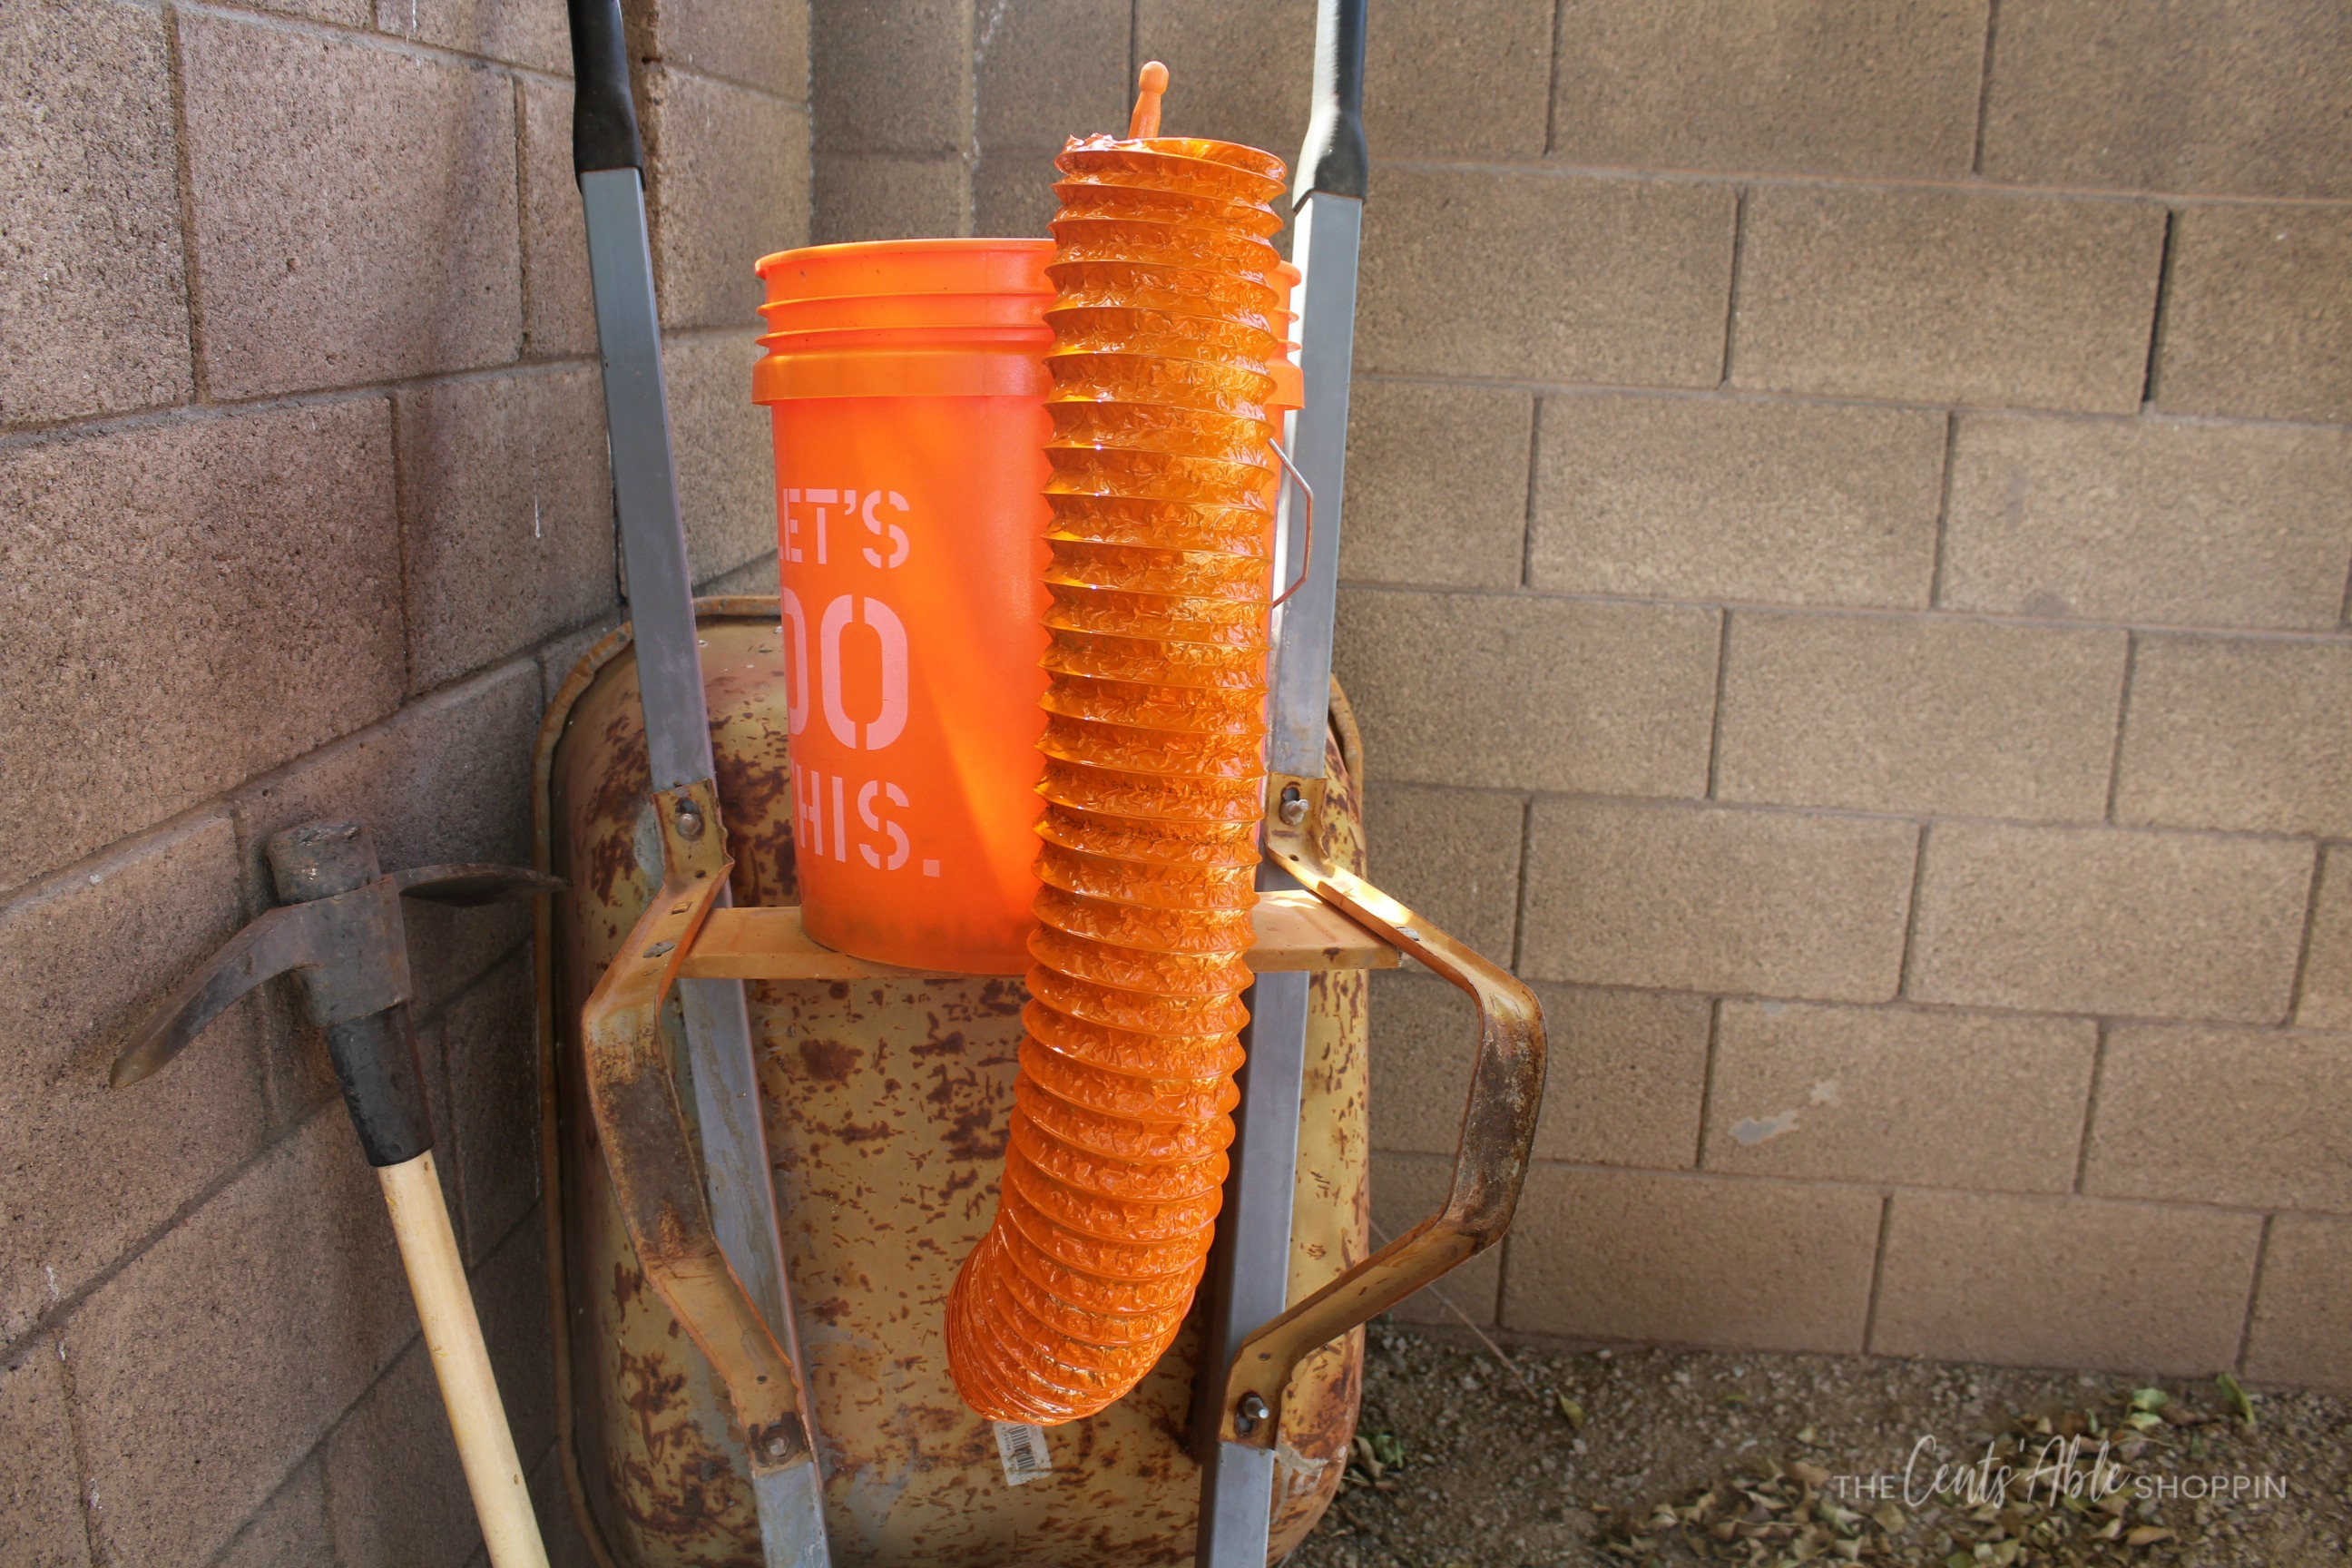
Clip the vents on a trash can, pail or from a tree in your backyard away from doors and windows. Don’t worry about being too perfect because you can touch up after the initial dry.
Carefully spray paint each vent, allowing one hour for the vent to dry before turning it and spraying the other side. If you need to touch up, do it now before you bring in the house.
Once you are done spraying the dryer vents and allowing them to dry, bring them inside.
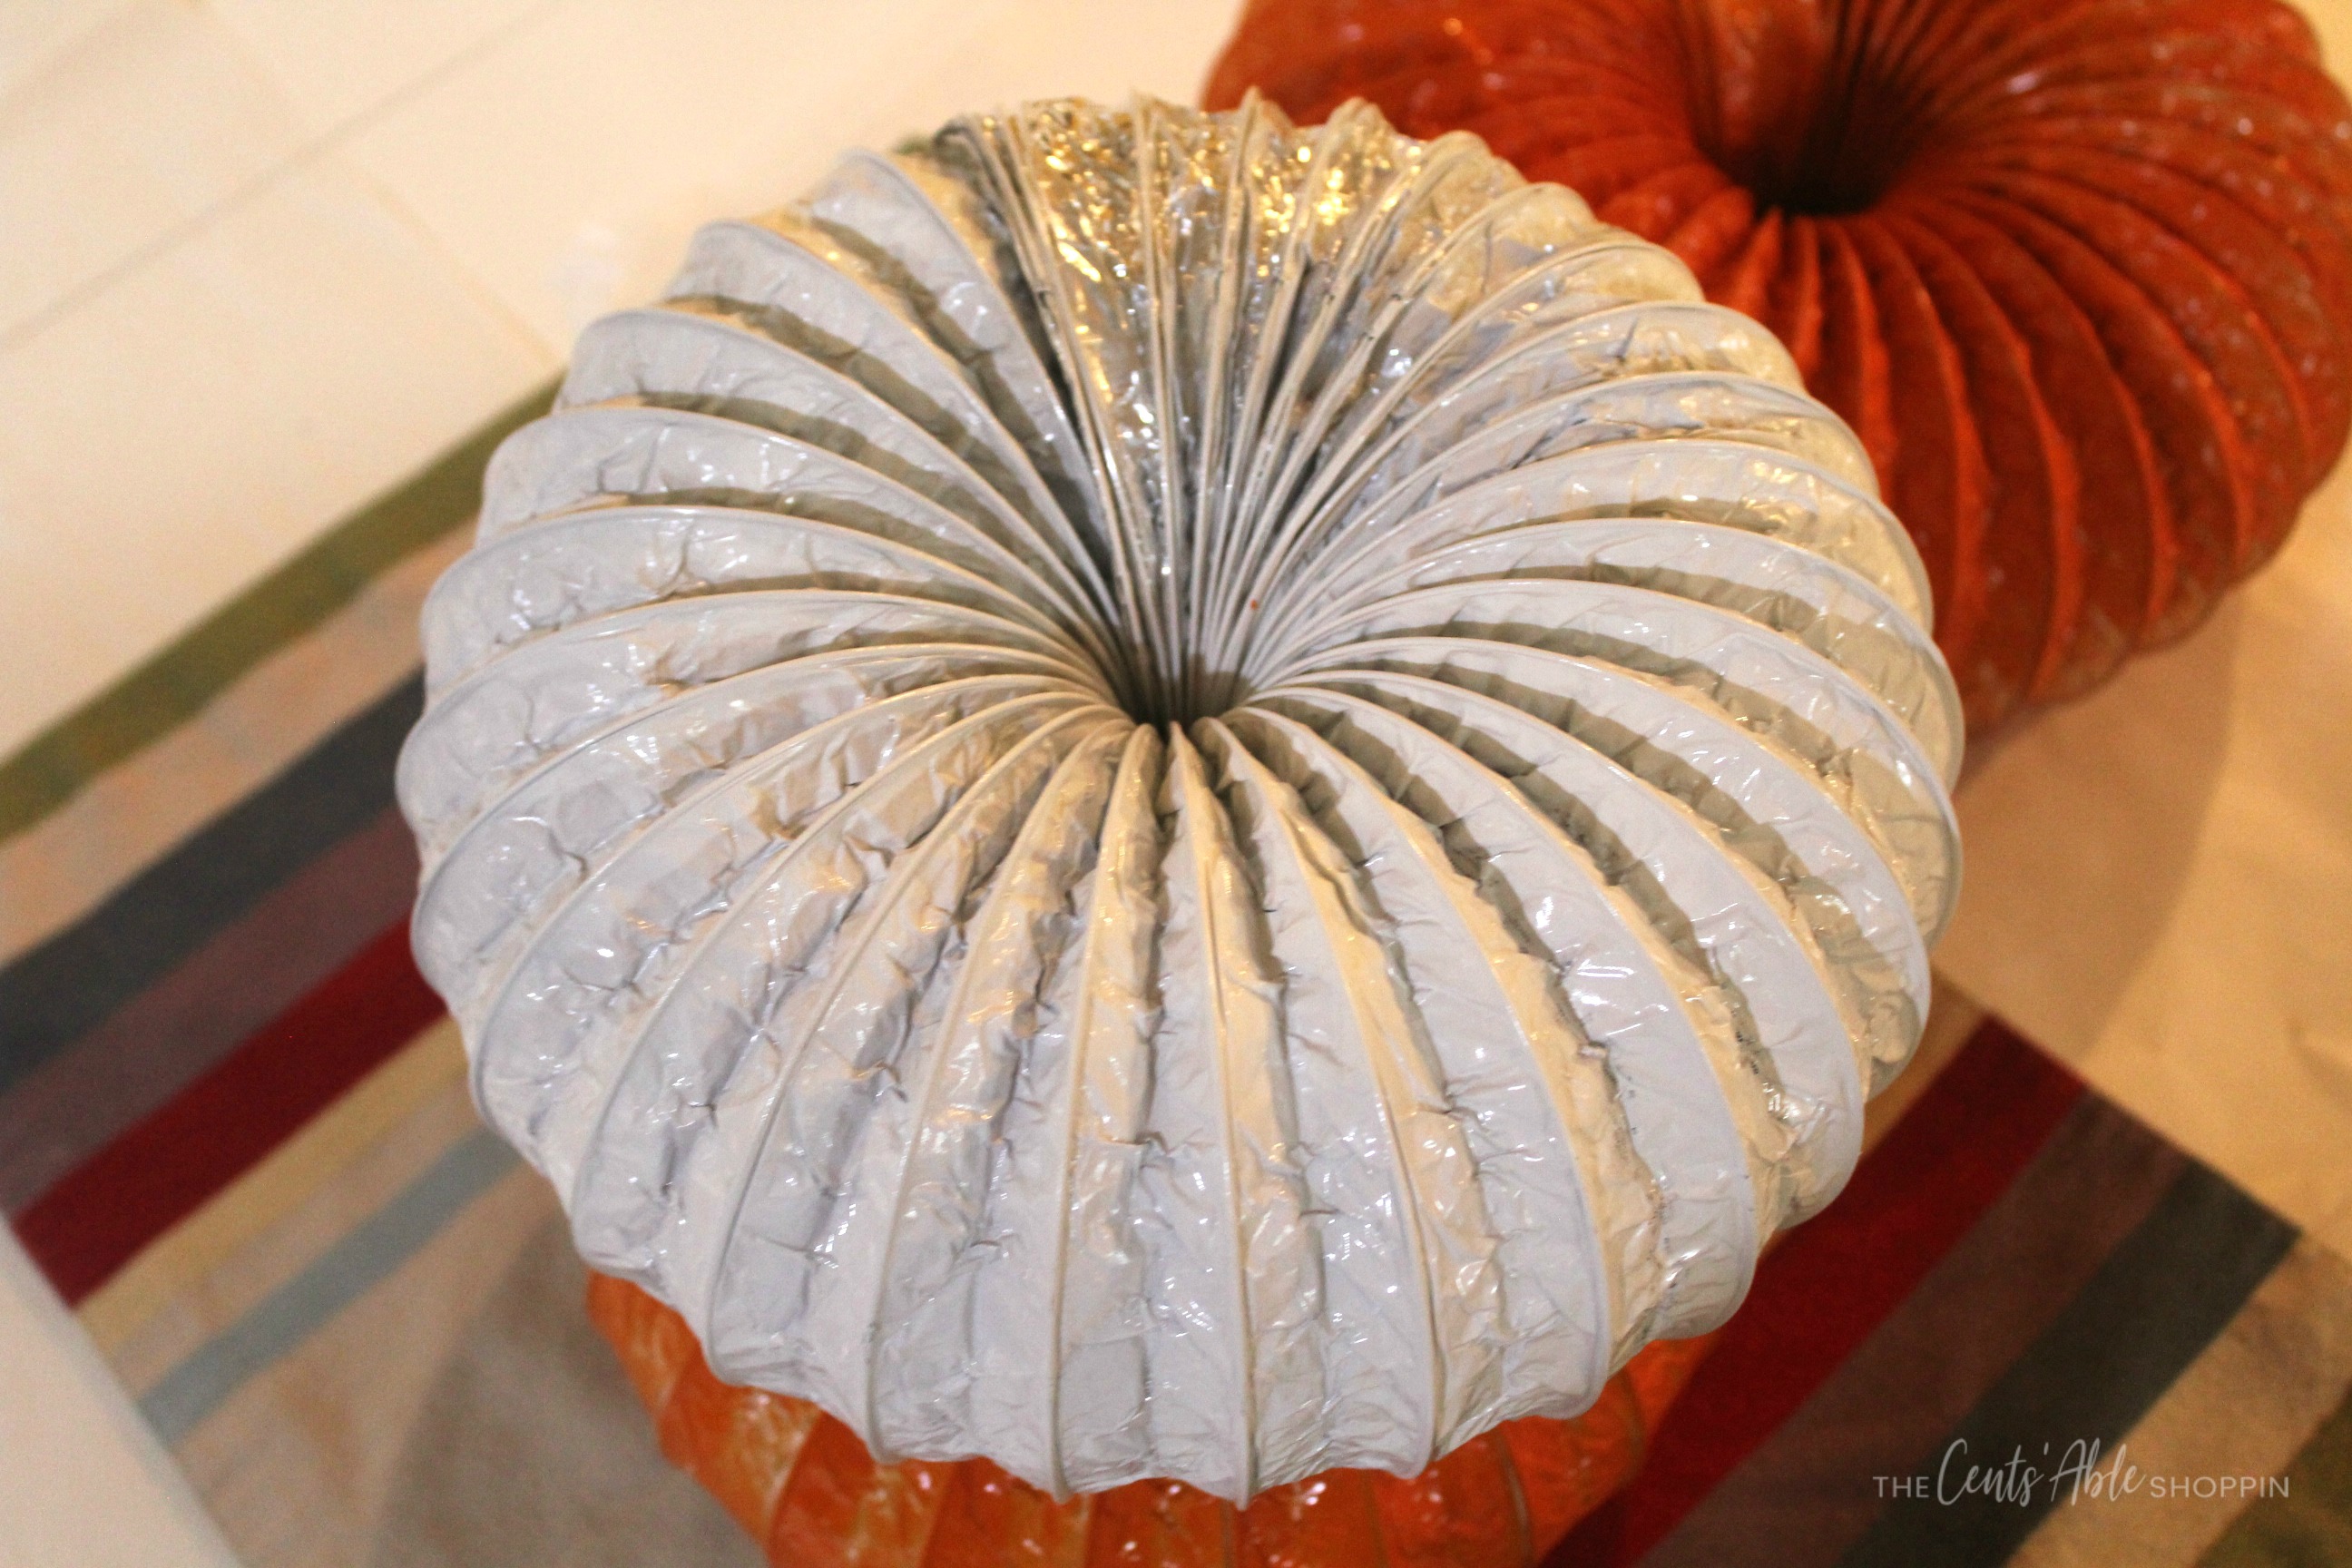
Now, form it into the shape of a pumpkin – hot glue the end of the dryer coil and push against the other end. Clip together with clothespins and allow to dry while you finish the pumpkin.
Use a hot glue gun to affix a wine cork in the center of each pumpkin, surrounded by floral moss. Or, instead of floral moss, you can use kraft shreds as well (that’s what we had available and it worked great).
You might need additional glue around the wine cork to secure it properly.
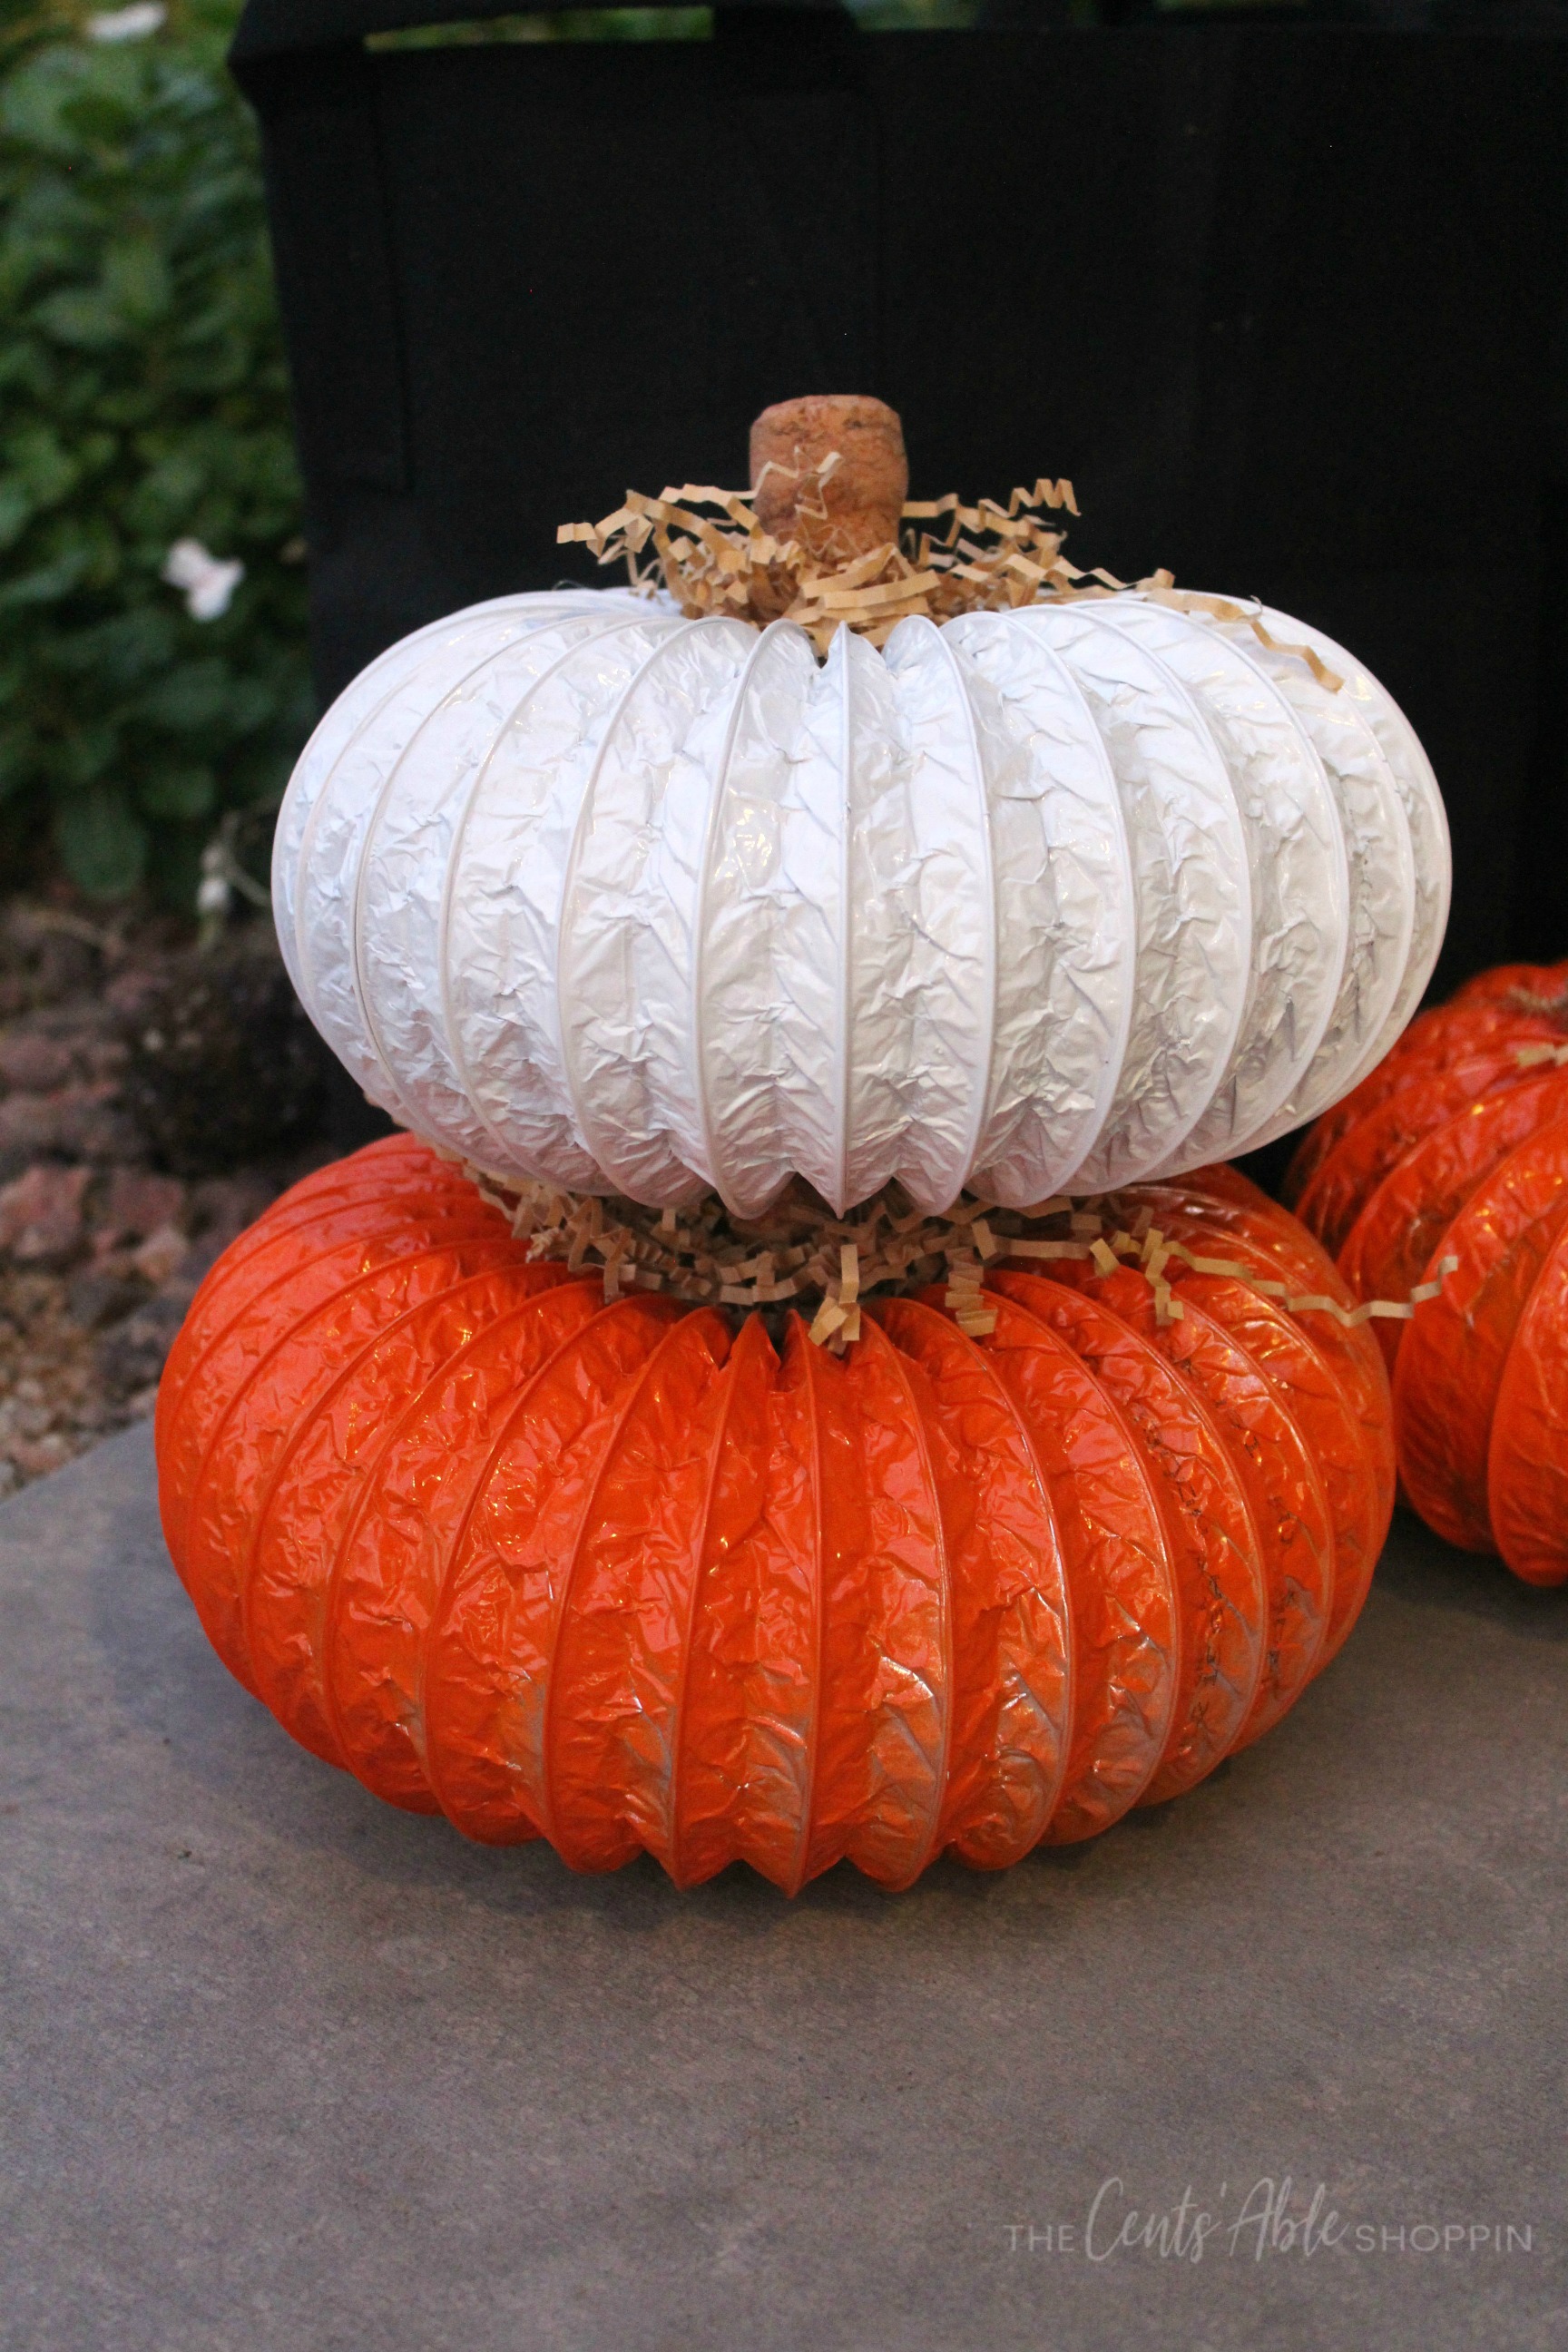
These dryer vent pumpkins are so perfect for fall. We’ve got a trio on a mantle in the house, and a second trio outside the front door (even though it’s 1,000 degrees here still!)
It’s rather inexpensive to do, and something that the entire family can get together and do as a team. Not to mention they can be carefully packed away and used year after year making them super cost effective.
Have you ever thought of transforming a dryer vent into a pumpkin?


