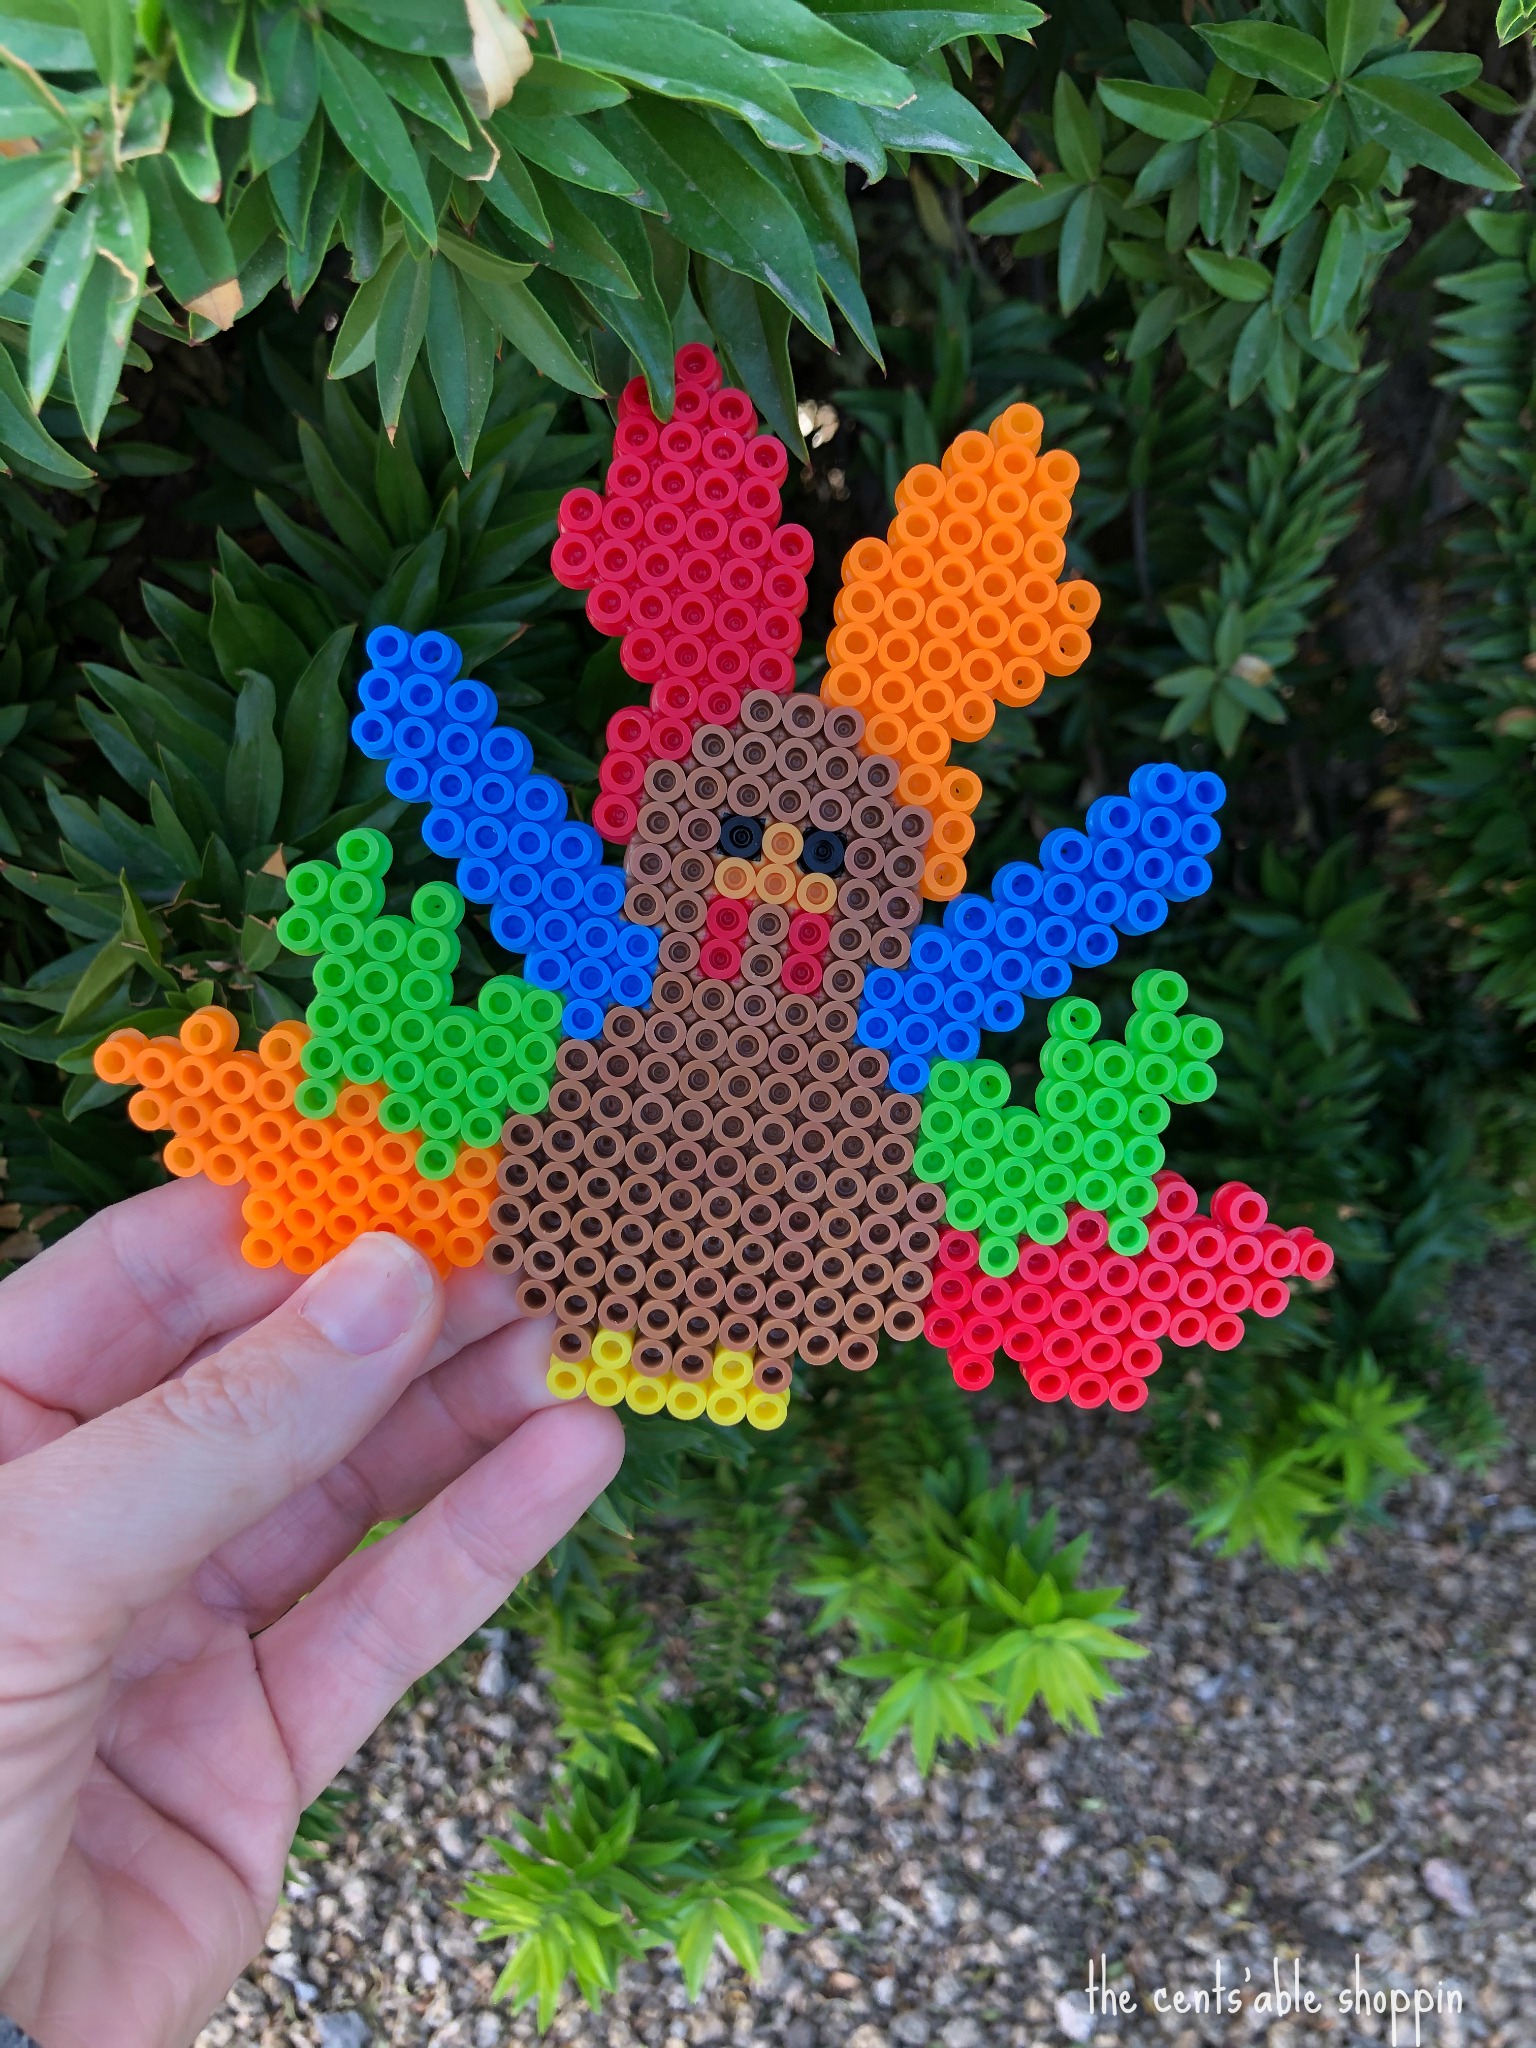
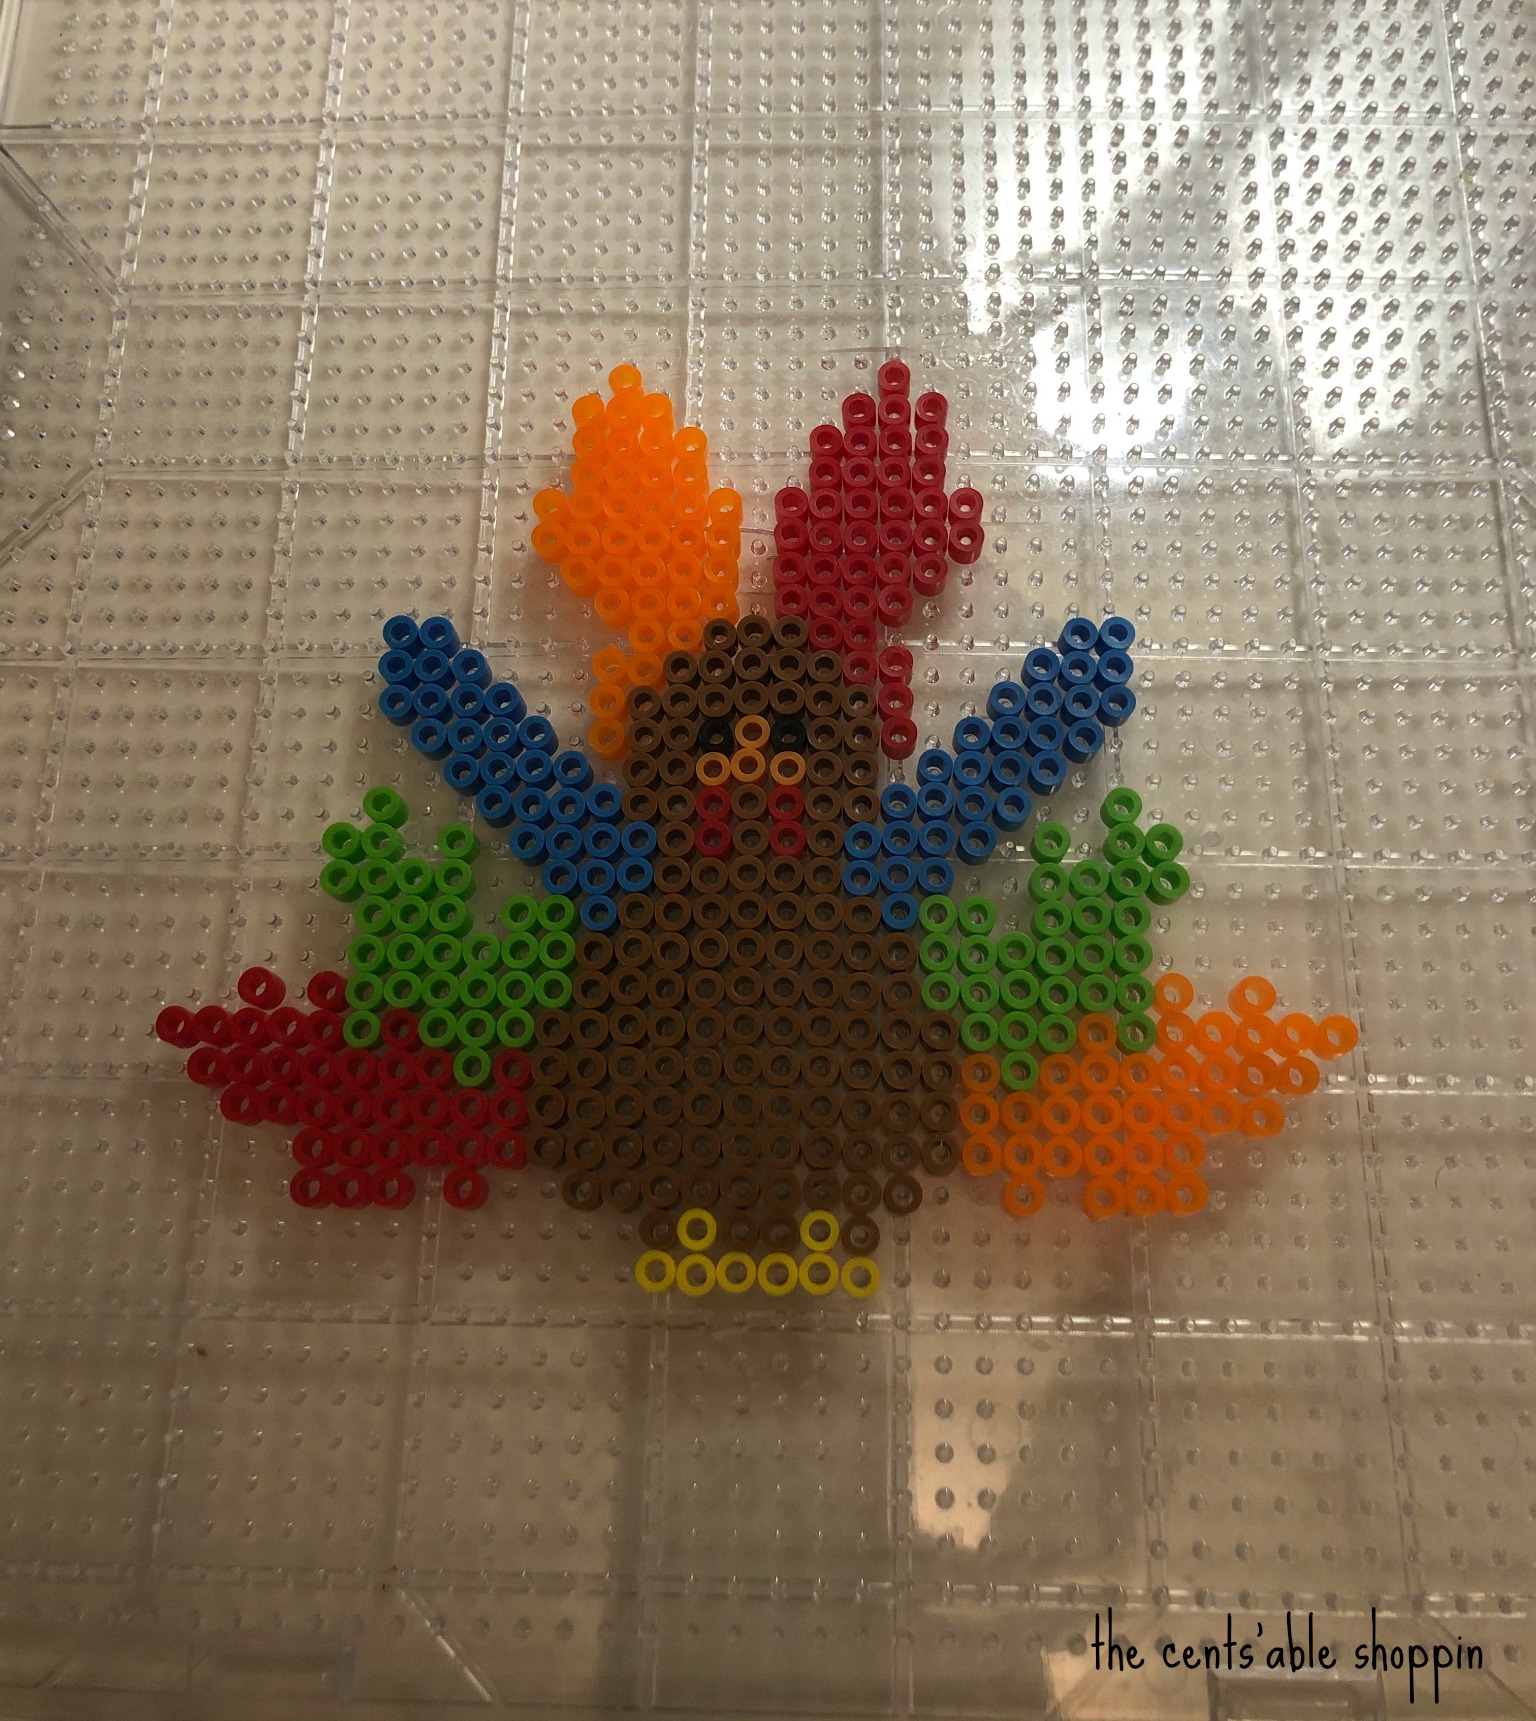
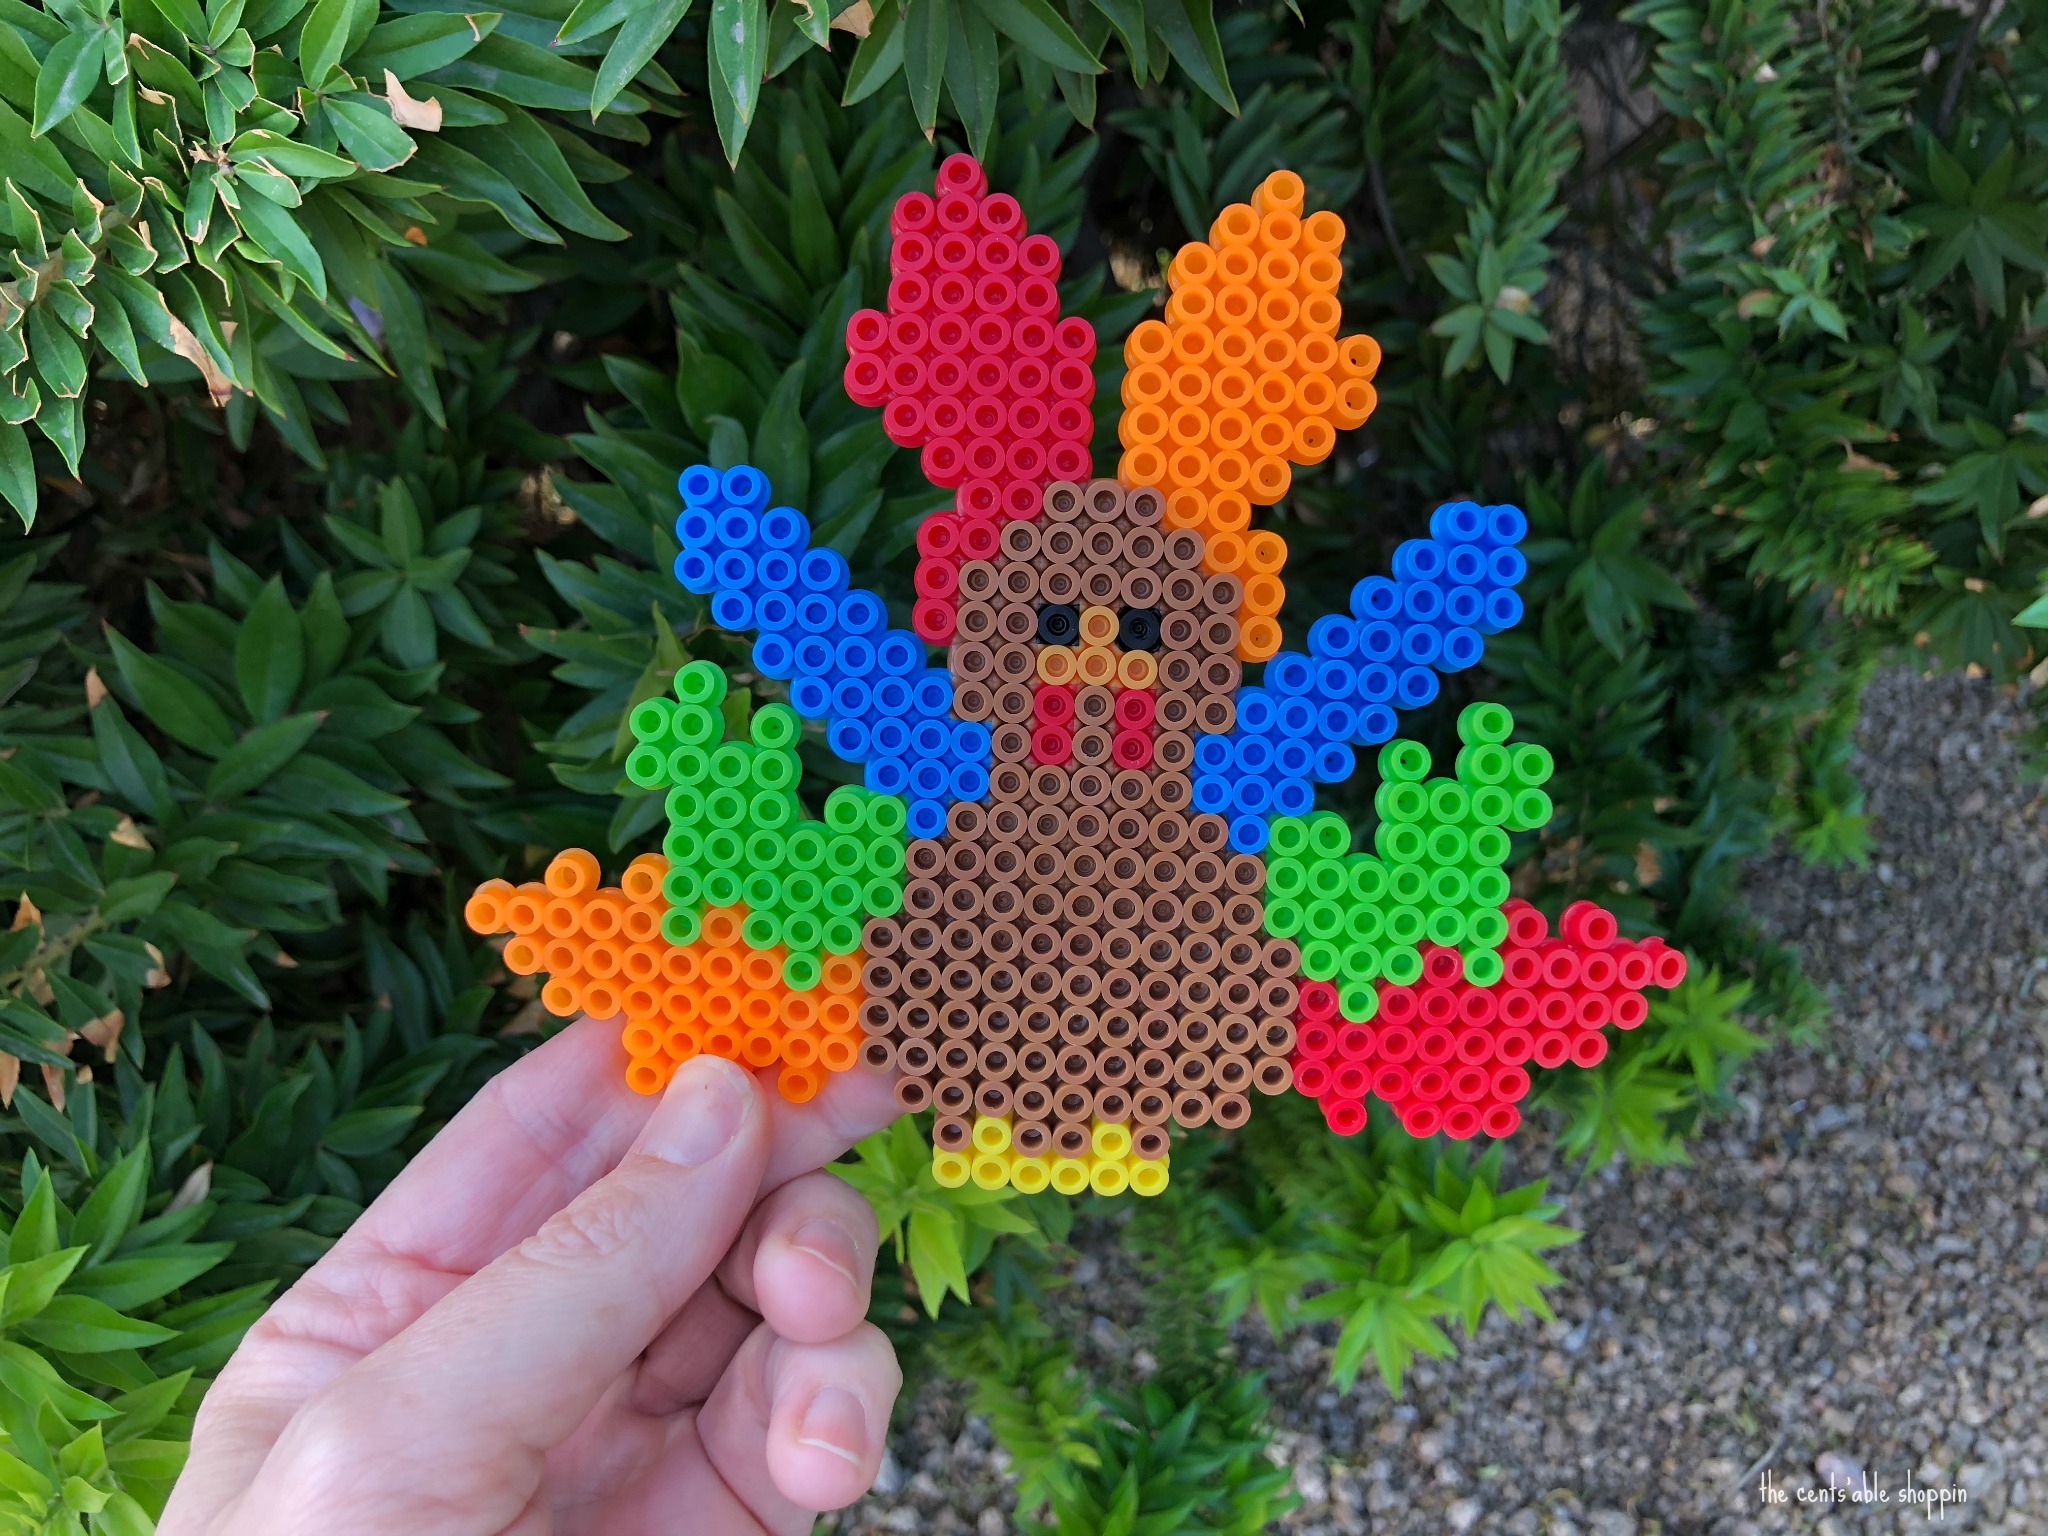
Grab some perler beads and have some fun making this adorable Perler Bead Turkey! It’s the perfect Thanksgiving craft for kids of all ages!

Perler beads are perhaps my favorite family activity. When you have multiple children in a range of ages, they are something that can entertain and yet still keep them learning at the same time.
From rainbow perler bead projects to perler bead earrings, they are the perfect solution to a rainy day.
With the start of cooler, winter weather, it’s fun to break out the Perler beads and encourage kids to want to make holiday-themed projects for family and friends. Hence.. this Turkey.
Perler Bead Turkey
This Perler bead Turkey combines 7 colors and brings them together to create a colorful, adorable Turkey that signifies the Thanksgiving holiday!
(Disclaimer: This post includes affiliate links for items at no additional charge to you.)
First, gather your beads and count out each color required:
- Yellow Perler beads – 8
- Green Perler beads – 60
- Red Perler beads – 73
- Black Perler beads – 2 (eyes)
- Red Perler beads – 4 (mouth)
- Bright Orange Perler beads – 66
- Orange Perler beads – 4 (nose)
- Blue Perler beads – 58

Get started by laying out all of your materials on a flat surface. I like to lay a clean terry towel down to prevent the beads from rolling around the table (and onto the floor!)
You’ll start the layout of the stocking with feet of the turkey, and then slowly work your way to the body. Once the body and face are complete, work towards the feathers.
Once you have completed the Turkey, lay your wax paper atop and gently press with a warm iron for 30-35 seconds. Avoid over-pressing because the beads will melt.

Allow the wax paper to cool. Feel free to use a hook to hang the turkey on a window or even add a keychain.


