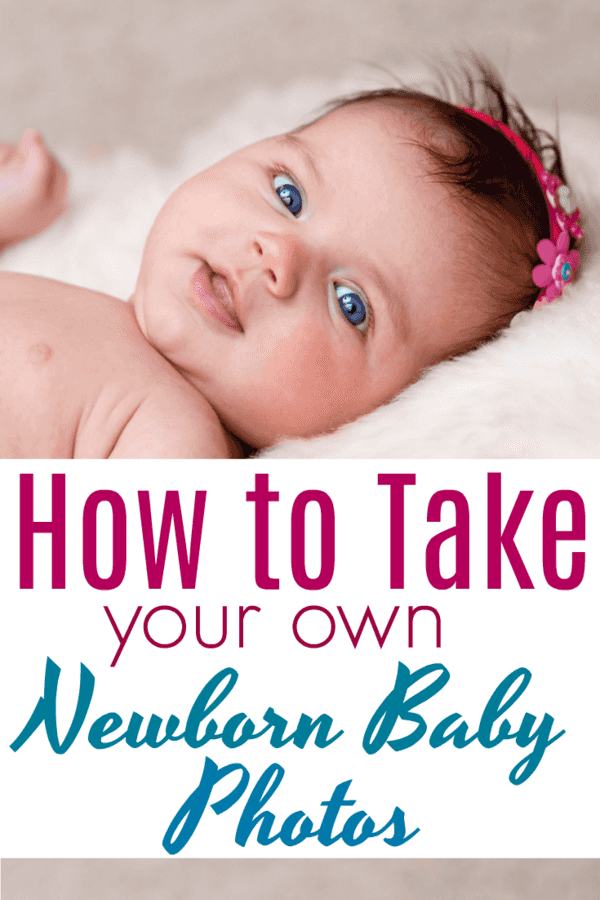
As a mom of littles, I won’t forget taking our first to get newborn pictures done when she was first born – I spent quite a it at Target portrait studio going all out on the most amazing shots.
Then, with each additional child… for our second, we went to Olan Mills in the Kmart shopping center, and for our third, we used a deal from Groupon.
Then, for the fourth we spent about $40 having a friend take shots that turned out quite nice. With our last, we did them ourselves.
Photographers are a dime a dozen honestly – it seems like you can find anyone who does pictures of your family and of your newborn – but not too many that really do an amazing job. Those that do an amazing job run some pretty expensive fees – newborn sessions can run upwards of $250, if not more… for 45 minutes to an hour of pictures – not to mention added costs for additional kids.
Then there’s the drama of getting all the kids there on time, with clean faces (and in my case, matching shoes…..) – it’s entirely too difficult.
Most of the photographers we know take weeks and weeks to get you your pictures.. making it impossible to new “newborn” announcements when they are born – I think it was 5-6 weeks later that I actually sent out announcements for our first and second.
That is ridiculous – especially given that most of these photographers are sending out *maybe* ten digital prints?! I’m sorry but waiting that long is quite ridiculous.
Capturing a child’s newborn stage is so important to many parents – it is to me… but I’d much rather spend the $250 putting money in their college fund than into pictures that took a mere 45 minutes to shoot. Doing them yourself is a great alternative – as long as you realize that not every type of shot can be achieved by a novice.
Nevertheless, there are still plenty of beautiful shots you can achieve on your own that won’t run you anywhere close to $250 .
Setting up a newborn photo shoot can honestly be pretty simple – all you need is a little patience, mixed with some creativity, and your newborn can look just as cute as the babies you might see in more expensive set ups.
Here are some tips that might help you if you are taking pictures at home:
Choose a great location
Try to find a place in your home that will have appropriate lighting through the day – and focus on a specific time of the day that works best. Try to see if your camera works well in the light at that specific point in time, too.
Perhaps you are looking at a huge living room window, or a door on the front of the house. Take a couple of practice shots with your camera to see how the lighting looks at various points in the day to determine when the BEST time to take a picture might be.
Set up your area
Once you have a location in mind, take some time to set up your area – you’ll want to have a seamless backdrop (a huge, furry or fluffy blanket or throw, or a colorful newborn blanket work well for this!)
Drape the blanket over the sofa, or on the floor to create that seamless backdrop you need. Take a few MORE shots to see how the lighting works with the backdrop you have selected and make any adjustments.
Grab your props
If you have a newborn, you’ll want to make sure you have his/her accessories picked out – perhaps a new outfit, cloth diaper cover, or… items just in case you opt to go for a naked look and an accident happens on your backdrop.
Don’t overdo it with accessories, but pick out a few that have meaning so that you can incorporate in some of your pictures.
Take LOTS of pictures
You can’t ever go wrong taking more – if you don’t take enough, you’ll have wished you had done more when you had the chance. Newborns are not easy to photograph – they can be tired, have accidents… or start crying if you fiddle with them too much.
If at all possible, what works best is coordinating this photo opportunity with a time of the day that they usually nap – we did that with our first 2 on their one year pictures. Not to mention, pictures of a sleeping baby are truly gorgeous ?
Peruse Pinterest for Baby Photo ideas, and try several poses to find one that works the best. Then photo, photo and photo. Do closeups of her/his feet, hands, and face – in addition to full body photos. Grab photos from the front, side, and at an angle overhead so you have covered every possible opportunity.
Edit and Grab Deals on Prints
Use photo editing software that’s free (Picmonkey or Canva) or, invest in Photoshop (perhaps you already have it?) to edit the photos. In most cases, you can make minor tweaks here and there for some amazing photos.
Use weekly deals at Walgreens to get photos printed, and take advantage of Groupon promo codes to get a bigger canvas made where you can have the picture(s) hung on your wall in a wonderfully framed keepsake.
In the end, remember that although photos are a keepsake that some are willing to pay for, sometimes you can take photos at home that work just as well without the cost.
Although you don’t have to forego professional pictures entirely, by learning how to take your own, you can cut back to having professional pictures done once or twice every few years instead of dropping $250 per session – that money can add up quite fast.


Leave a Reply
You must be logged in to post a comment.