


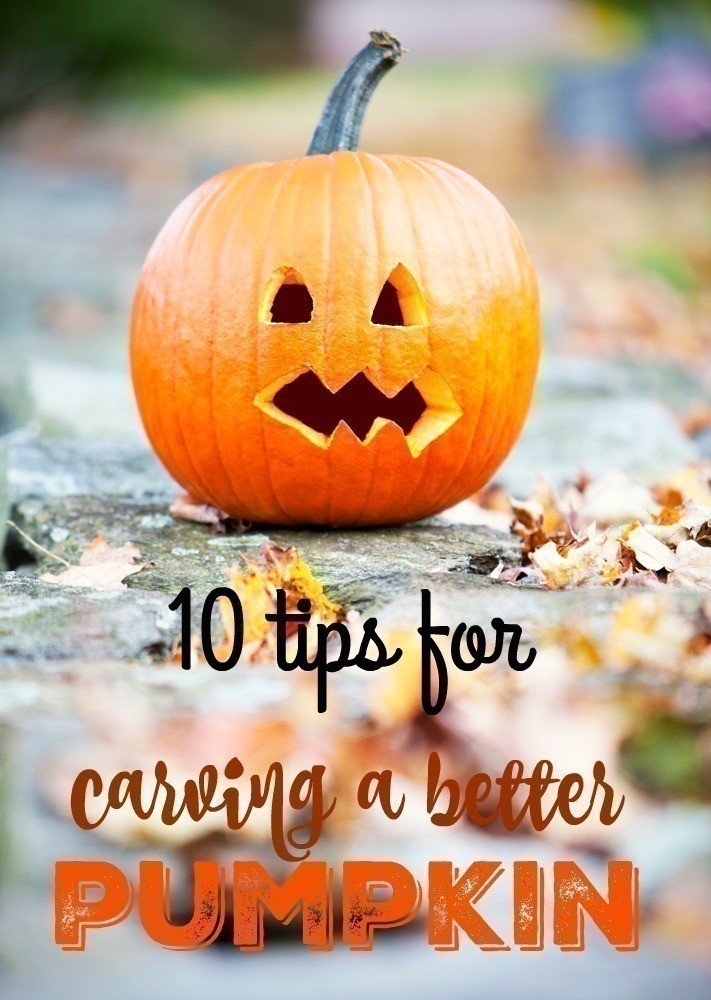
Halloween is upon us… and chances are you will be carving up a pumpkin! I’m miserable at carving (perhaps the reason why we have PLASTIC pumpkins we reuse!) Grandma & Grandpa usually helps us carve our Pumpkins at her house – we do it as a HUGE extended family activity about a week before Halloween.
Are you a pumpkin virgin? Is this your first time carving one? or was last years pumpkin something you’d rather forget?
Here are some of our favorite tips to help you in your pumpkin carving odyssey.
Choose wisely. You want to make sure you get the best pumpkin possible. Examine the specimen well, a pumpkin that is bruised or has a moldy stem will rot faster and no one wants that …well, unless that’s the look you are going for
this year.
Size does matter. The larger the pumpkin the more room you have to carve and the less likely you are to make a mistake because of a too tight work area. Small pumpkins are best for the Martha Stewart Neighbor (we all have one) or to leave intact and paint without carving.
Know where to cut. Do you decapitate or cut the back? What do you need to do to ensure good carvability? Some people cut the top off and take the guts out that way others prefer to cut the back off so that the entire front is available for carving.
Use a Dry Erase Marker. Yes these little beauties will ensure that you can draw and change your mind on how your pumpkin looks like if you decide not to use a stencil. Better yet? You can easily erase any markings if you cut less then what you had originally planned.
Everyone needs reassurance. Use Stencils. You can ensure almost perfect pumpkin carvings if you use a stencil. Want to be innovative and one of a kind? We’ve gathered up 250 free stencils you can use, from Disney to Hershey’s you will find one that will fit your
theme perfectly.
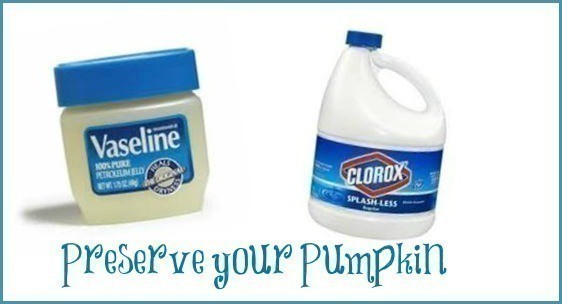
Preserve it. To slow the natural rotting process you should take your pumpkin once its gutted and soak the cleaned pumpkin a couple of hours in a bleach water solution of 1 teaspoon bleach to 1 gallon of water. Afterwards, dry thoroughly and then rub it down with vegetable oil or petroleum jelly so that it won’t shrivel too much making sure to cover completely including all the edges. If the pumpkin begins to shrivel, repeat the bleach bath.
Be Careful! Only you can prevent Fires, or so Smokey the Bear says and this is especially true if you are going to light your carved pumpkin. If you are, make sure to use a votive/candle and that you have carved the lid of the pumpkin so you can remove it and keep it off when the votive is lit to avoid any fire hazards. You also want to make sure that the candle is on a fire-proof base, to give more stability. Some people opt to cut the bottom of the pumpkin so it can easily fit over a base. Never Never Never, leave a candle-lit Jack’O Lanters unattended for any length of time.
Don’t forget the Seeds! When you gut the pumpkin you can collect all the seeds for some awesome snacks!
DO NOT EAT THE CARVED PUMPKIN! Not only has it started to rot, remember that to slow down the rotting time we’ve given it a bleach bath. It can and will make you sick!
Enjoy! Enjoy the beauty of this Jack’O Lantern that you and your family have chosen and carved. Make sure to take lots of pictures to share with your friends and to have great keepsakes.
I’m gonna have my hubby use power tools for ours this year! Haha. He’s all excited to use his dremel and attachments on it. Lol